How to export an Ad Hoc iOS ipa using Xcode
There are multiple ways to distribute an iOS app including the Apple App Store as well as an Ad Hoc build of your app that you can distribute and test on physical devices or services like NowSecure Platform for automated security and privacy testing (disclosure: I’m a co-founder at NowSecure).
In this blog, I’ll walk you through the steps to export an iOS app using the Ad Hoc distribution method using Xcode.
Note: you need to be enrolled in the Apple Developer Program (vs. the free Apple ID account) to create an Ad Hoc distribution directly from Xcode (there is a command line work around but your app won’t be properly signed). You can still use the free Apple ID account with Xcode, the iOS Simulator and to deploy the app to an Apple device physically connected to your computer.
1. Code setup
I open sourced a “hello world” iOS project I called I am Groot that will serve as a playground for me to learn iOS programming and demonstrate mobile app security and privacy testing as well as DevOps automation with GitHub Actions. You can fork the iamgroot repo and then swap in your GitHub username below for ahoog42:
Fork and clone the repo
$ mkdir -p ~/spfexpert; cd ~/spfexpert
$ git clone git@github.com:ahoog42/iamgroot.git
$ cd iamgroot
Change bundle identifier
Apple requires a globally unique bundle identifier for each app. The standing convention is to use a domain name you control as follows:
com.andrewhoog.I-am-Groot
If you don’t own a domain name, you can really use any combination as long as it’s unique. Perhaps add the first part of your GitHub or email username along the lines of:
com.example.I-am-Groot-ahoog42
To update the bundle identifier in Xcode, navigate to the “Signing and Capabilities” tab by choosing your project from the Navigation pane and then “Signing and Capabilities”. Apple Developer documentation has a nice step through in their “Assign a project to a team” article if you have any issues access this tab.
2. Env setup
For now, we’ll focus on building the iOS on macOS as building on other platforms is more difficult. The primary tool you’ll need is Apple’s Xcode, their developer tools.
Install Xcode
The easiest way Xcode is use the Mac App Store. I’ve written a full tutorial on “3 ways to install Xcode on macOS” you can check out if helpful.
3. Run the iOS app in the iOS Simulator
It’s not a bad idea to first make sure that app will successfully run in the iOS Simulator that’s built into Xcode. From your terminal app, do the following:
Open the Xcode project:
$ open I\ am\ Groot.xcodeproj
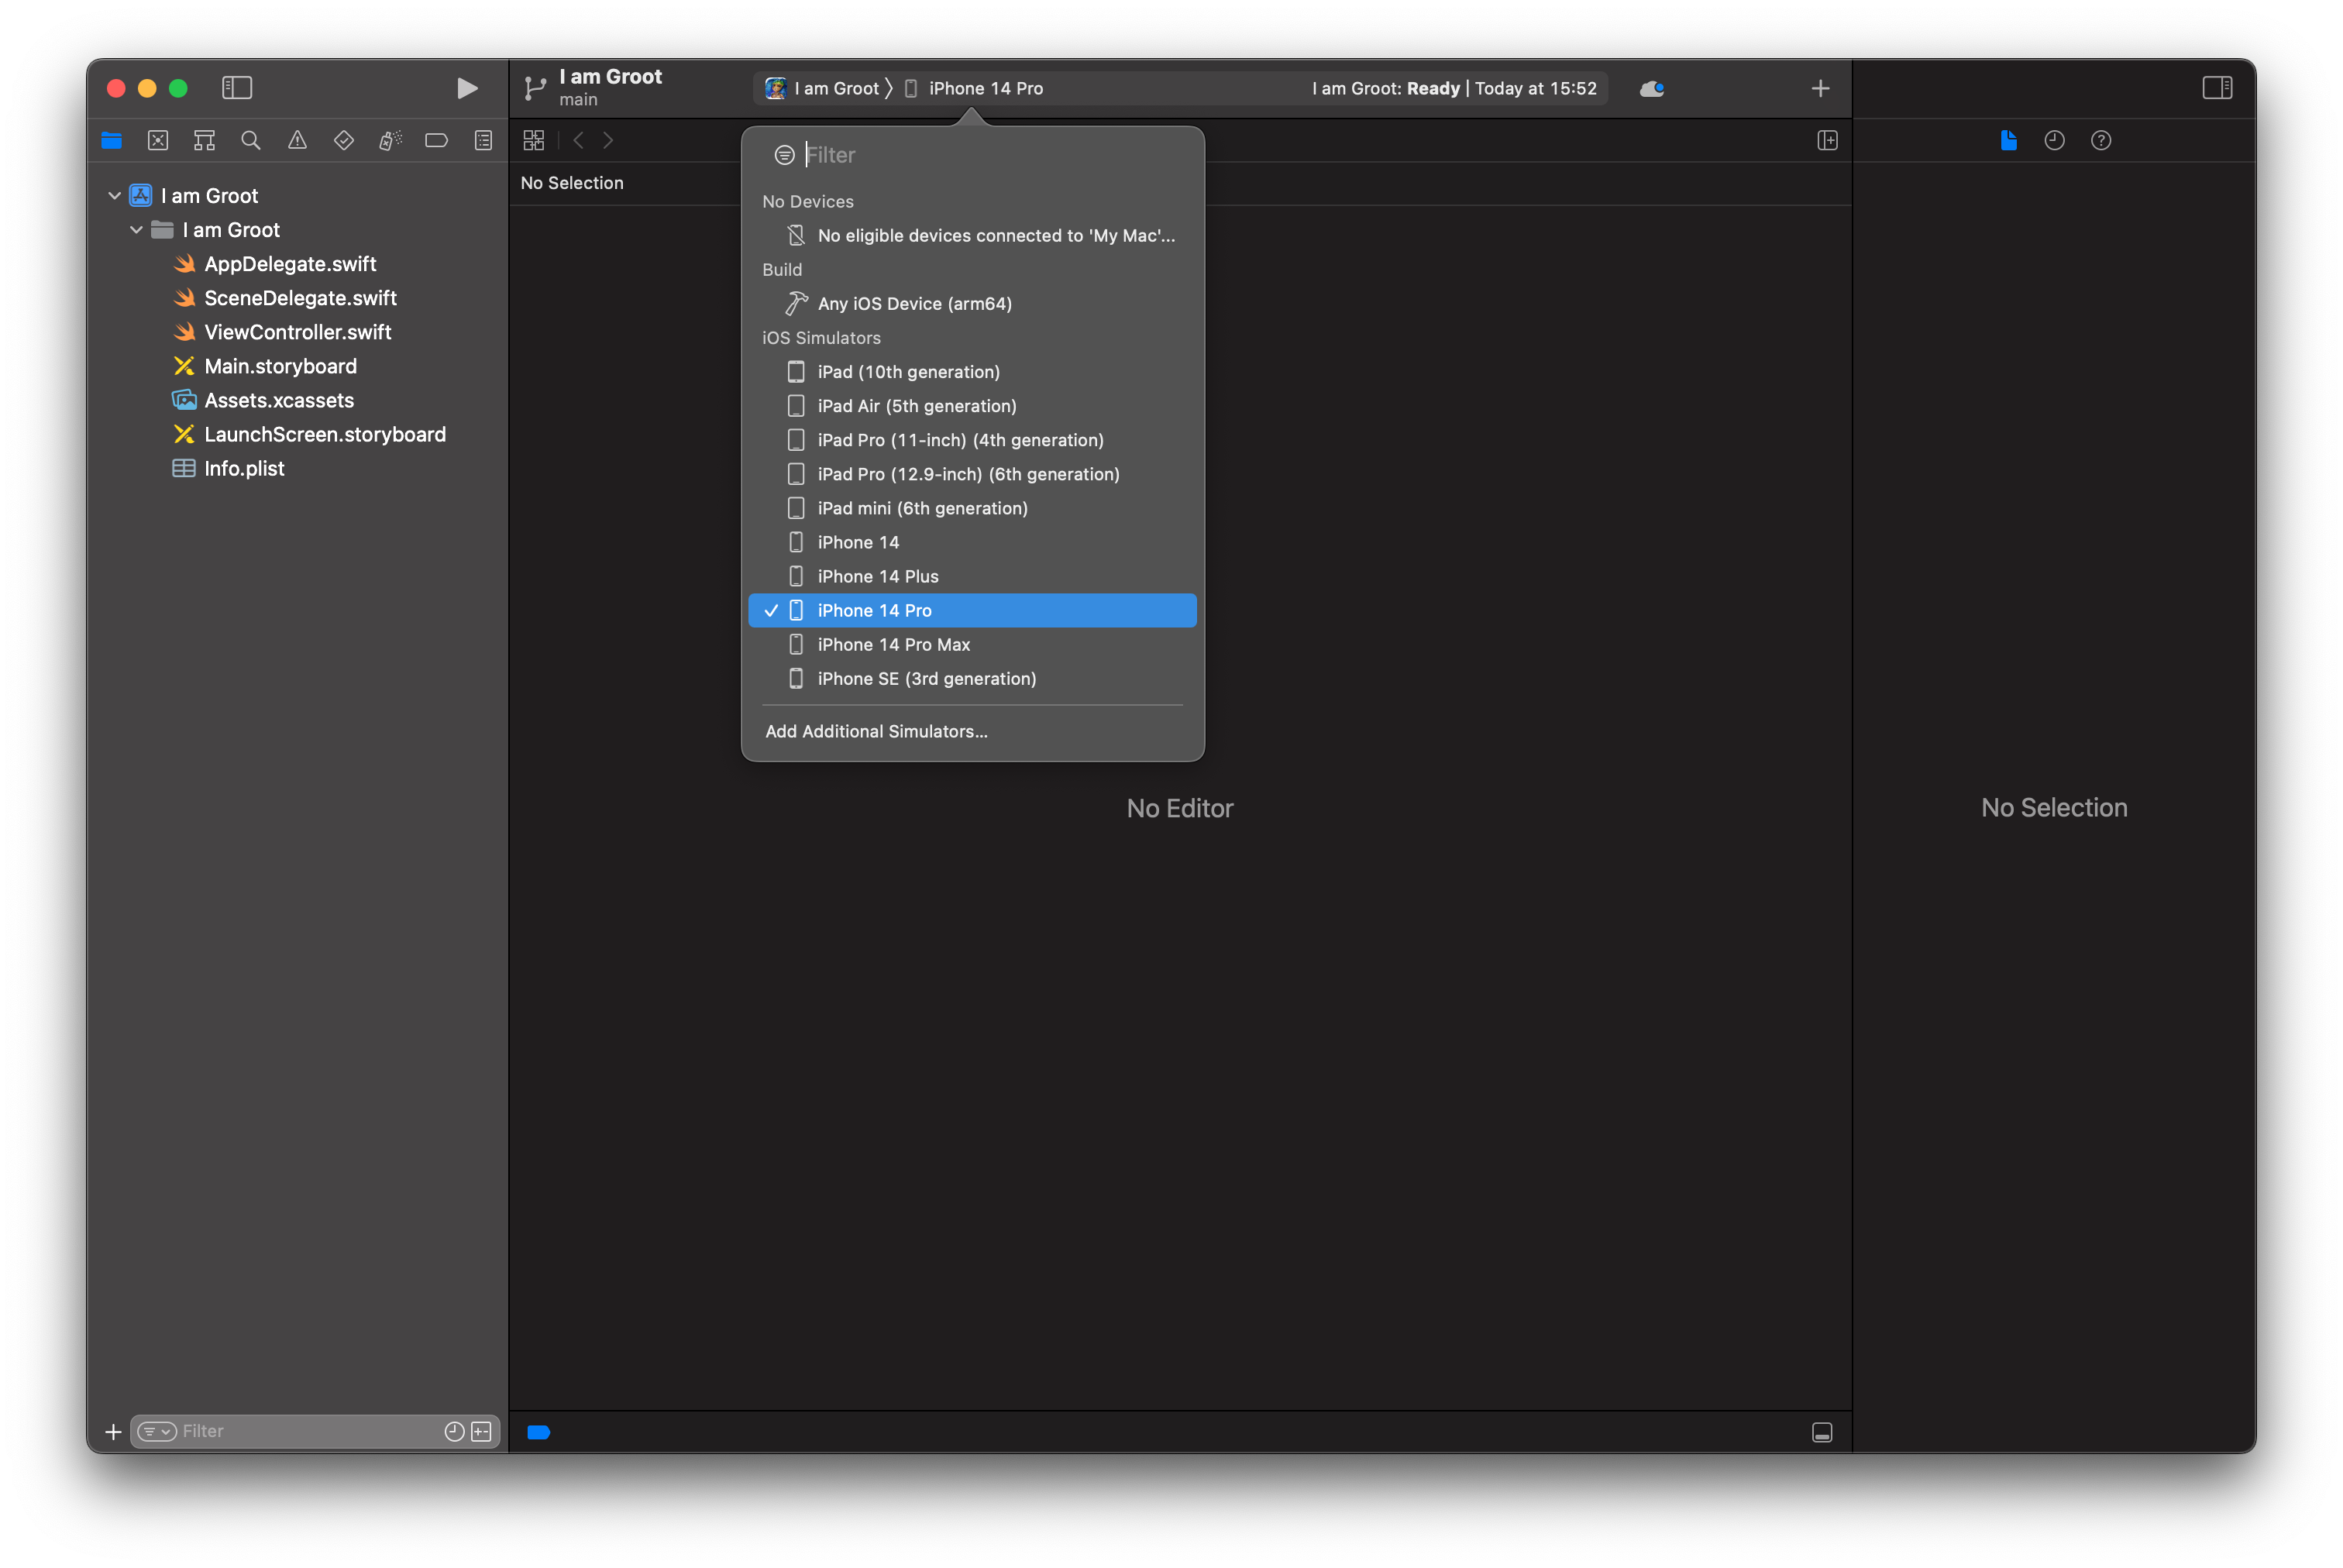
Set the destination device
You can use the Xcode menus Product -> Destination and select iPhone 14 Pro (or whatever simulator you want) under iOS Simulators or simply use the Status Bar area at the top of Xcode:
Run the iOS project
Now you’re ready to run the project which you can do multiple ways:
- ⌘+R
- Product -> Run
- Hit the “play” icon in the Status Bar at the top of Xcode
which will then compile the app, launch the chosen iOS Simulator, install the app on the simulator and then finally launch the app:
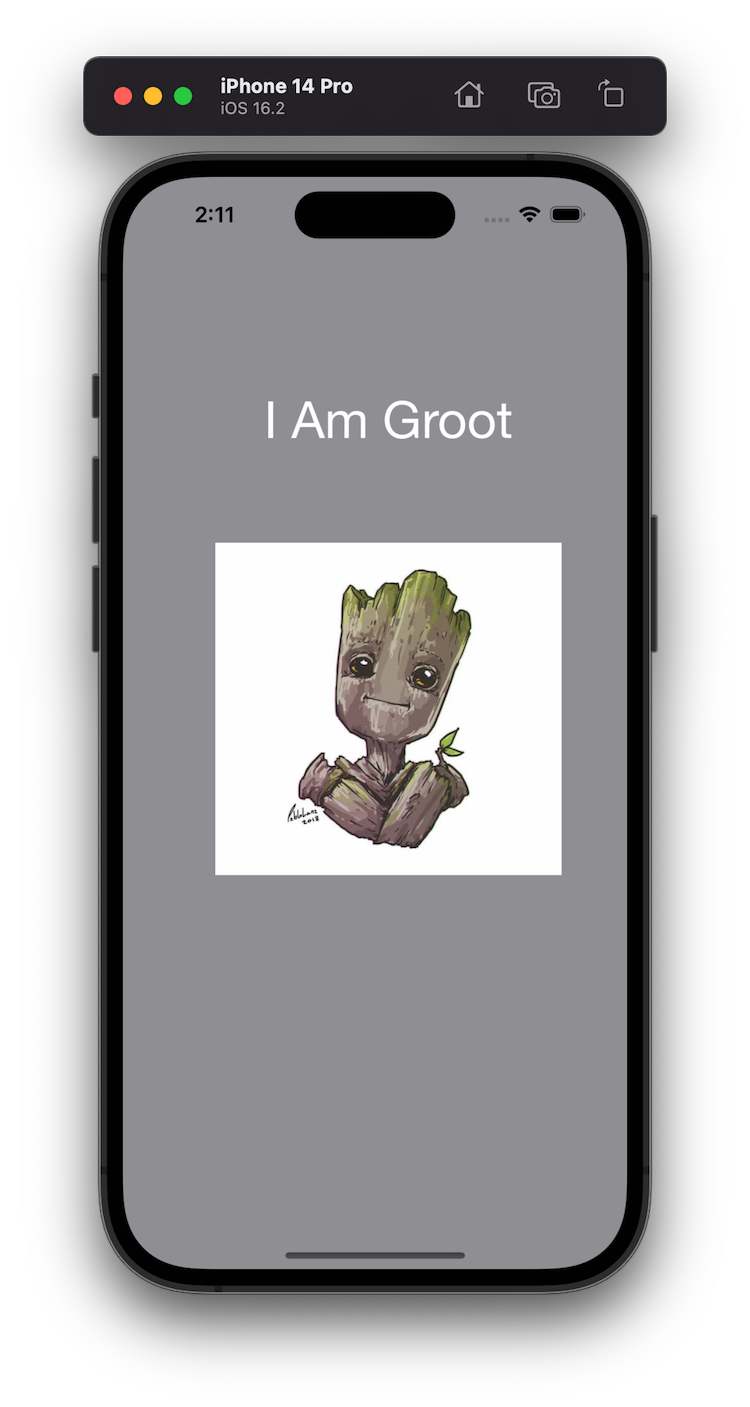 If the app runs successfully, it’s time to move on to building the app archive.
4. Generate iOS app archive
An iOS app archive is an intermediary bundle that includes your app binary and symbols for debugging and crash reporting. This is an initial step needed before you can distribute your app using one of Apple’s distribution methods.
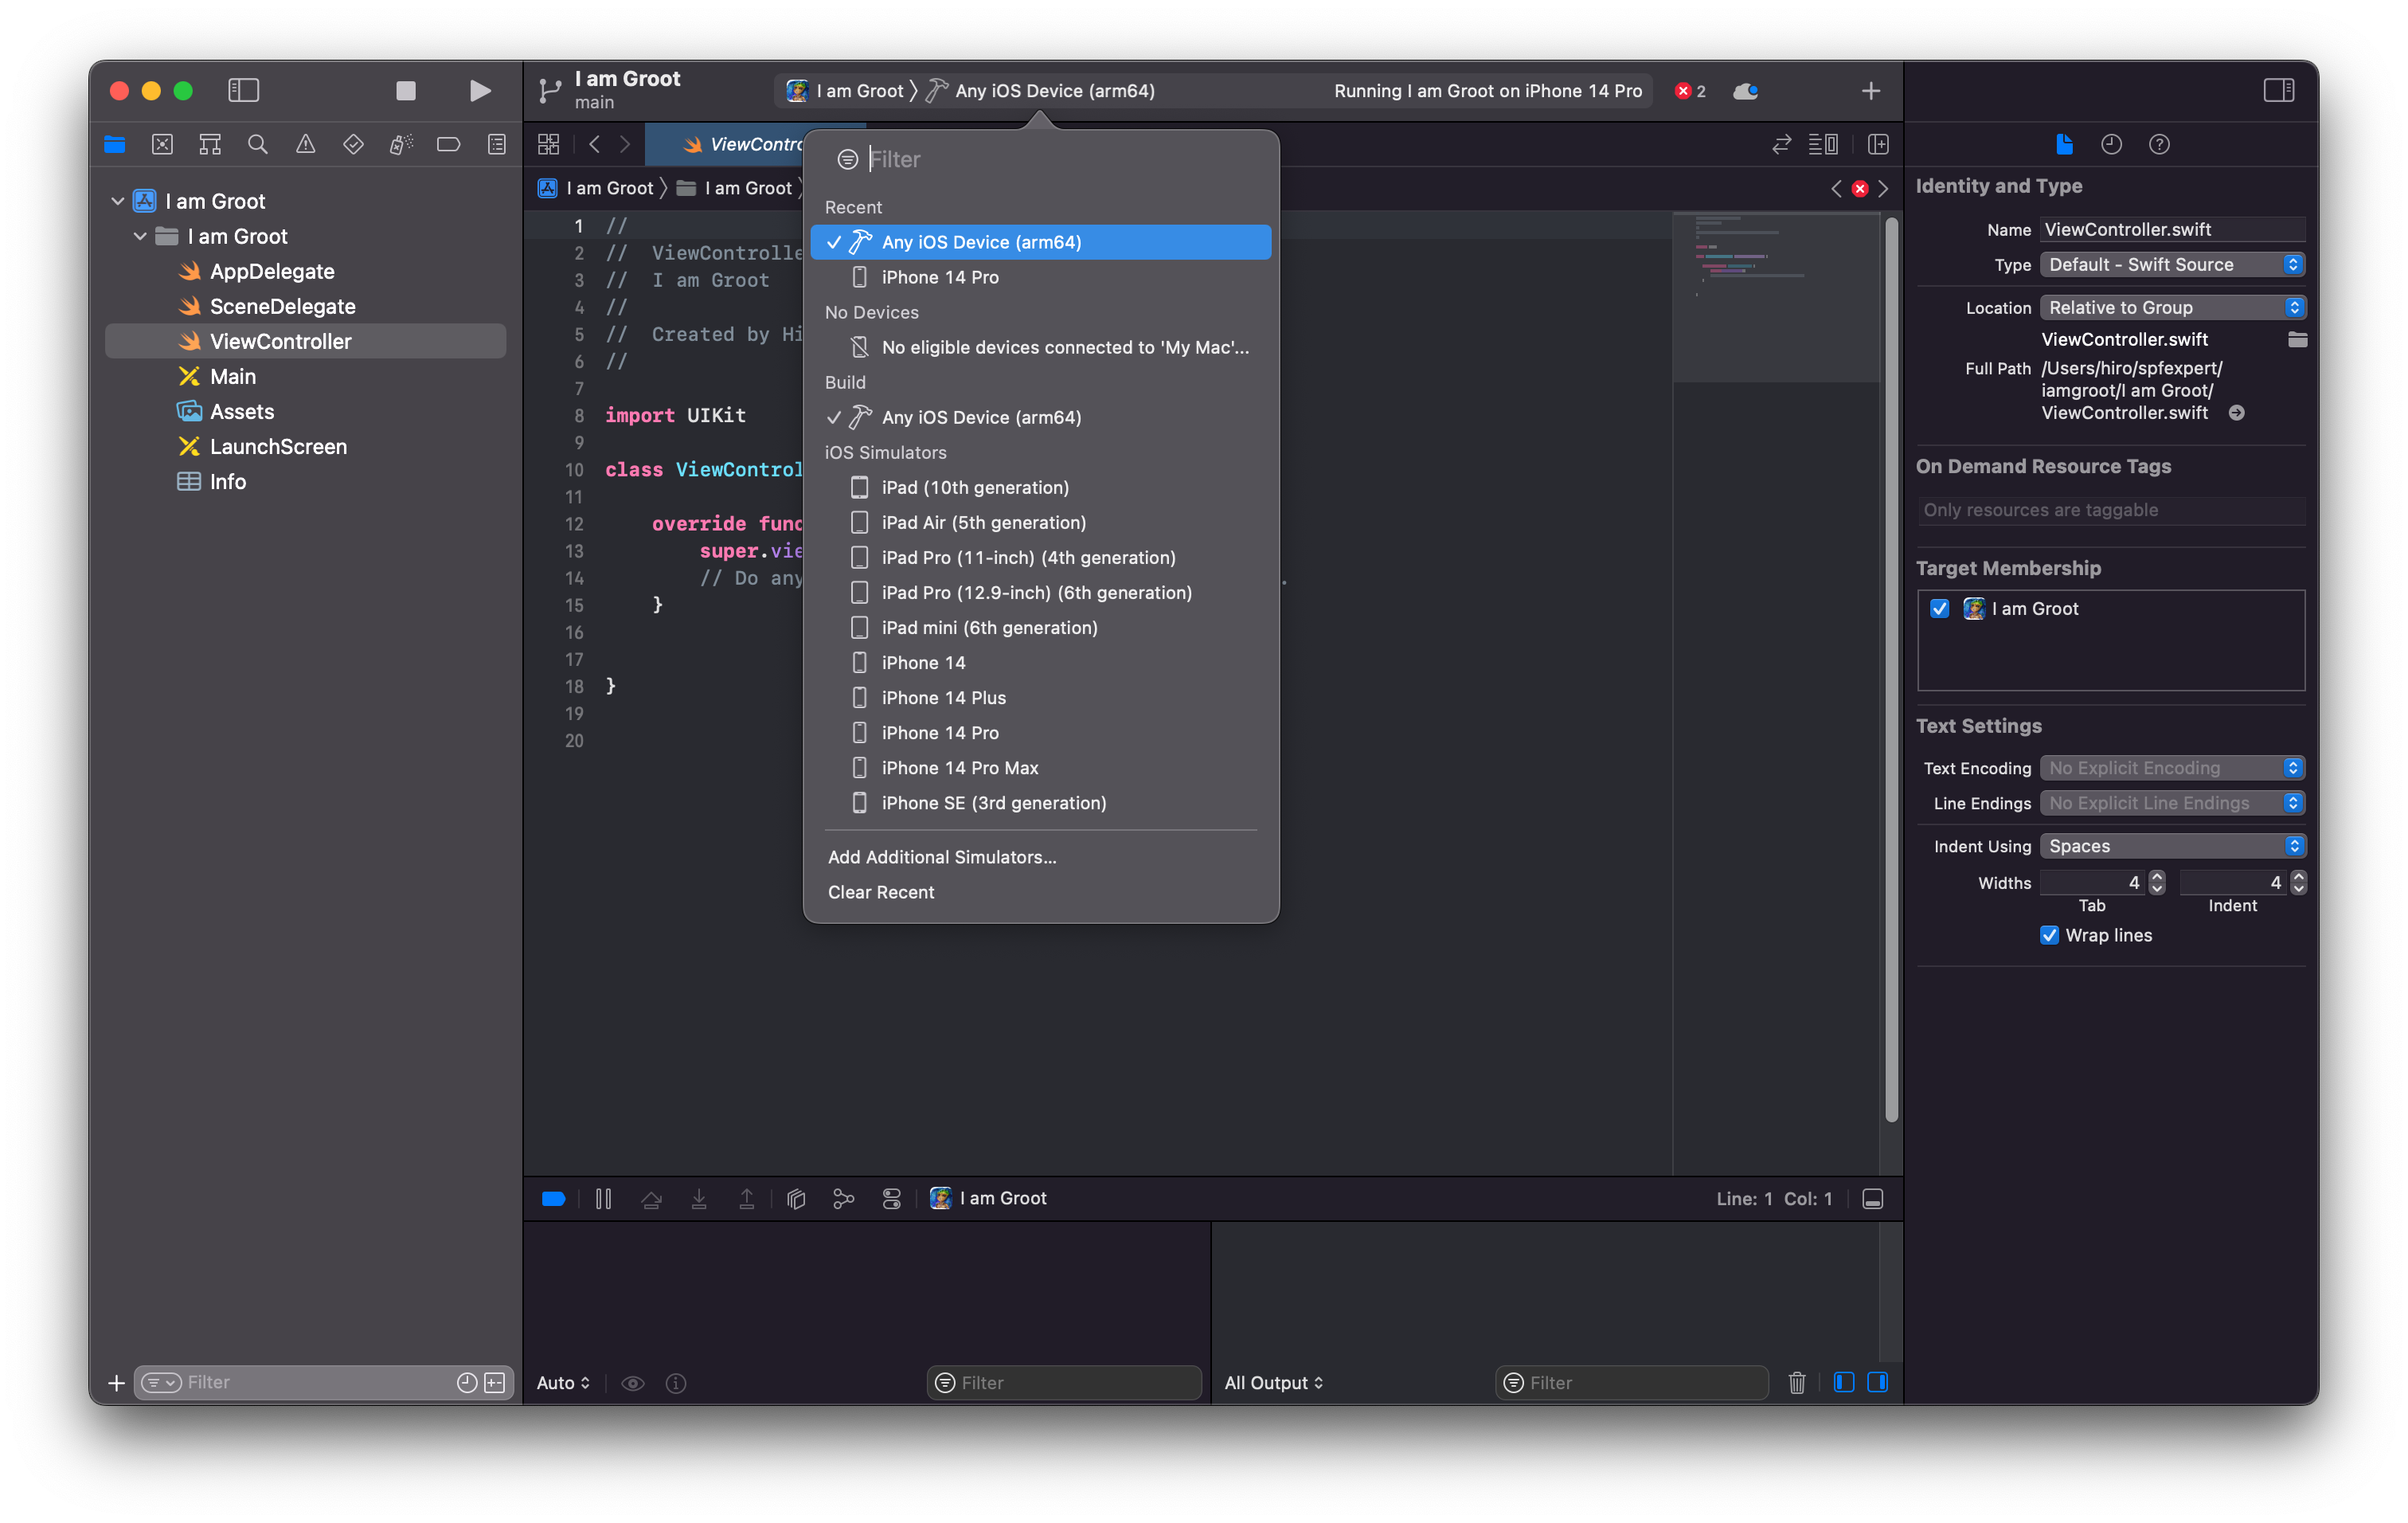
Change destination to any iOS device
We need to now change the destination device from an iOS Simulator to “Any iOS Device” under the Build section. Like before, you can do this via Xcode menus Product -> Destination or click on the current destination in the Status Bar (likely iPhone 14 Pro) and check it to “Any iOS Device”.
Build archive
From here, you simply choose Product -> Archive. This will check off the archive process and will quickly fail. :-) There will be a red X in the Status Bar which you can click on to then see the specific errors:
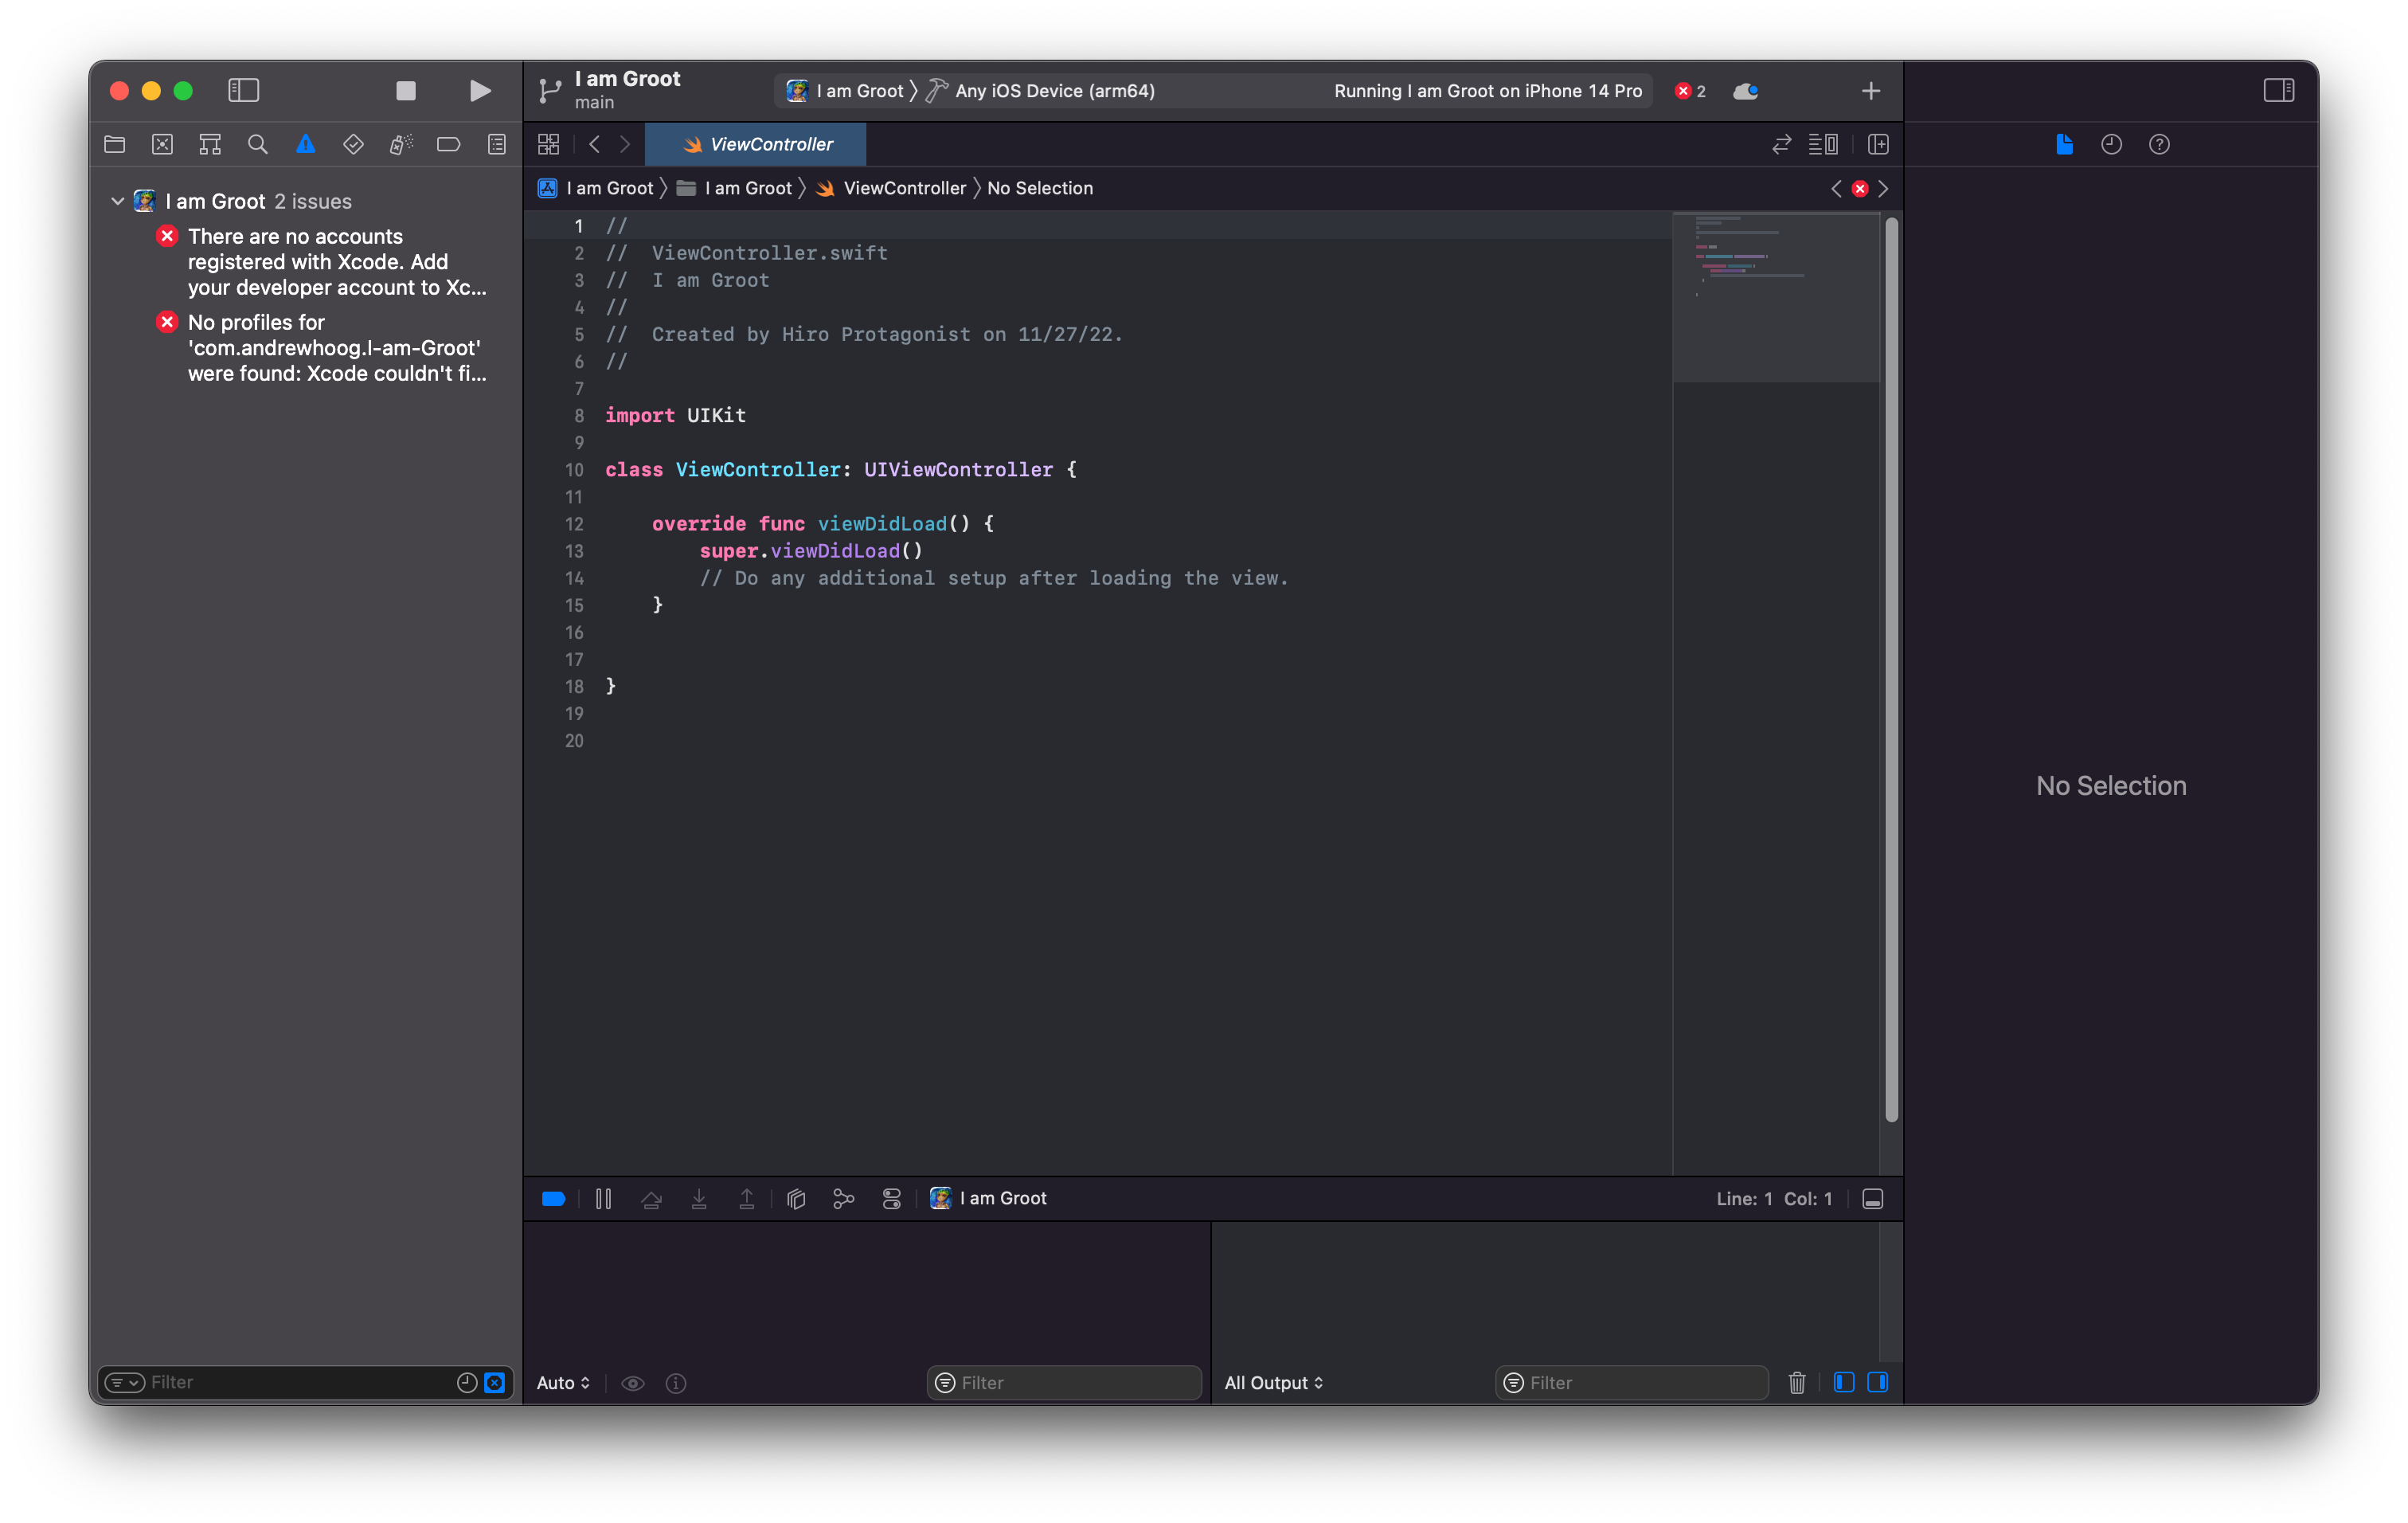 The full errors are:
No developer account registered
There are no accounts registered with Xcode. Add your developer account to Xcode
No provisioning profile found
No profiles for 'com.andrewhoog.I-am-Groot' were found: Xcode couldn't find any iOS App Development provisioning profiles matching 'com.andrewhoog.I-am-Groot'.
Basically, for Apple, you need to have a developer account registered with Xcode and then a specific provision profile for each app. These profiles can be created automatically by Xcode or developers and manually edit a .plist file.
To fix this issue, you need to create an Apple Developer account (which can now be free or paid) and then add that account to Xcode. For details on how to create an Apple Developer account, please see my “3 ways to install Xcode on macOS” tutorial.
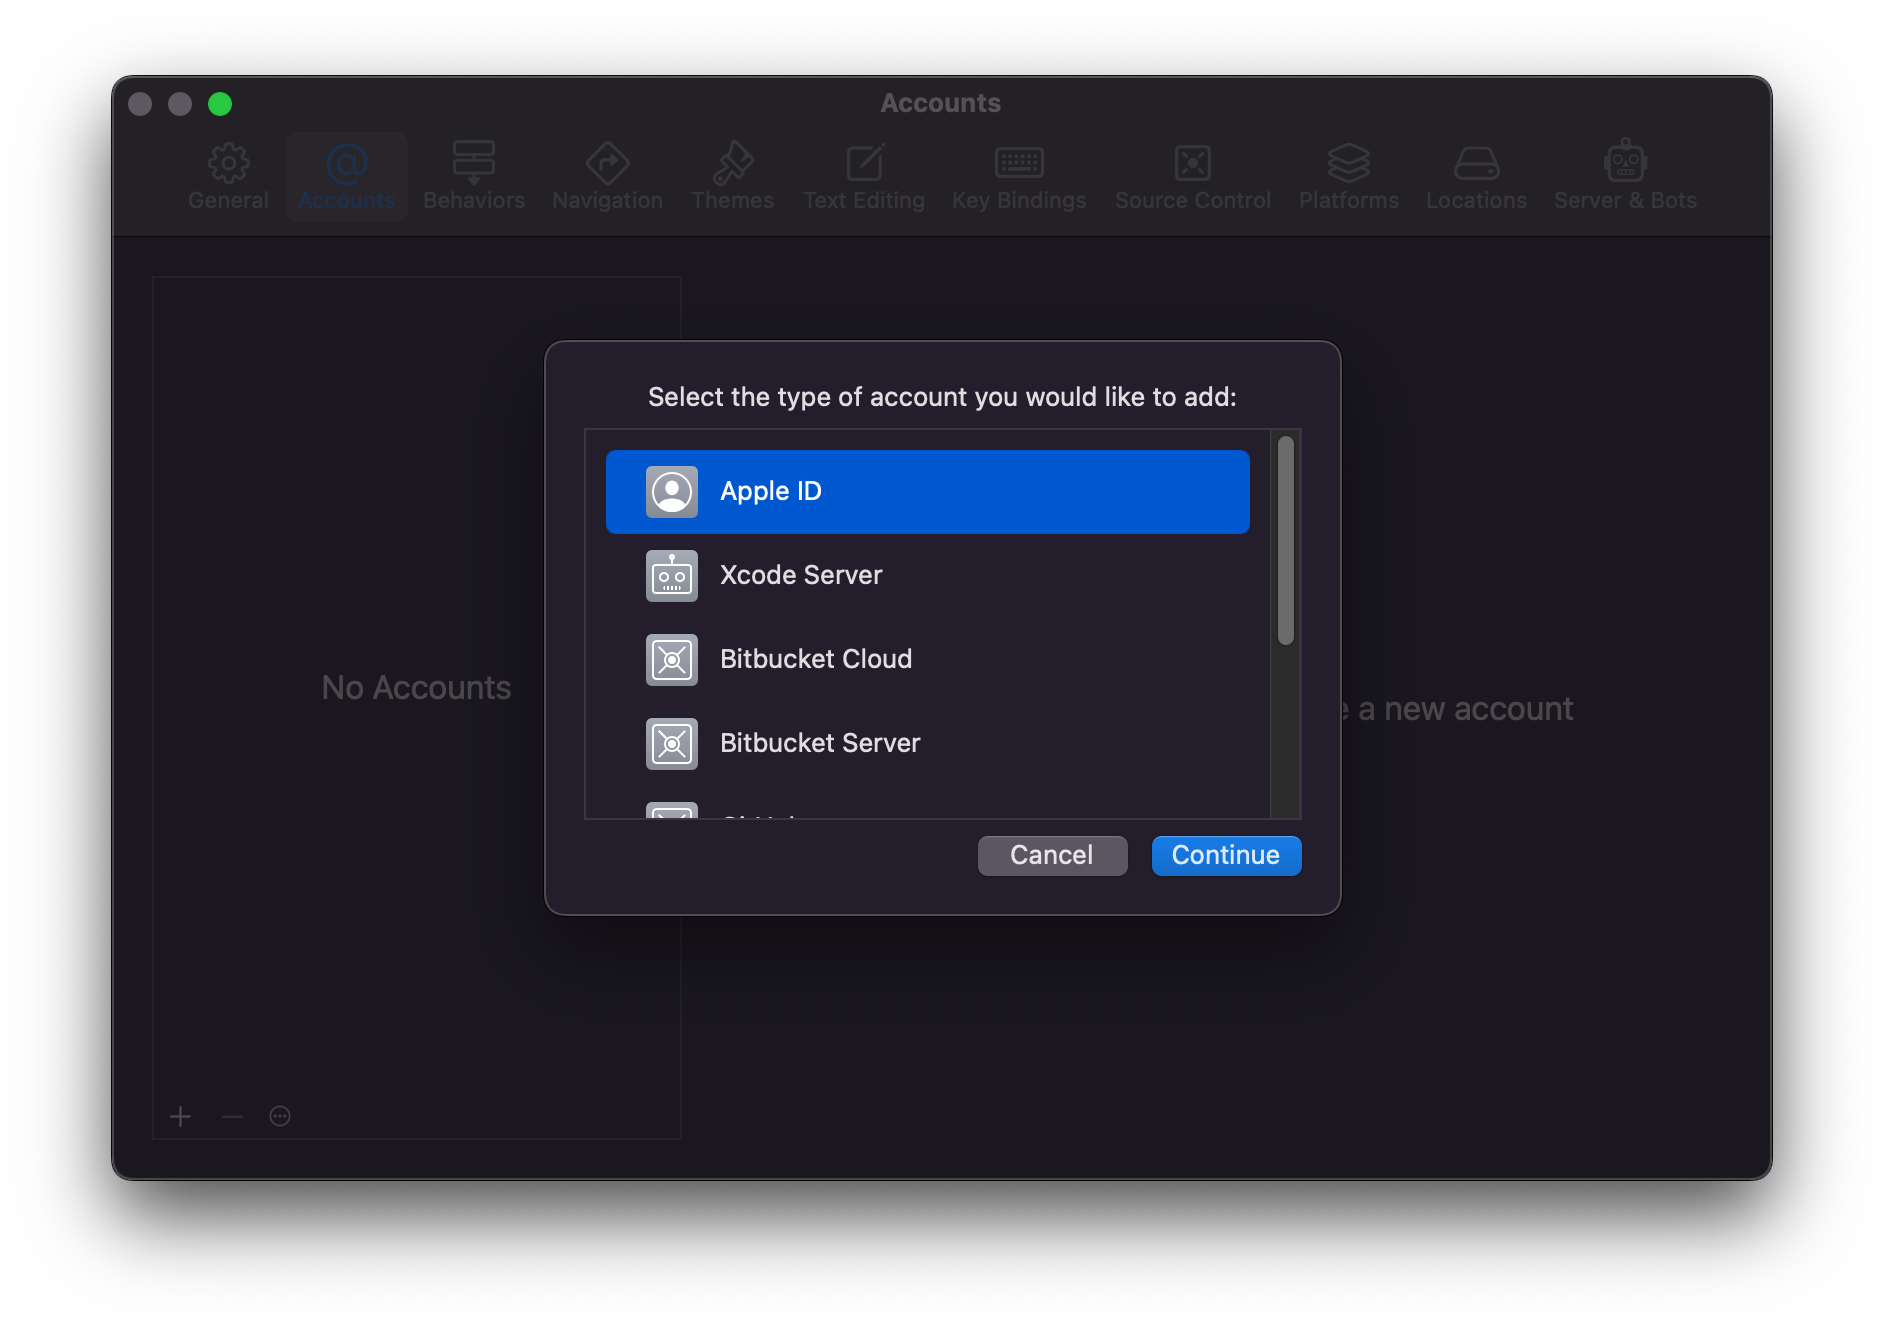
To add your developer account, use the Xcode -> Preferences menu (⌘+,) and select Accounts. Then click the + button, select Apple ID and log in with your Apple Developer account.
 Then we’ll navigate back to the “Signing and Capabilities” tab by choosing your project from the Navigation pane and then “Signing and Capabilities”. Apple Developer documentation has a nice step through in their “Assign a project to a team” article if you have any issues access this tab.
Click the Team dropdown and select your Personal Team:
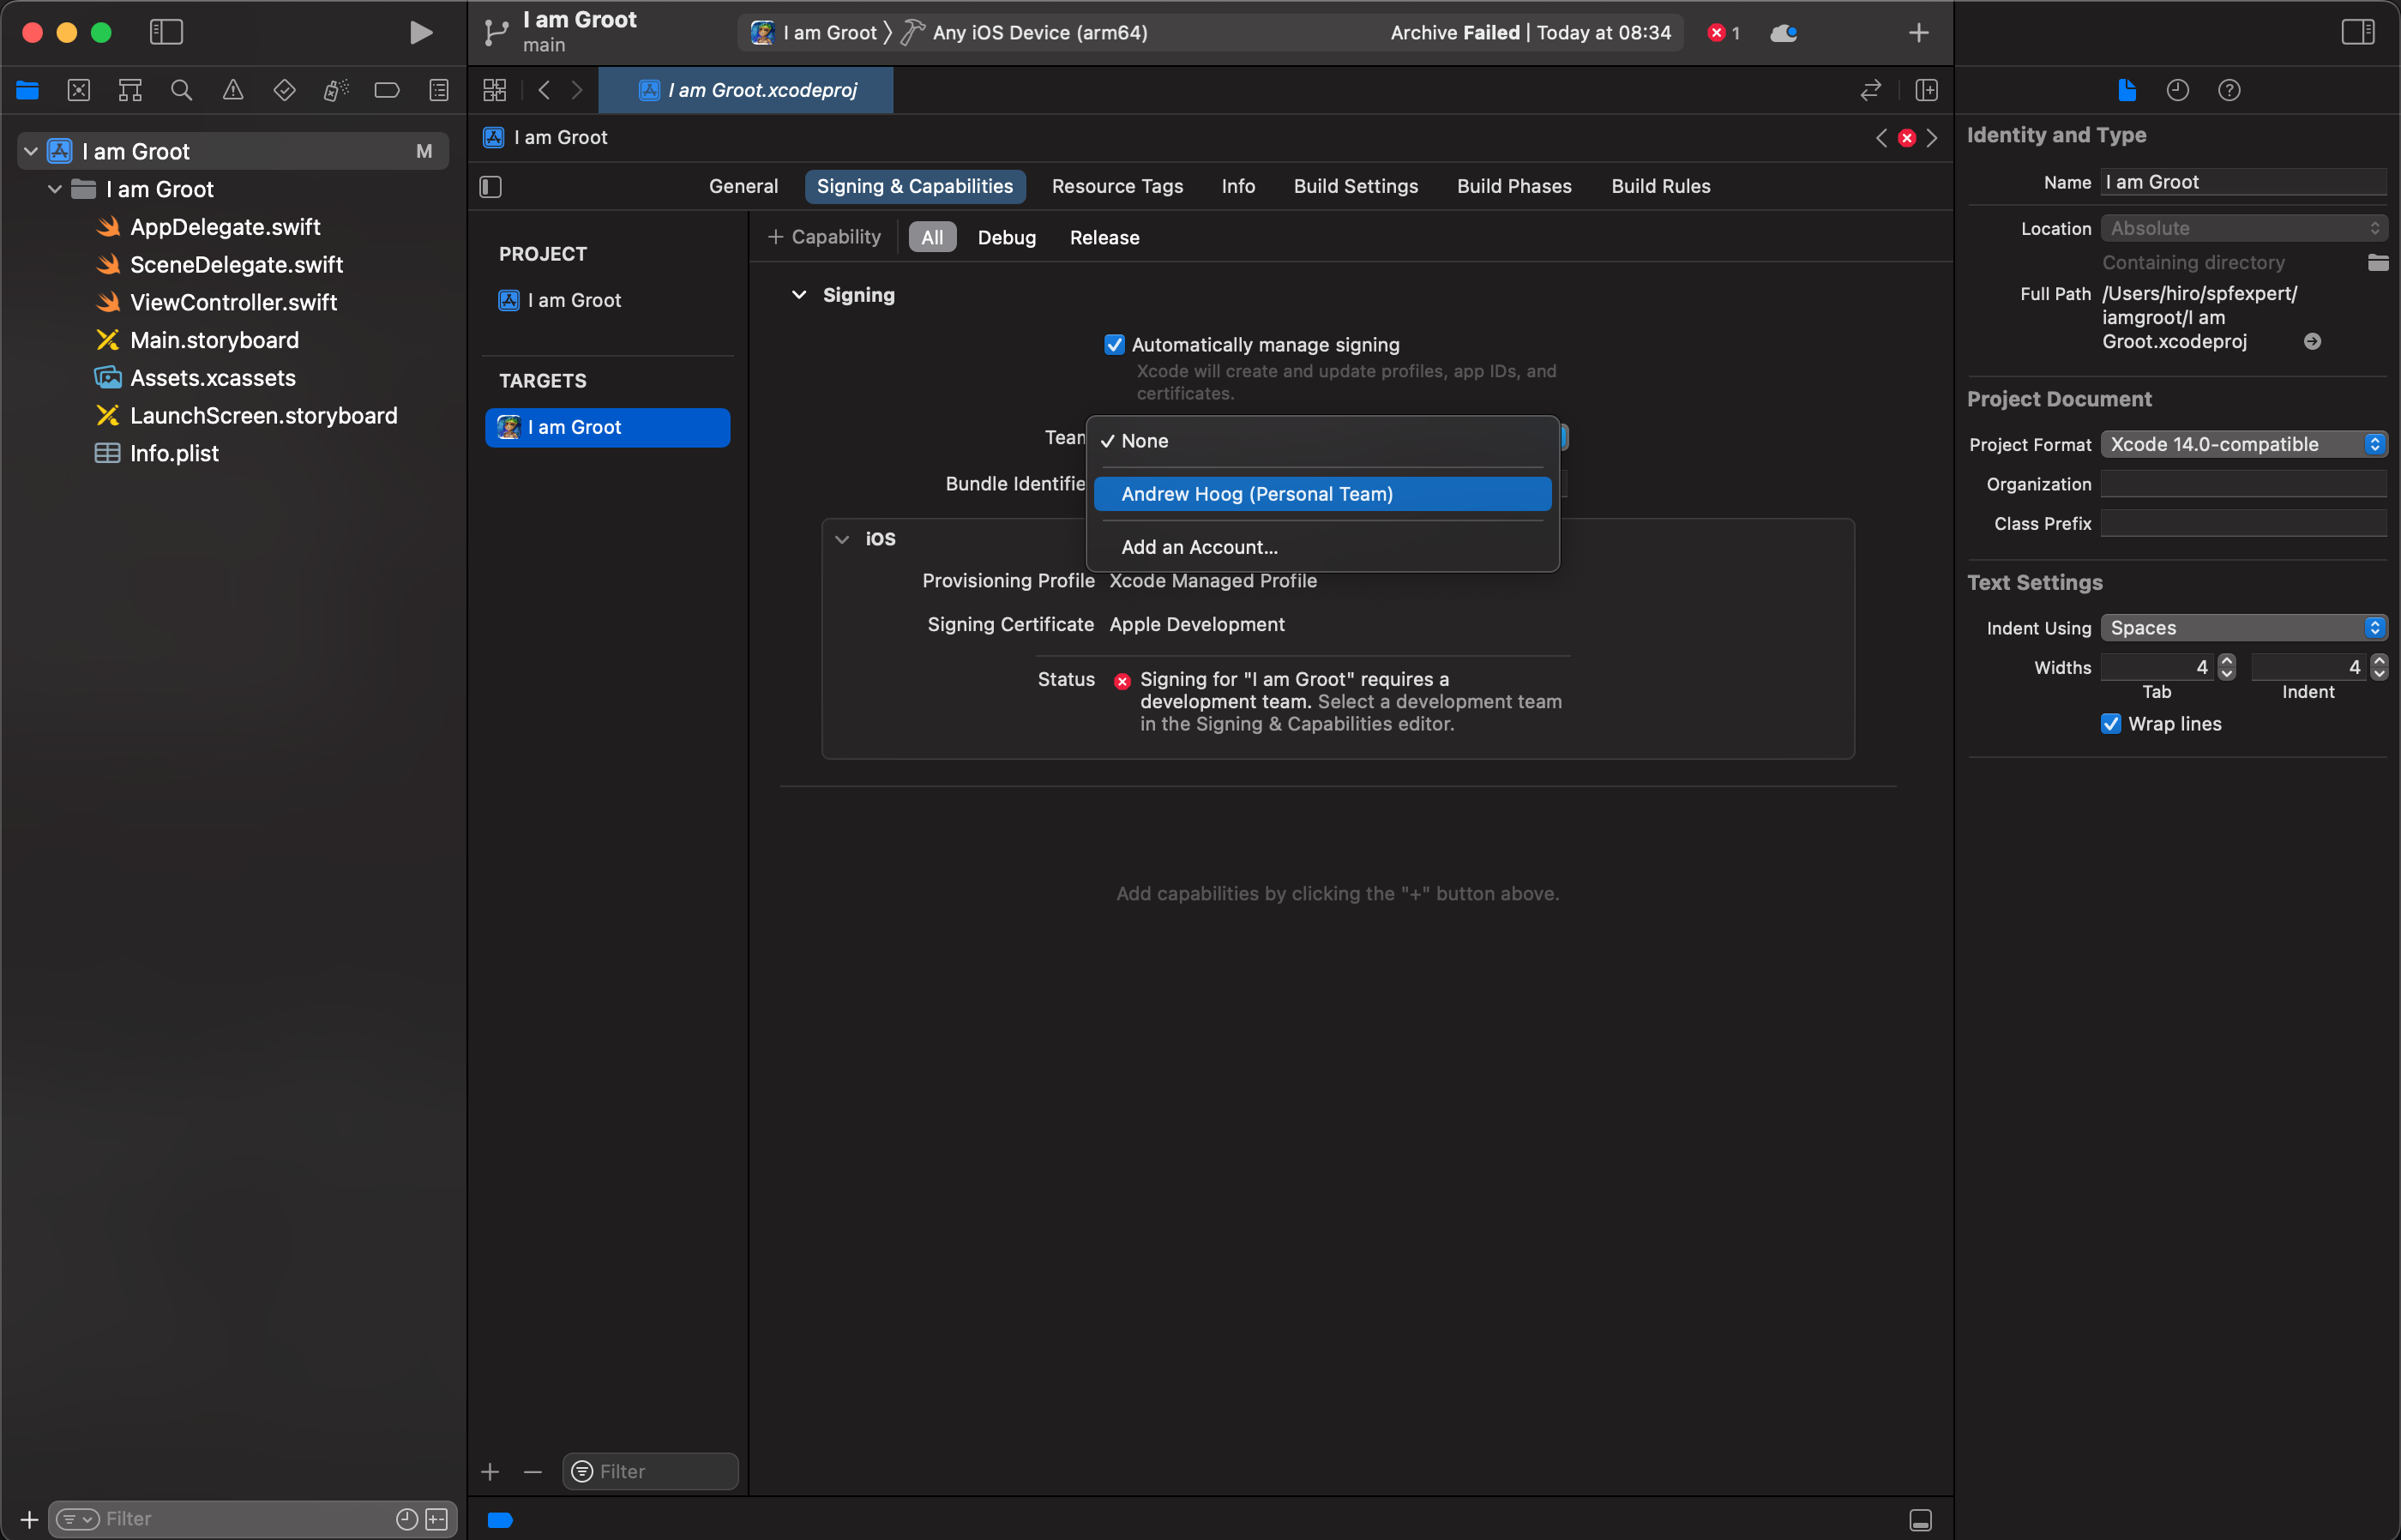
Make sure “Automatically managing signing” to check for now. This will automatically creating the provisioning profile (which we can use later when building apps from the command line).
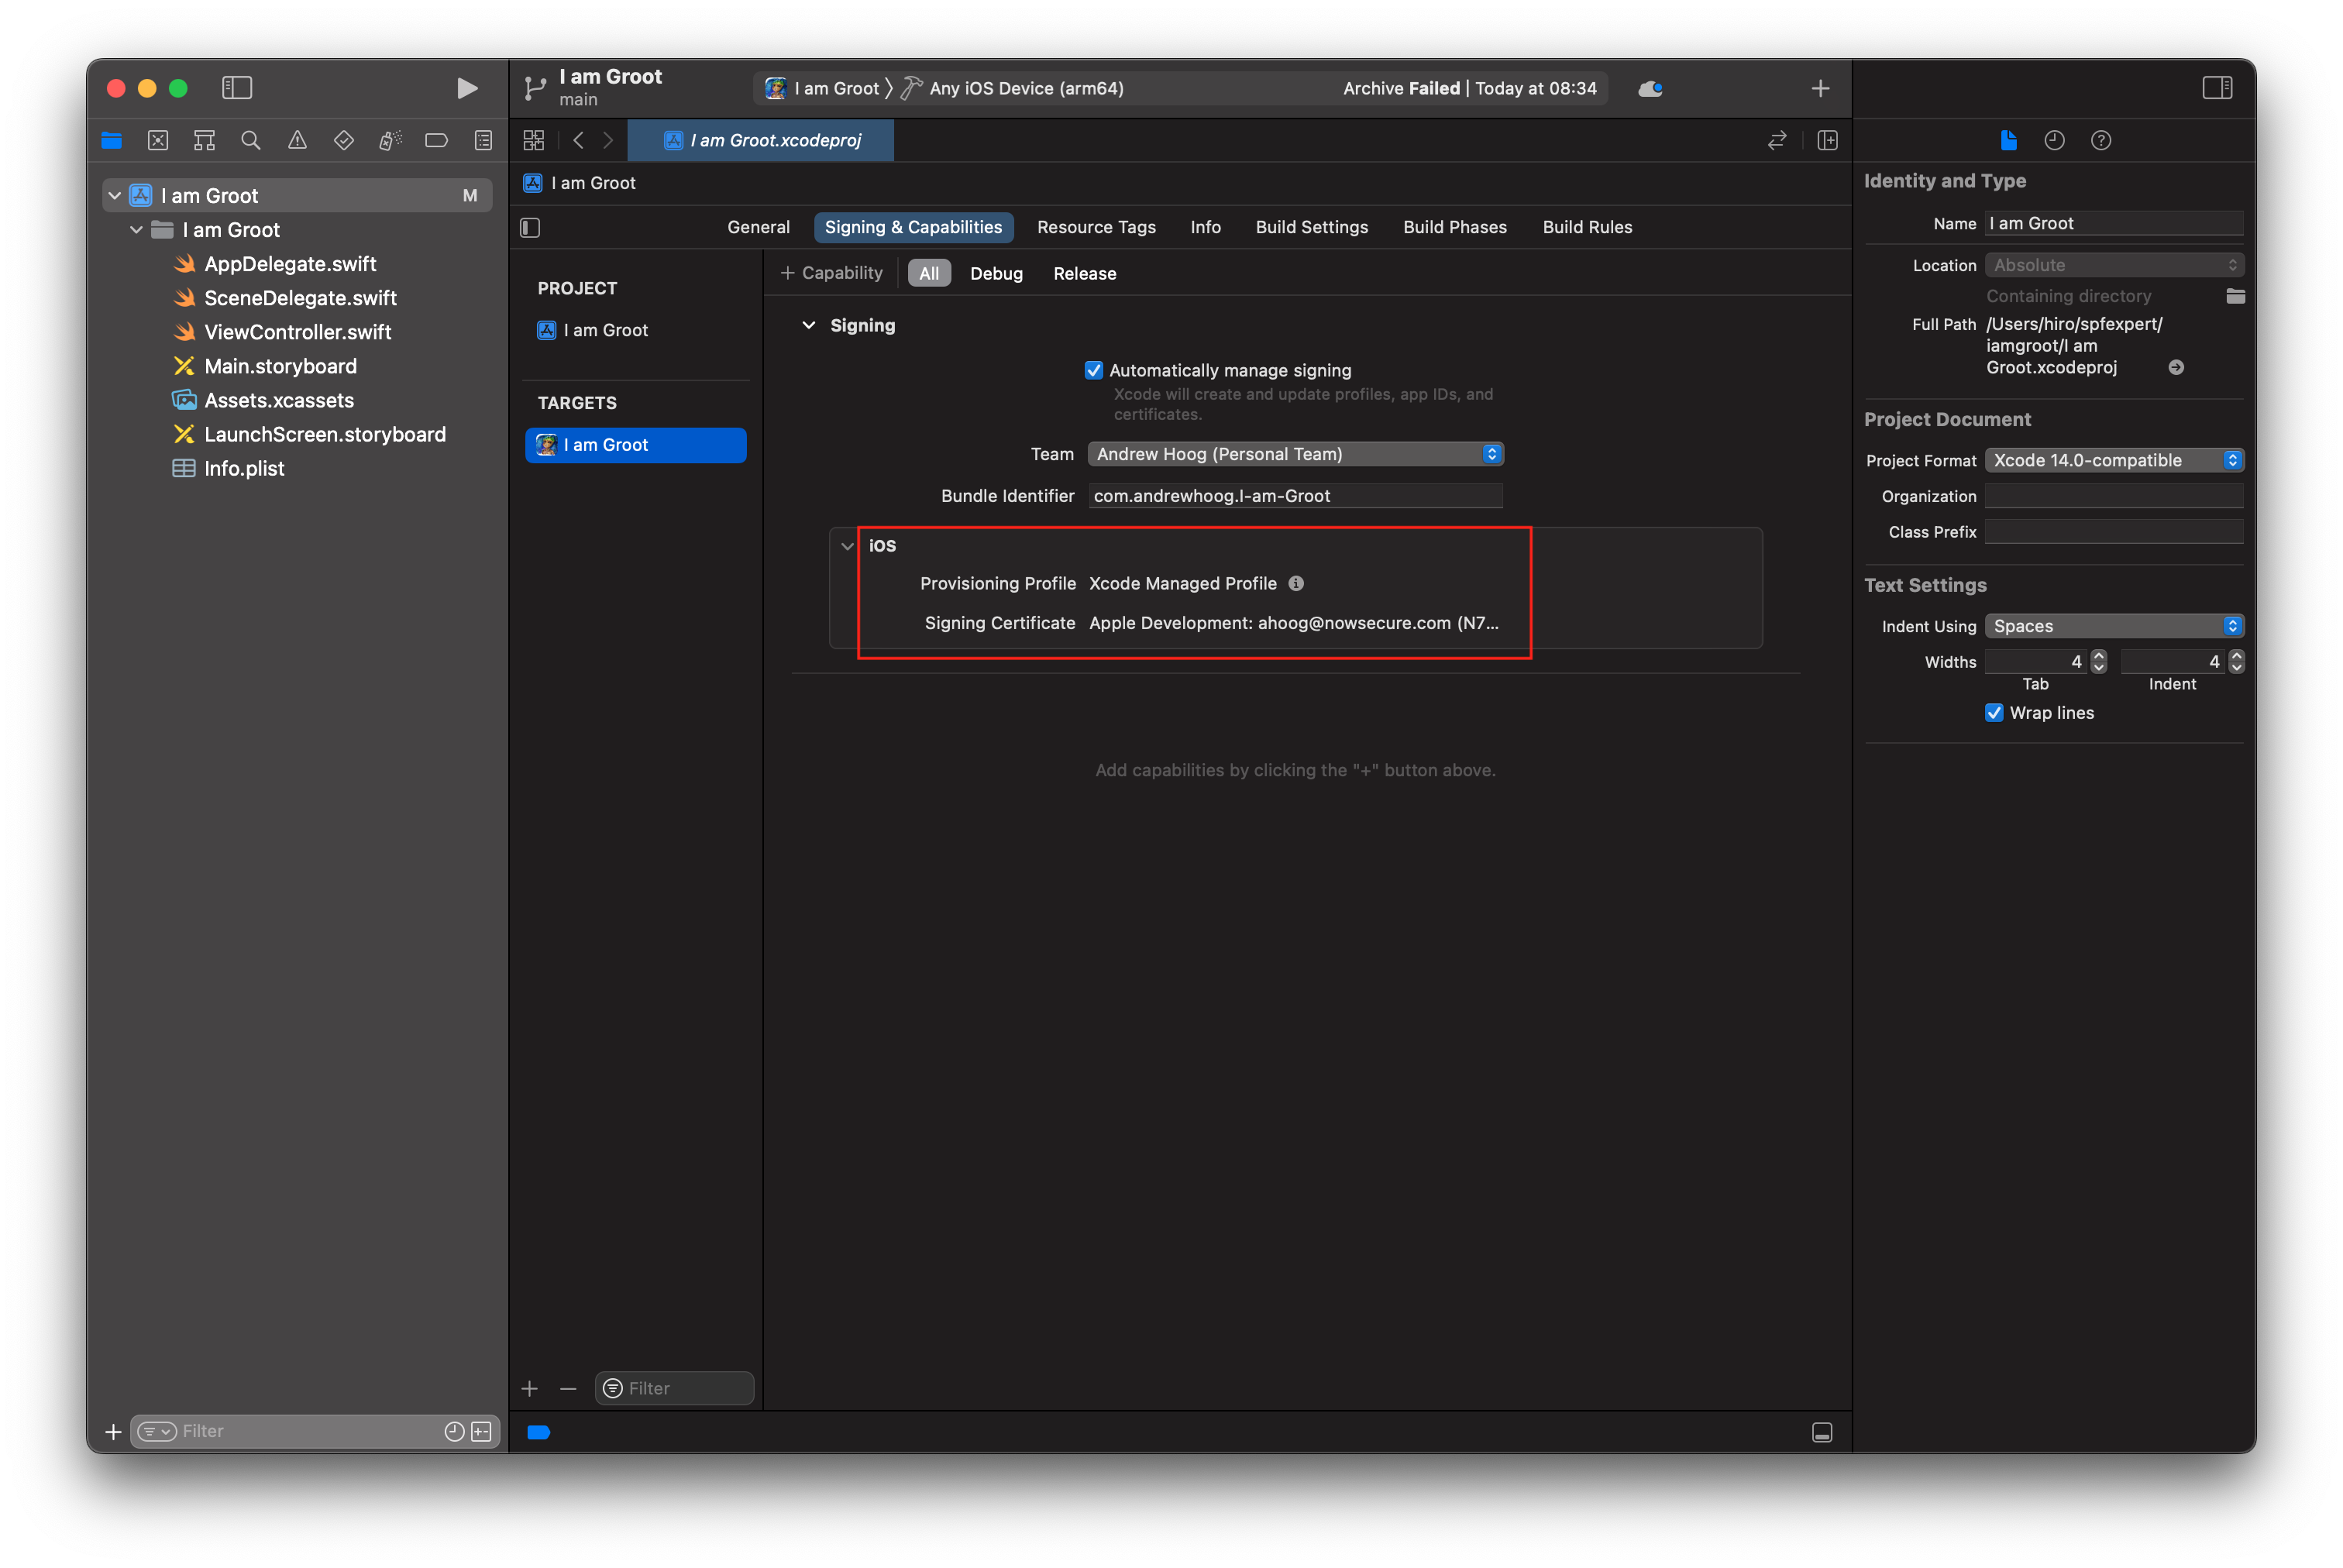
Xcode should automatically process the change and then the signing section should show that a valid certificate is configured.
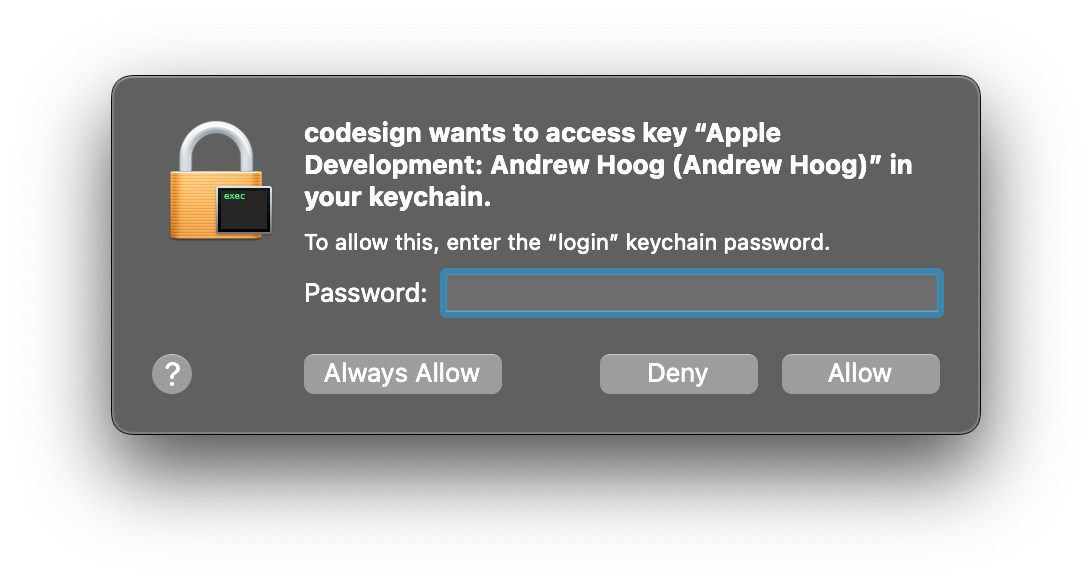
 Now go ahead an kick off the Archive process again which should prompt you to type in your password to authorize codesign to access the signing certificate in your keychain:
 Just type in your system password and then Xcode will complete the build, export the archive, along with debug info and then open the Organizer window:
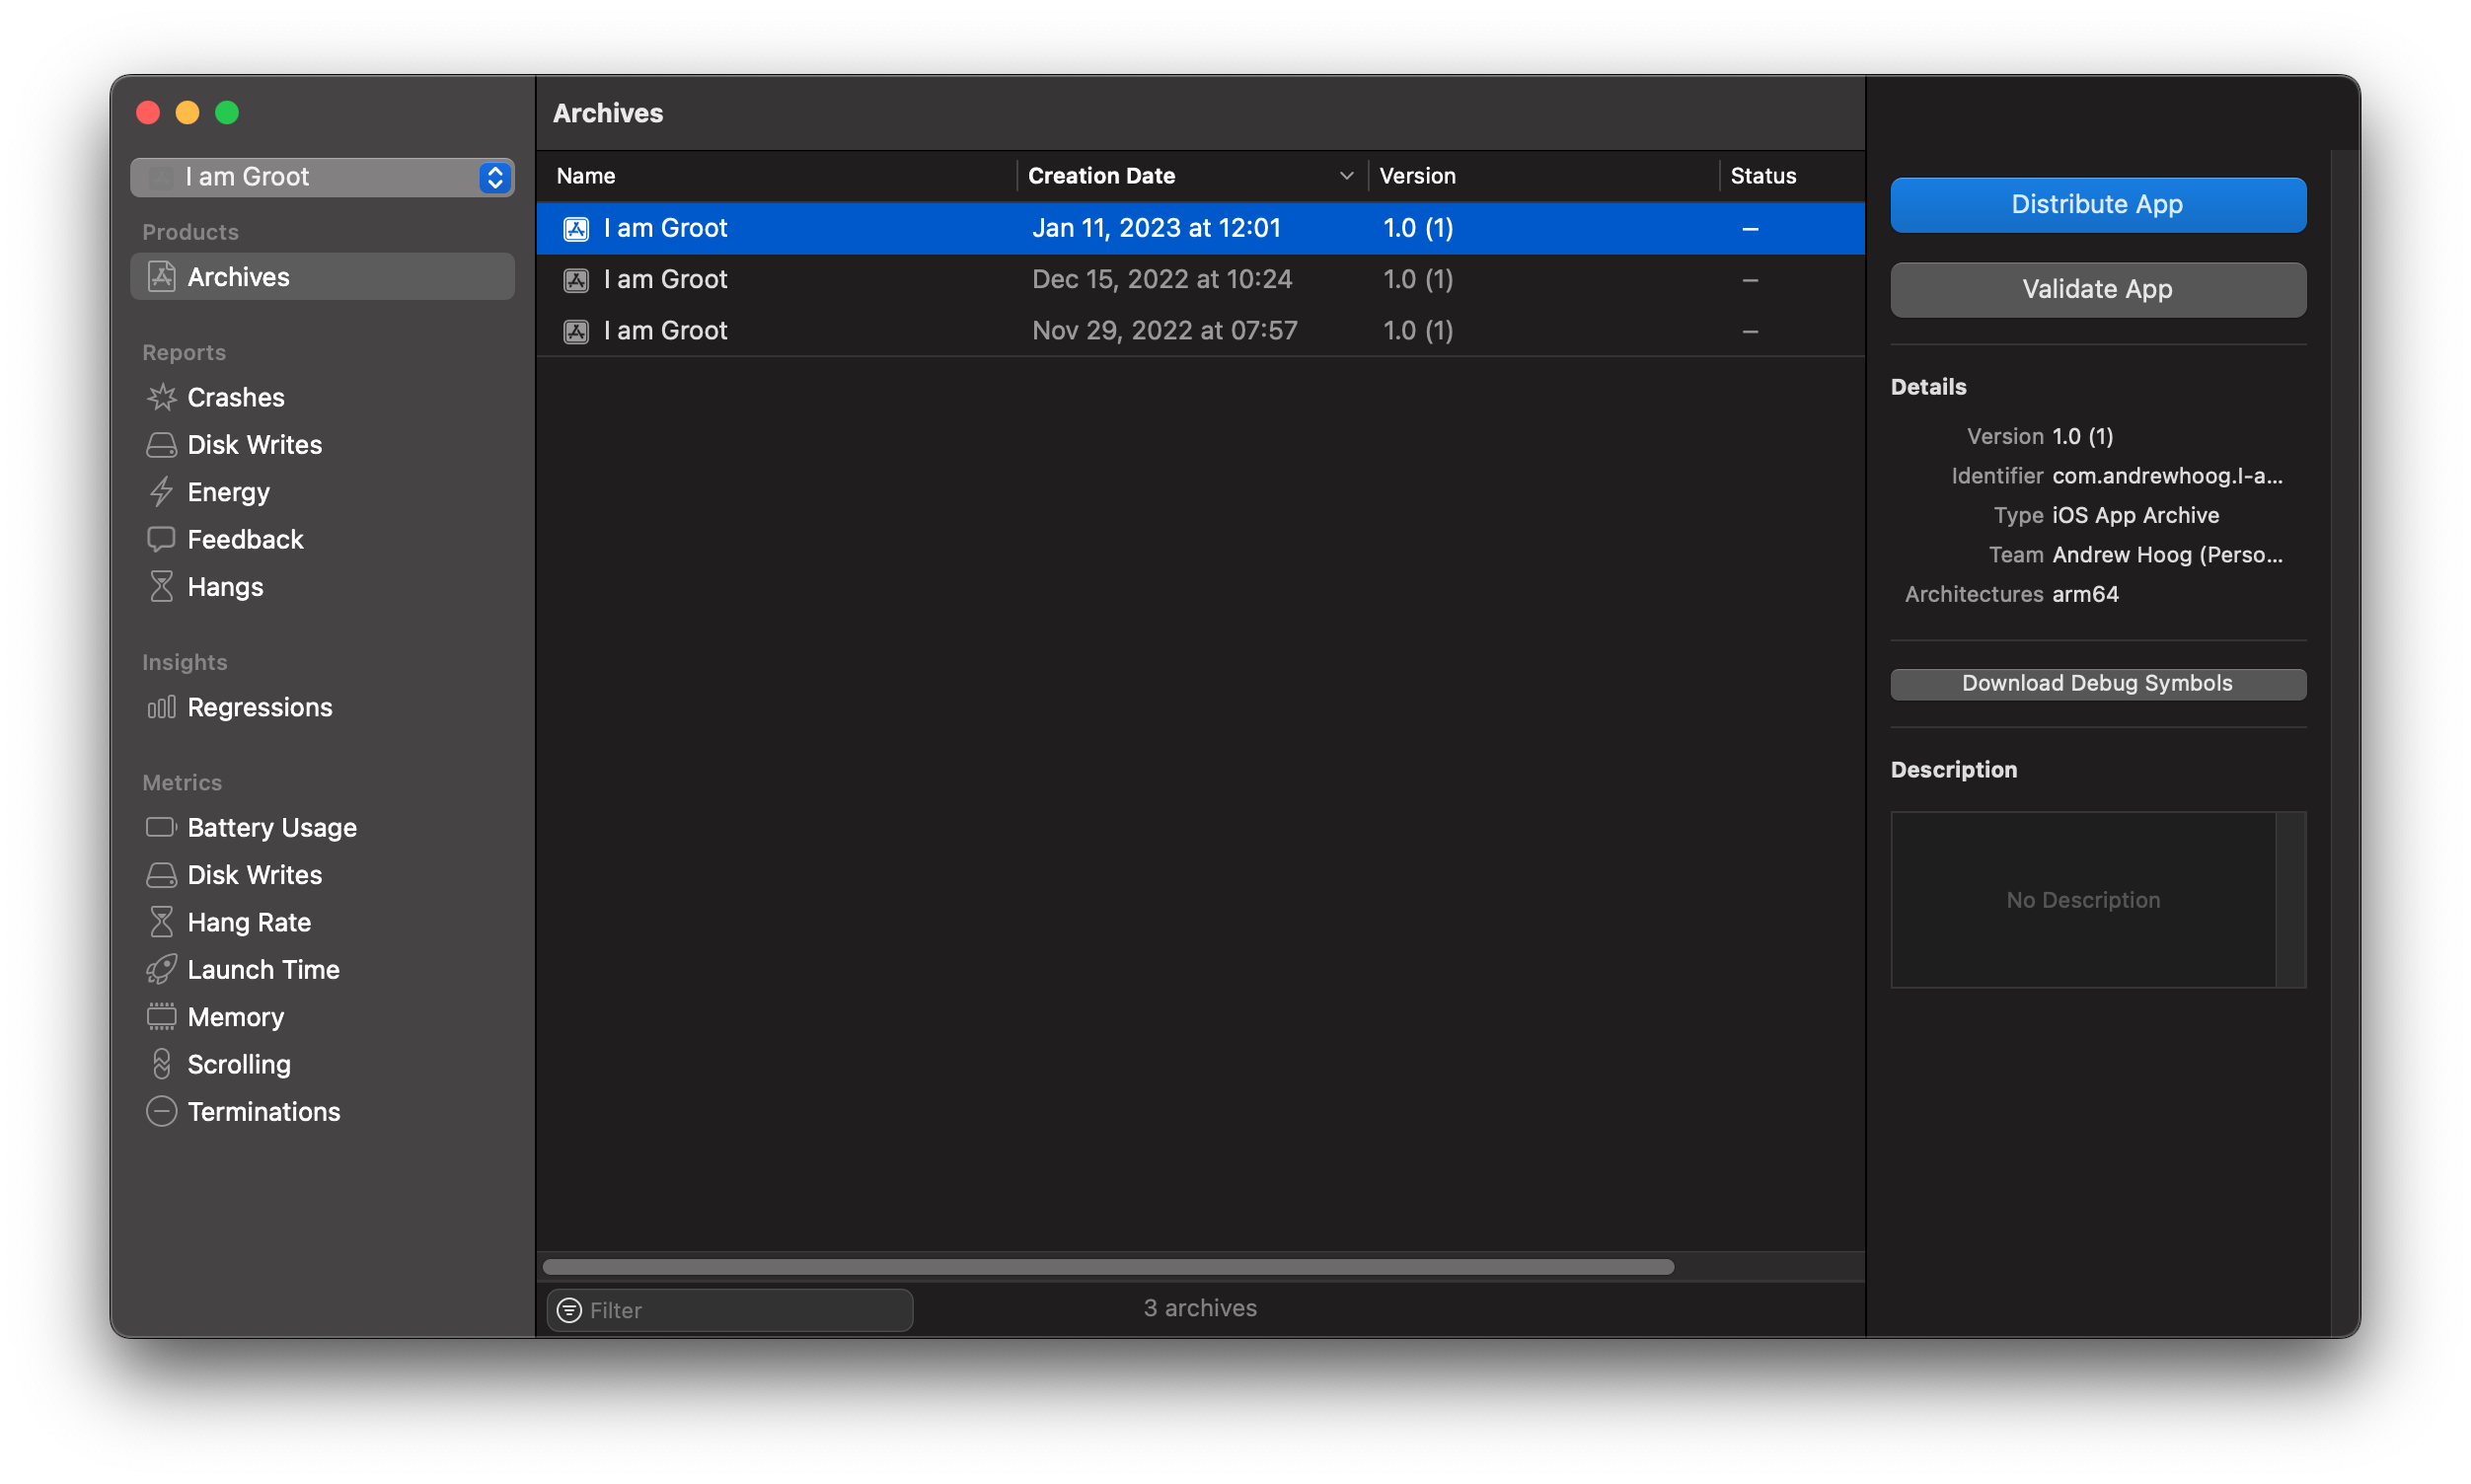
5. Distribute app via Ad Hoc method
From here, you only have a few steps left to create an .ipa file you can distribute via the Ad Hoc method.
Select Distribute App
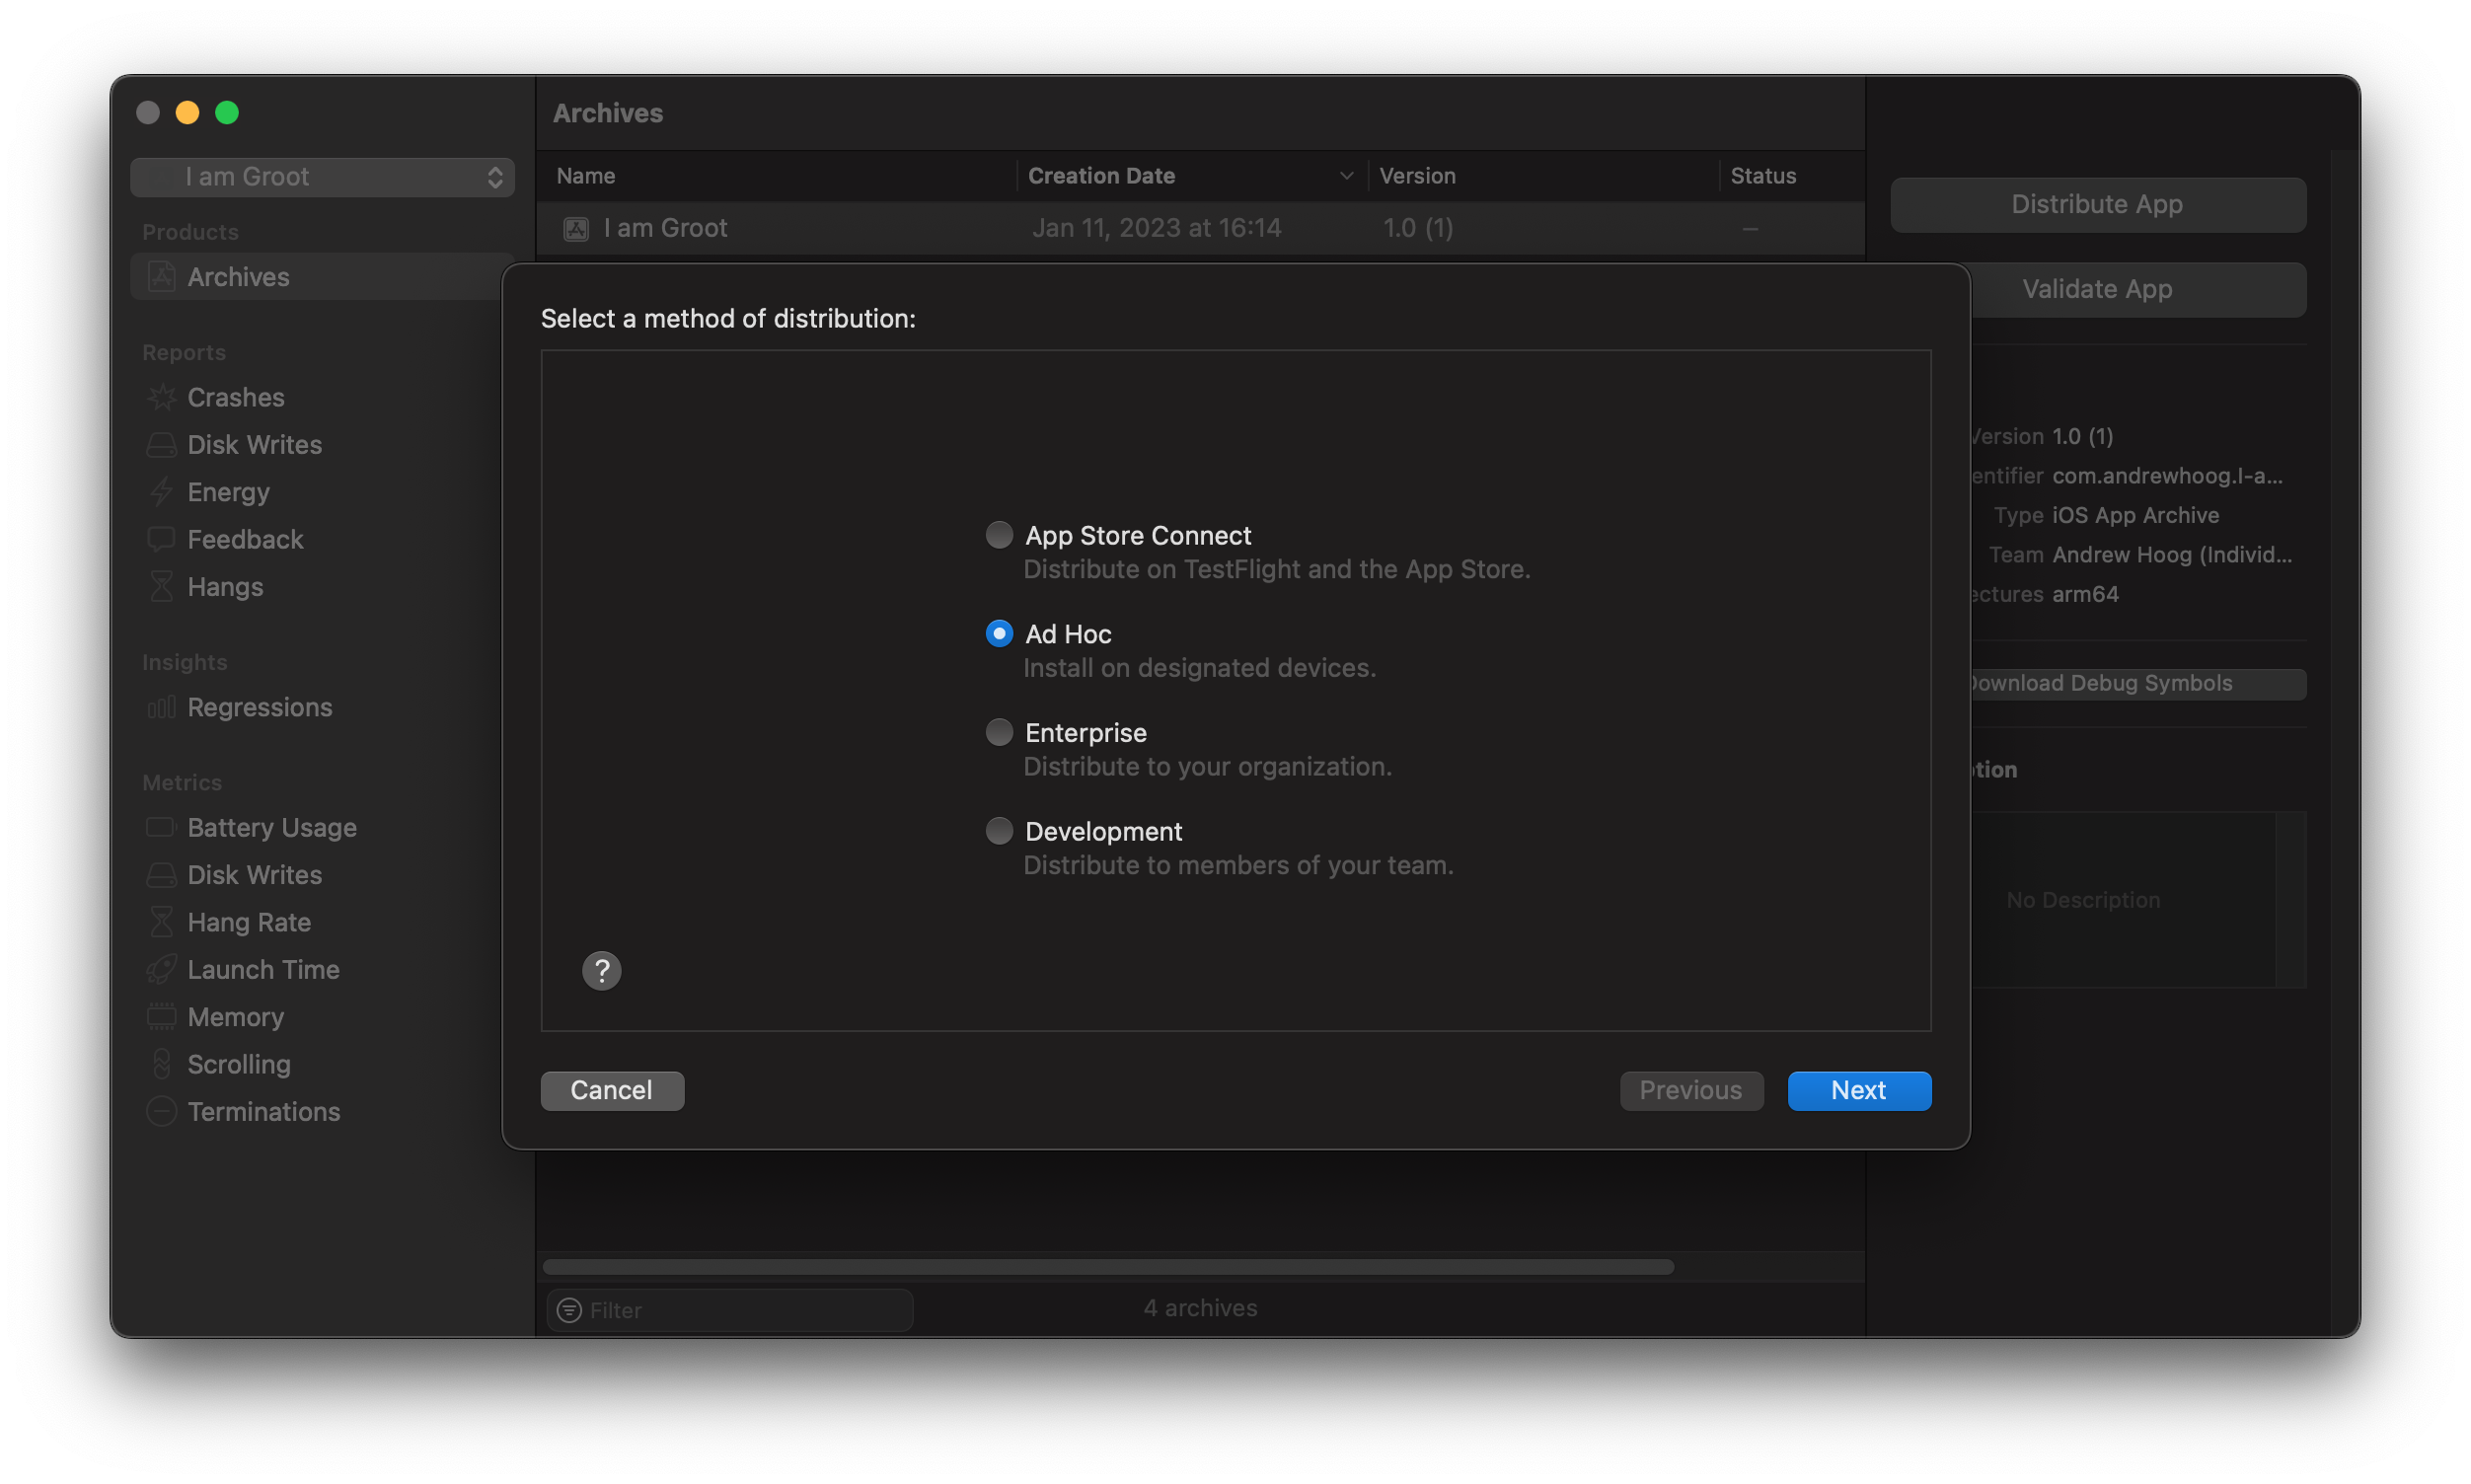 If you receive an error stating your team is not enrolled in the Apple Developer Program, you will not be able to proceed with the Ad Hoc distribution method via Xcode (see note at top of this blog).
Select “Ad Hoc” and press Next.
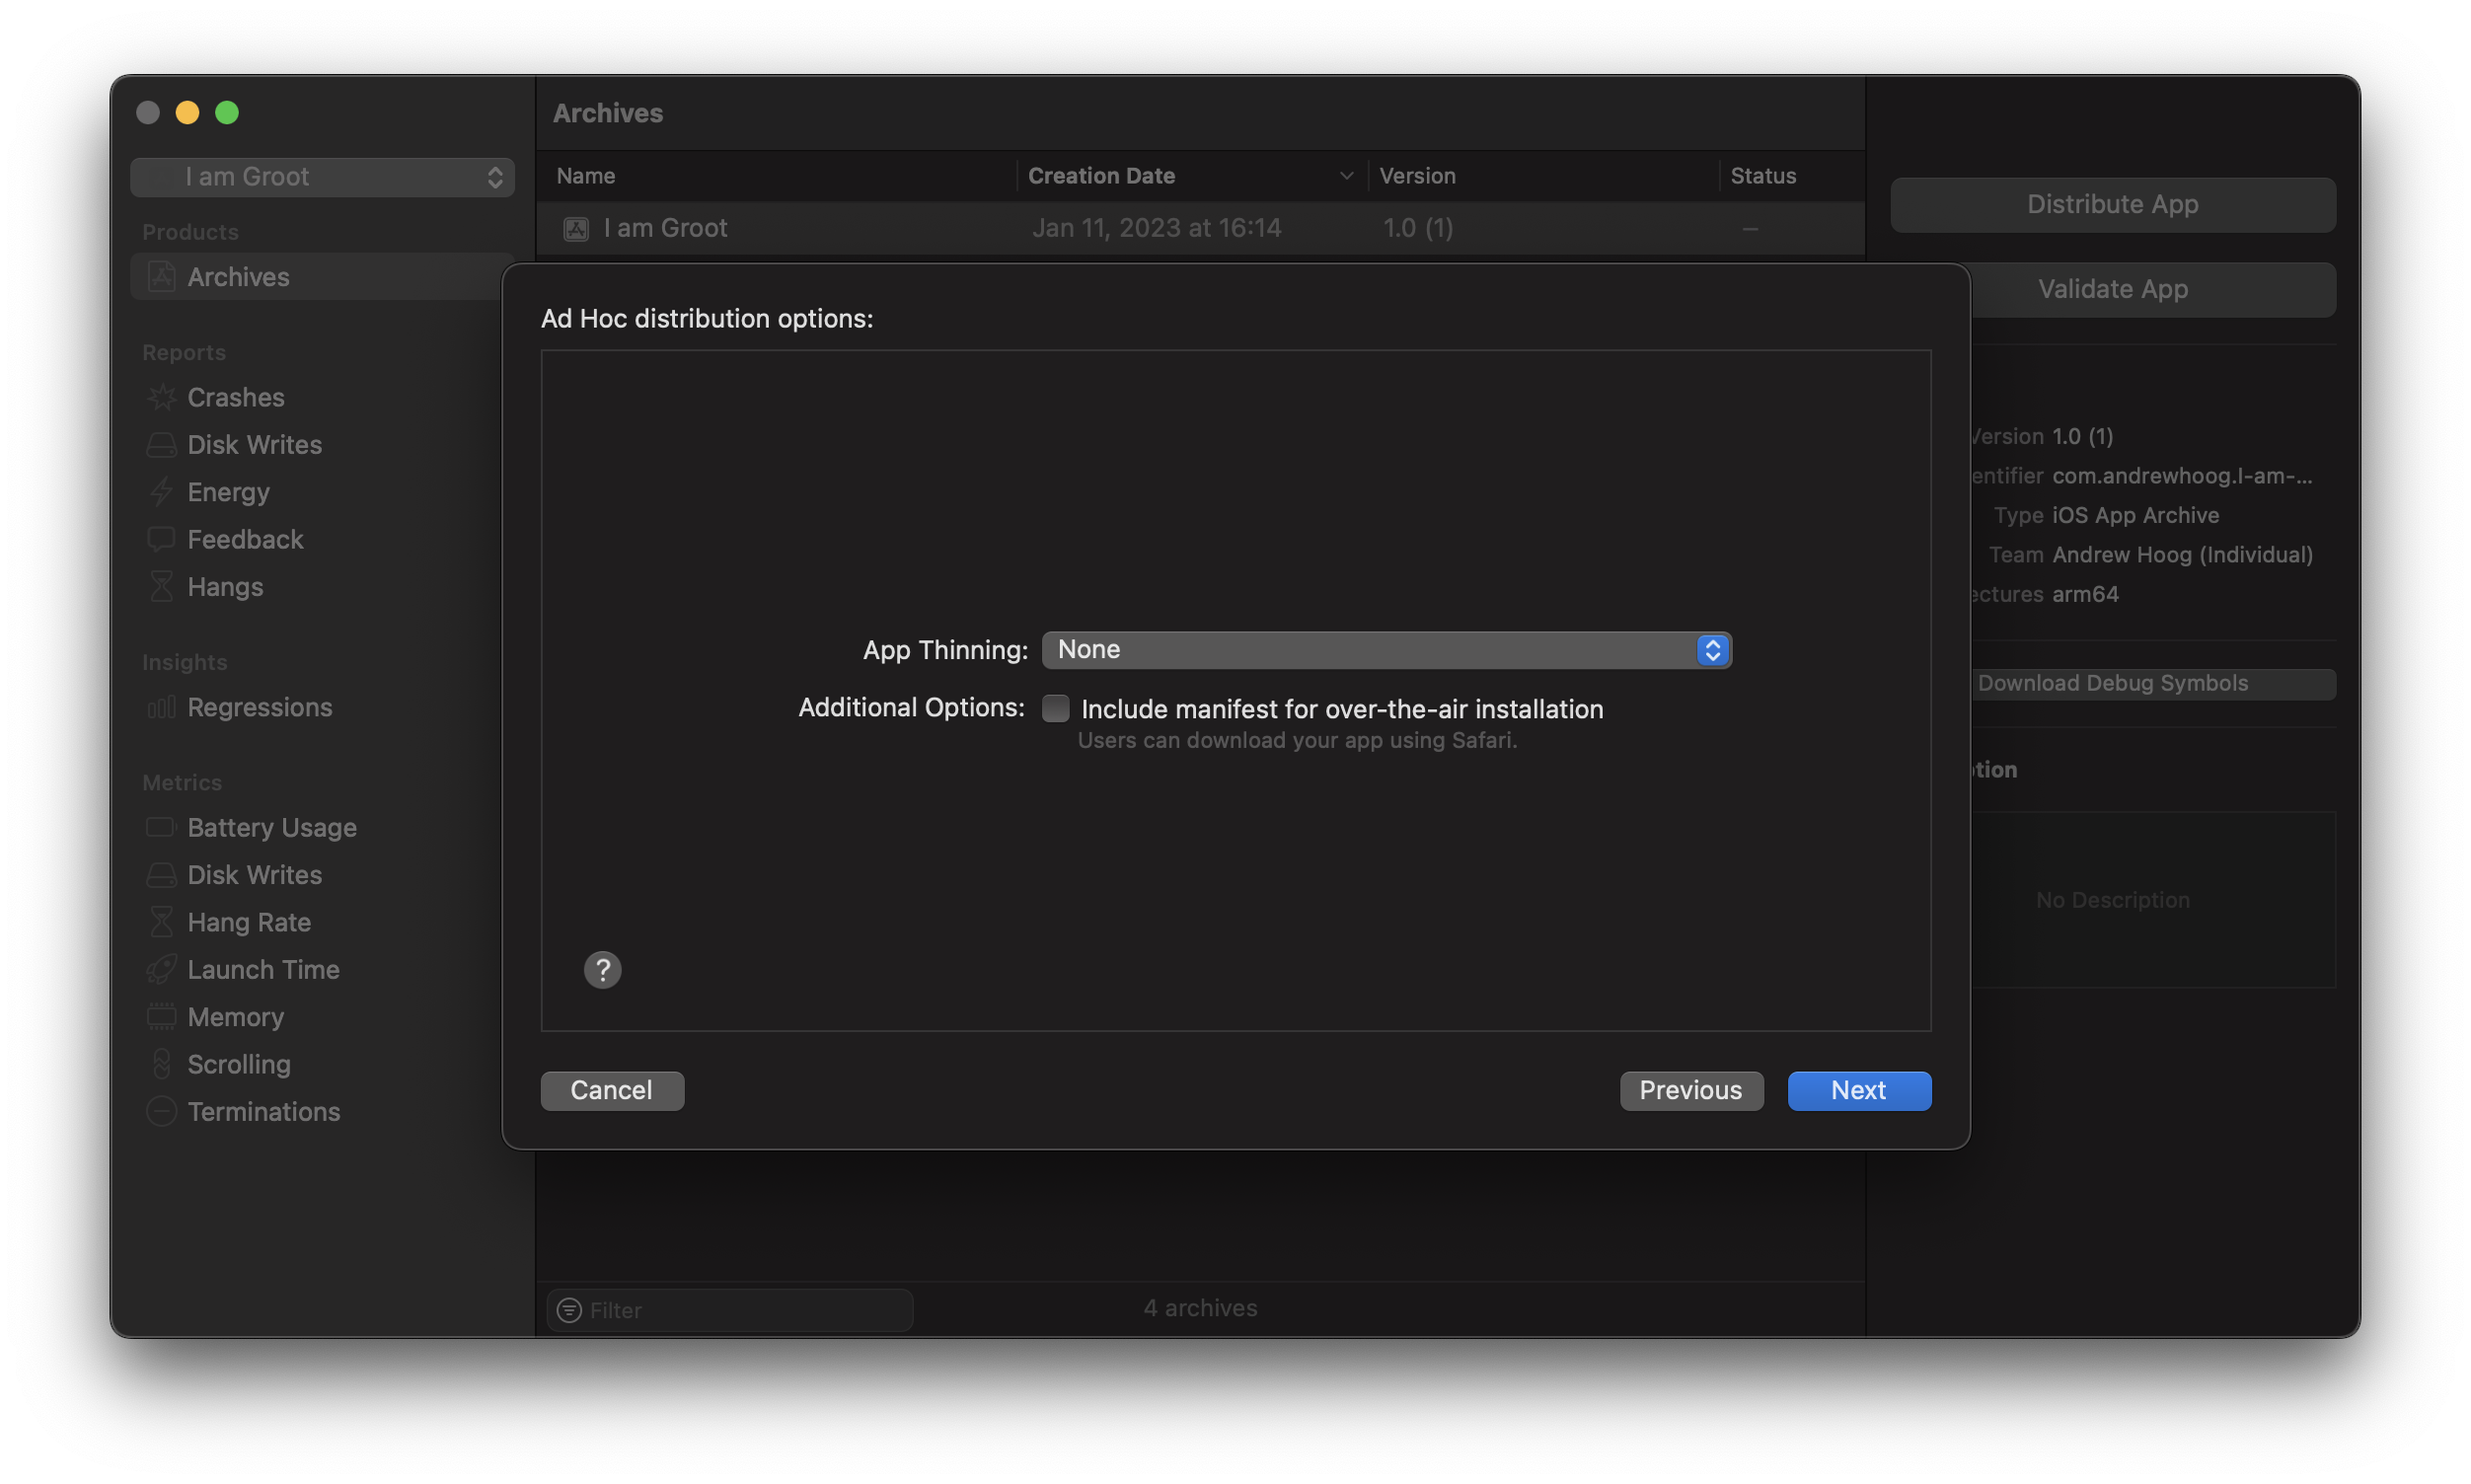
Select App Thinning option
App thinning is the process of creating distinct variants of an app targeting specific device types. This allow the App Store to deliver smaller binaries for specific devices. For the purposes of testing, you might not know the exact test devices so just select None which will create a larger, universal app package.
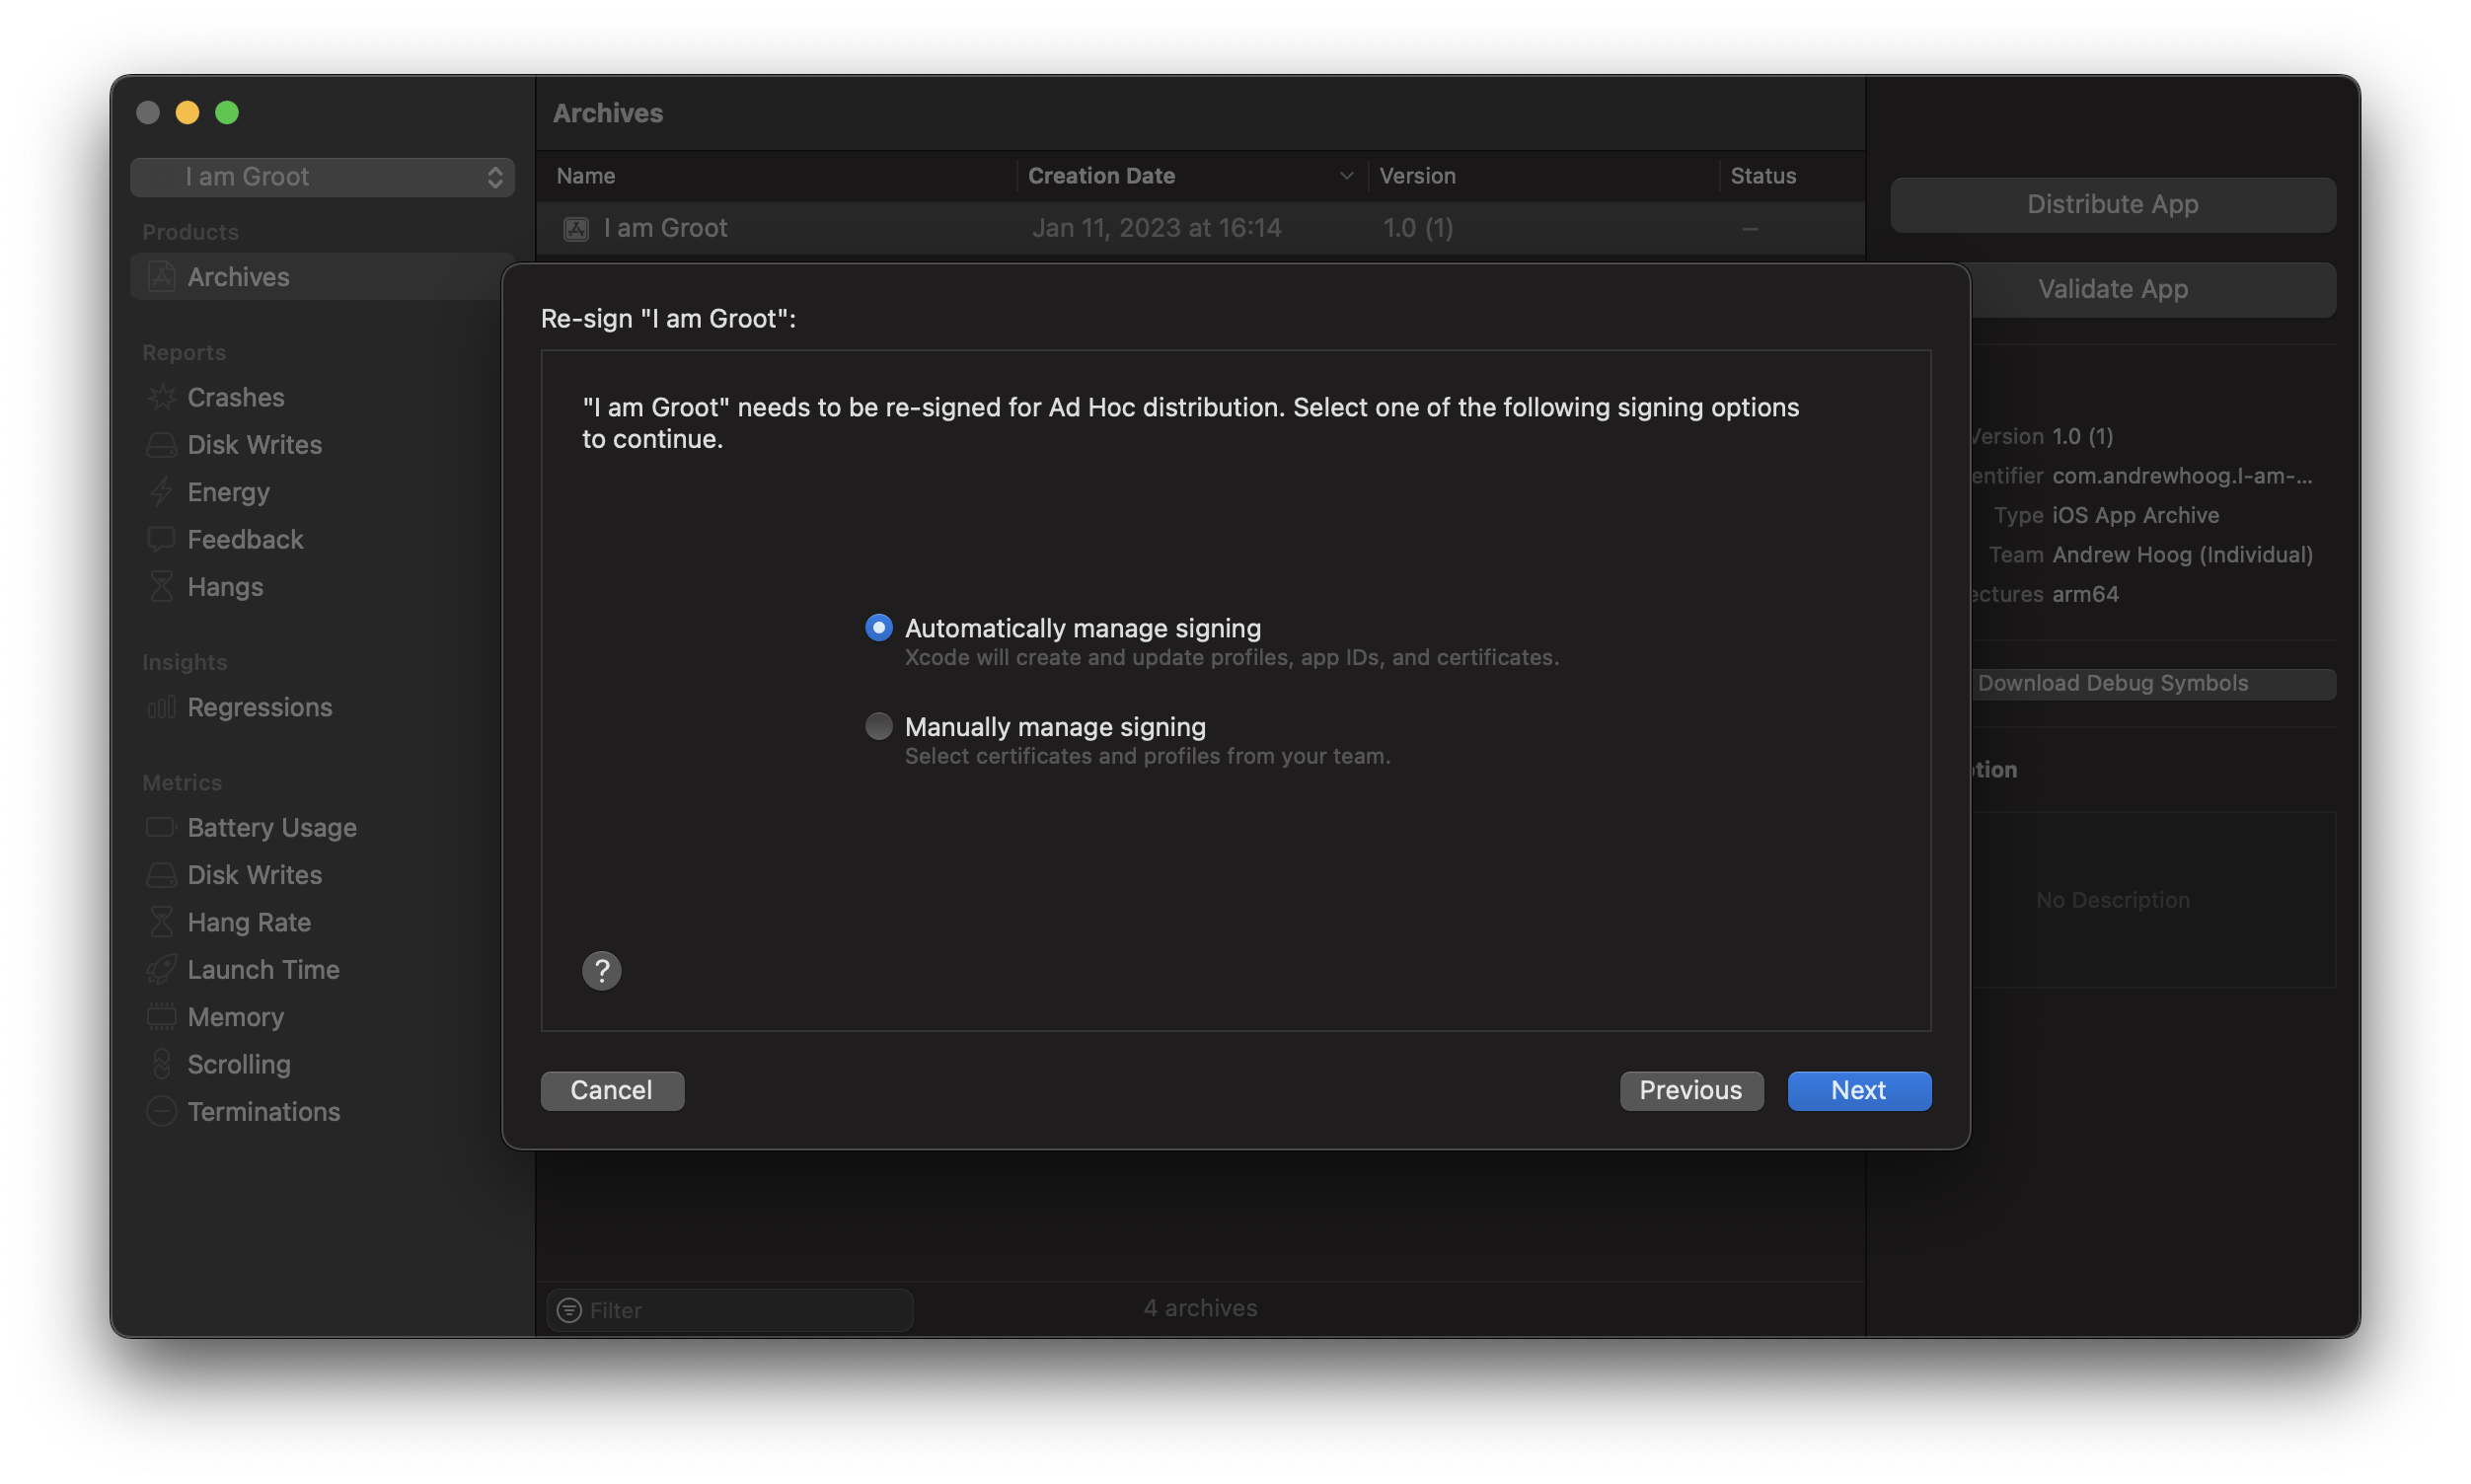
Re-sign app
The app now needs to be signed so that devices can install it. The easiest option here to to allow Apple to Automatically Manage Signing.
 At this point there are two common errors you might run into:
Apple Developer Program error:
Team "Andrew Hoog (Personal Team)" is not enrolled in the Apple Developer Program
which you can resolve by enrolling (and paying the $99/year) or see the note at the start of this blog for local testing and command link work arounds.
Signing assets errors:
Failed to register bundle identifier
The app identifier "com.andrewhoog.I-am-Groot" cannot be registered to your development team because it is not available. Change your bundle identifier to a unique string to try again.

No profiles for 'com.andrewhoog.l-am-Groot' were found
Xcode couldn't find any iOS Ad Hoc provisioning profiles matching 'com.andrewhoog.I-am-Groot'.
which is likely caused by not changing the Bundle Identifier to a unique value (see 1. Code Setup above).
Otherwise you should see a review screen similar to the following:
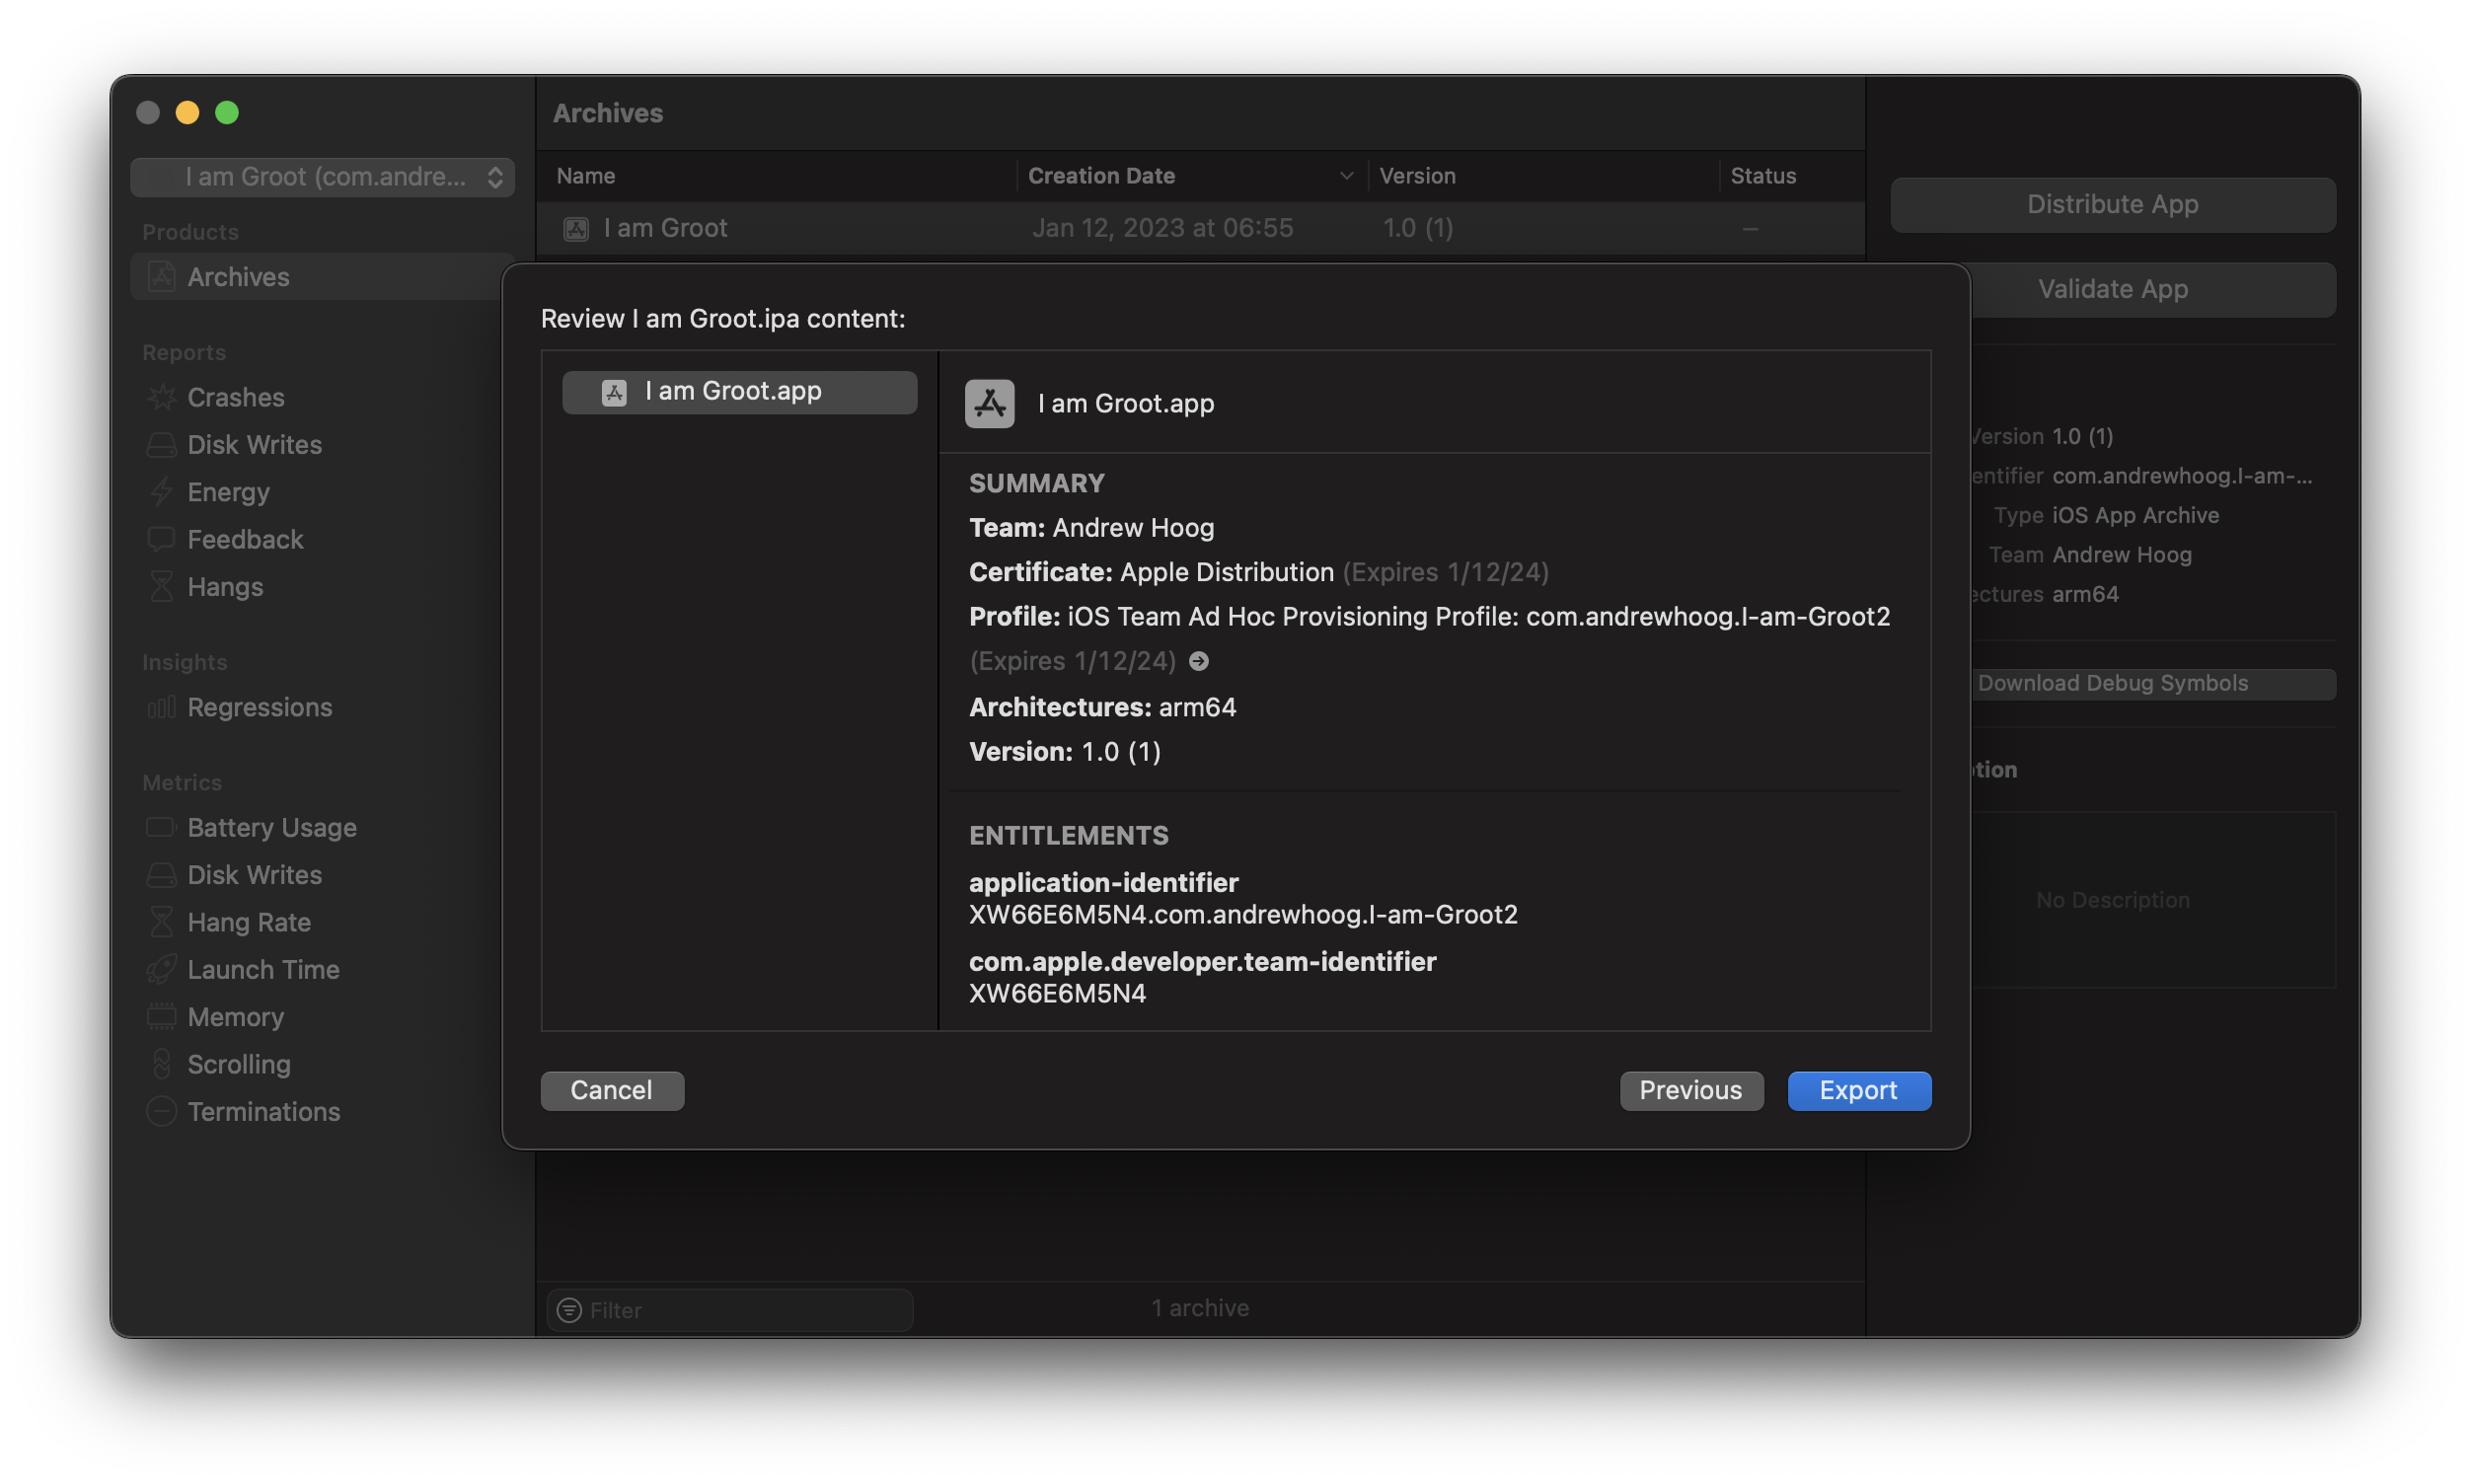
Export ipa
From here, just hit Export and then select where you want to save it:
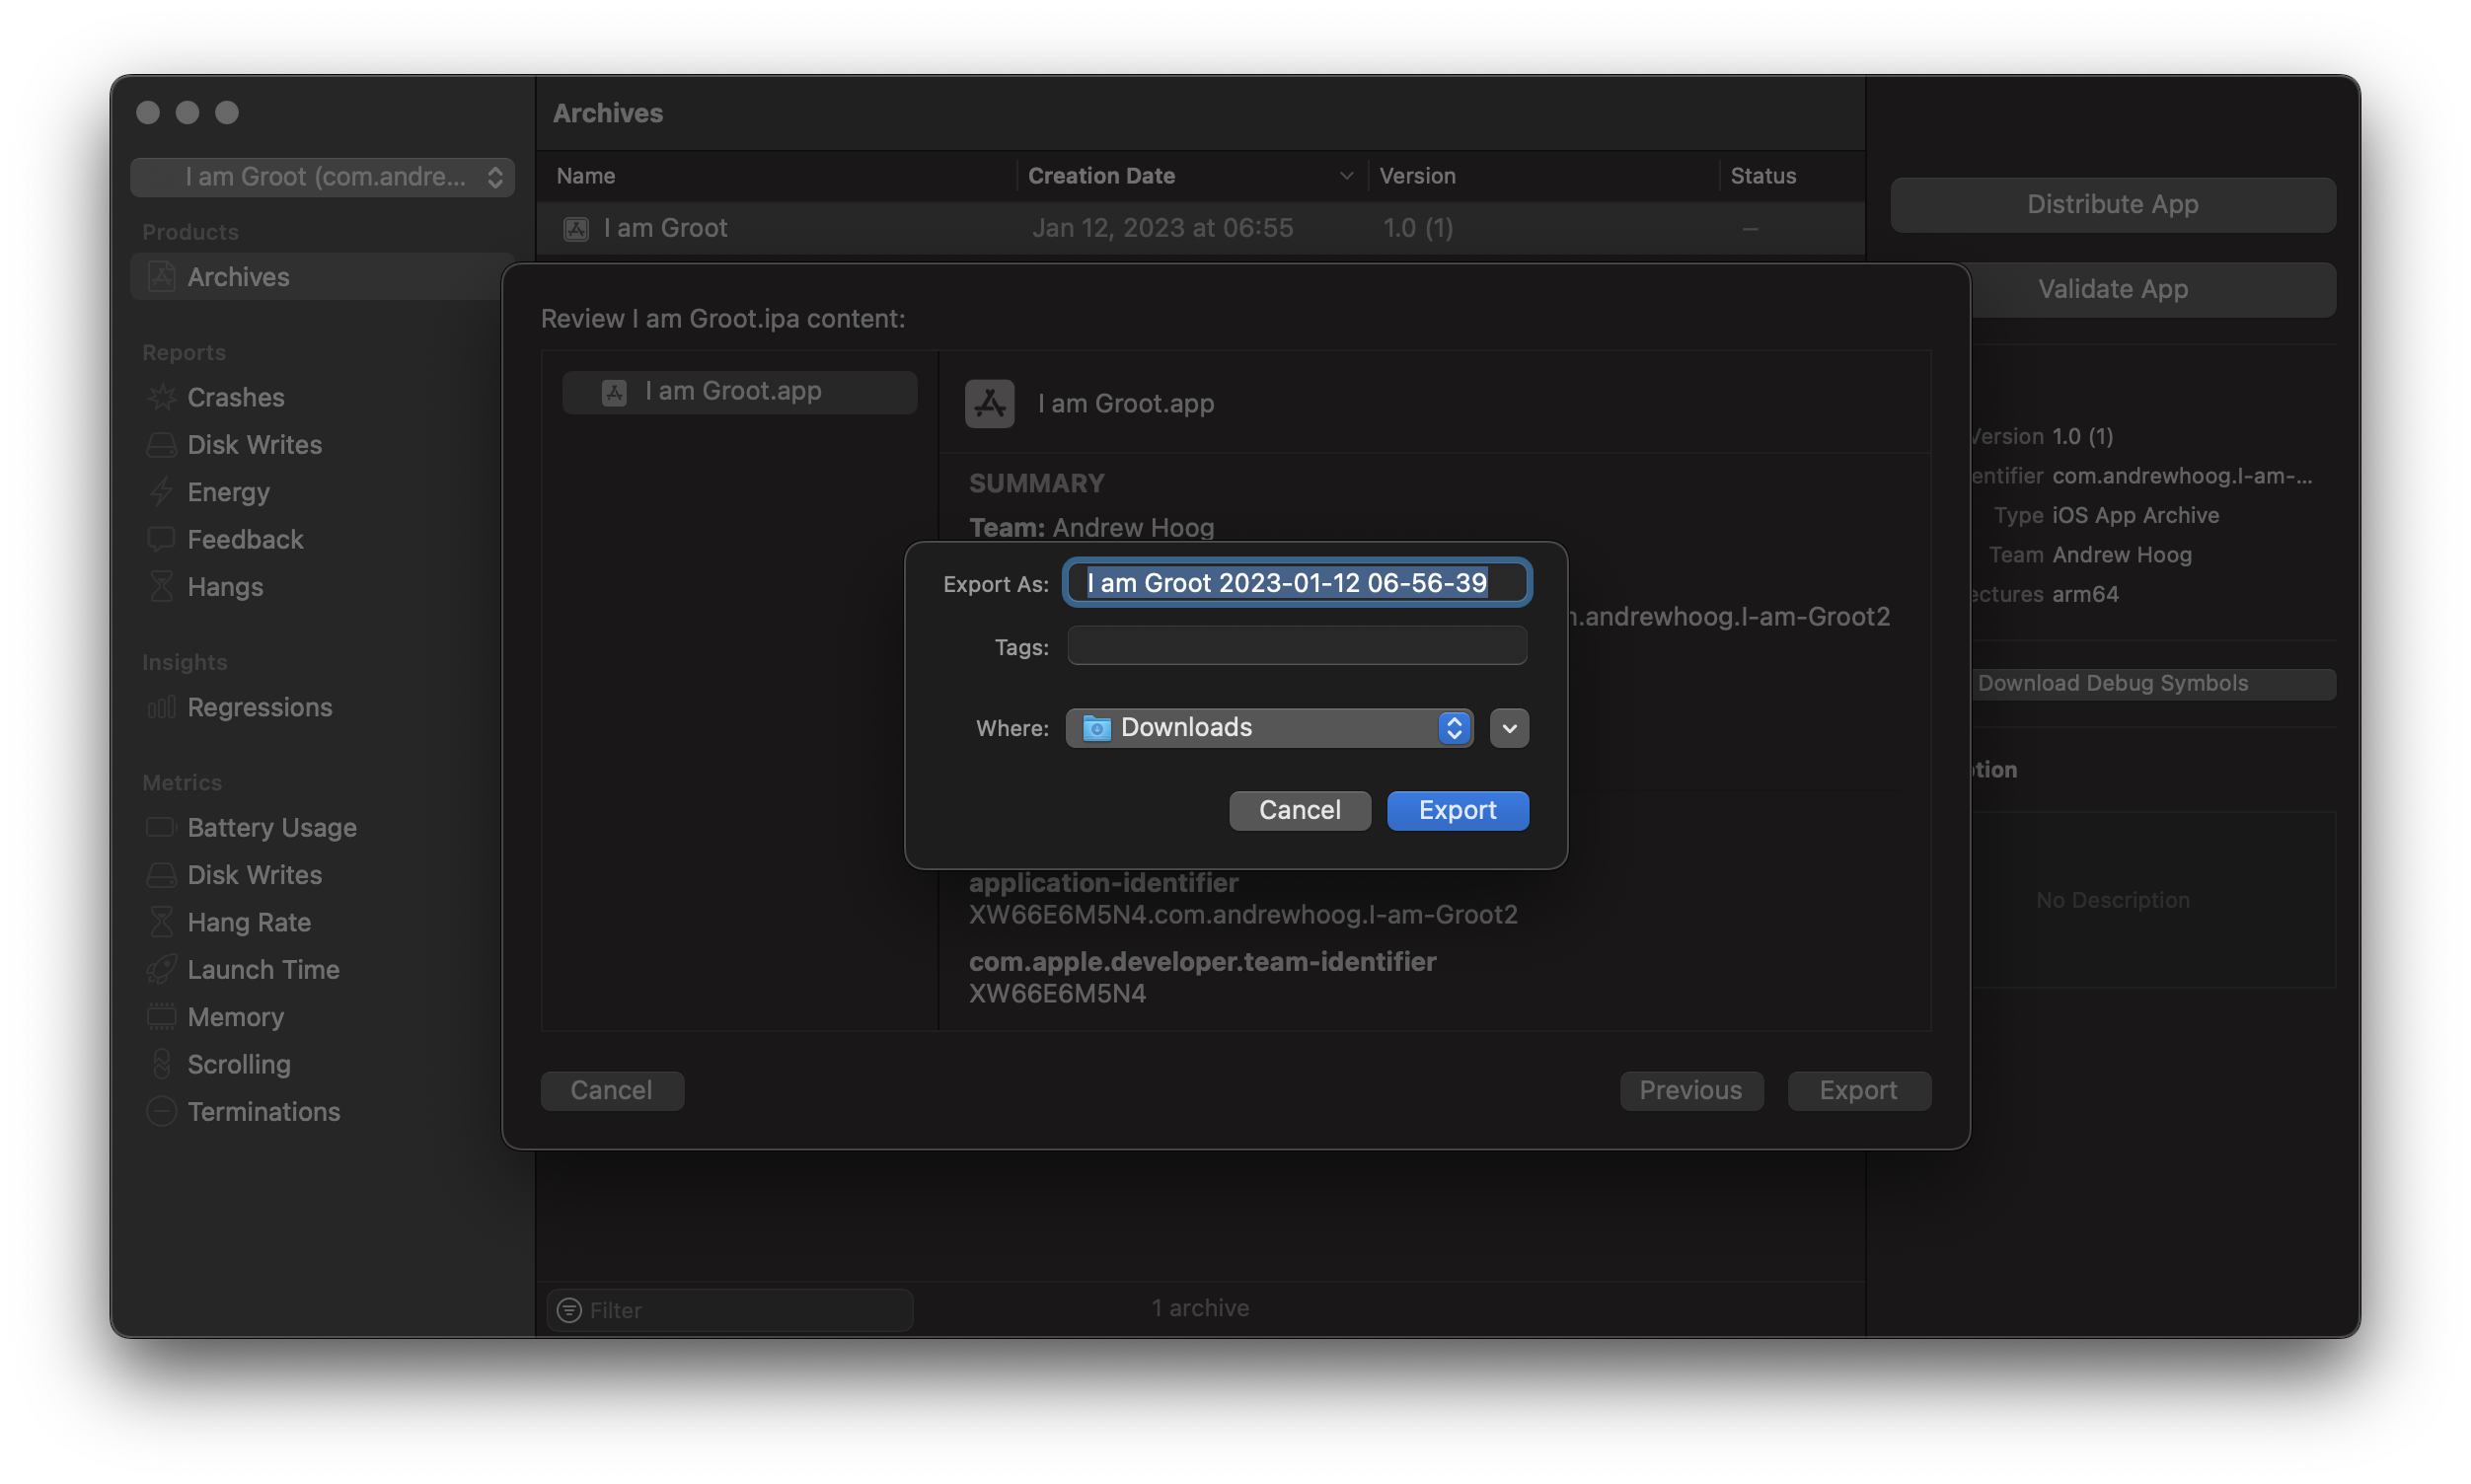 The resulting files are:
$ ls -l ~/Downloads/I\ am\ Groot\ 2023-01-12\ 06-56-39
total 8112
-rw-r--r--  1 hiro  staff     1427 Jan 12 06:56 DistributionSummary.plist
-rw-r--r--  1 hiro  staff      510 Jan 12 06:56 ExportOptions.plist
-rw-r--r--  1 hiro  staff  4123879 Jan 12 06:56 I am Groot.ipa
-rw-r--r--  1 hiro  staff    17617 Jan 12 06:56 Packaging.log
You can then upload the I am Groot.ipa to SaaS security and privacy testing services like NowSecure Platform or any other services/endpoint that is authorized in your developer profile.
Also, the ExportOptions.plist is incredibly helpful if you want to automate the export of an ipa for DevSecOps purposes. While you can create the file manually, you can also simply use this file as an input to xcodebuild which I will cover soon in a blog+video.