GitHub Copliot for iOS - rebuilding a simple iOS app
I built a simple iOS app using GitHub Copilot and based on Angela Yu’s excellent iOS & Swift Bootcamp on Udemy (Section 17). This post is hopefully the first of many sharing my experience with GitHub Copilot and LLM technologies in general. This initial look examines how to using GitHub Copilot with Xcode and neovim, shows results from prompting (amazing autocomplete) and how to resolve a few issues along the way.
1. Background
I’m new to iOS programming and only have a few hours of time tinkering with SwiftUI. But I have a CS background, have coded in multiple languages and for the first decade of my career, I was a full time programmer.
I wanted to see how GitHub Copilot could help me with first SwiftUI project which is a simple, 1-screen business card.
I’m particularly interested in GitHub Copilot for mobile apps as I think many videos and tutorials out there focus on Python, Typescript, APIs and web apps. And, of course, I’m a co-founder of NowSecure and we provide mobile app security testing. :-)
2. How LLMs work (simplified)
At the simplest level, Large Language Model work by ingesting billions (or likely trillions) of documents and creating a statistical model. It then breaks down your request or the code you are writing and tries to predict what the most likely response should be based on the corpus of data and the context it has (such as your comments/prompts, the code in your project, etc).
Of course, LLMs are orders of magnitude more complicated than that but what you’ll see in this post is that Copilot did a pretty fantastic job helping me complete the app. However, the code for this app is open source and so it’s likely that completion of code and comments might work quite well with little prompting.
But bear in mine, GitHub Copilot and other “pair programming AIs” are in fact just the copilot and you, the programmer, are the pilot. In the end, your responsible for the code: is it correct, does it crash, is it safe and secure, does it perform well and so much more. Coding copilots do not change that fact!
If you’re interested in a more detailed overview, GitHub released a blog with a behind the scenes look at working on the LLMs that power GitHub Copilot.
3. Code
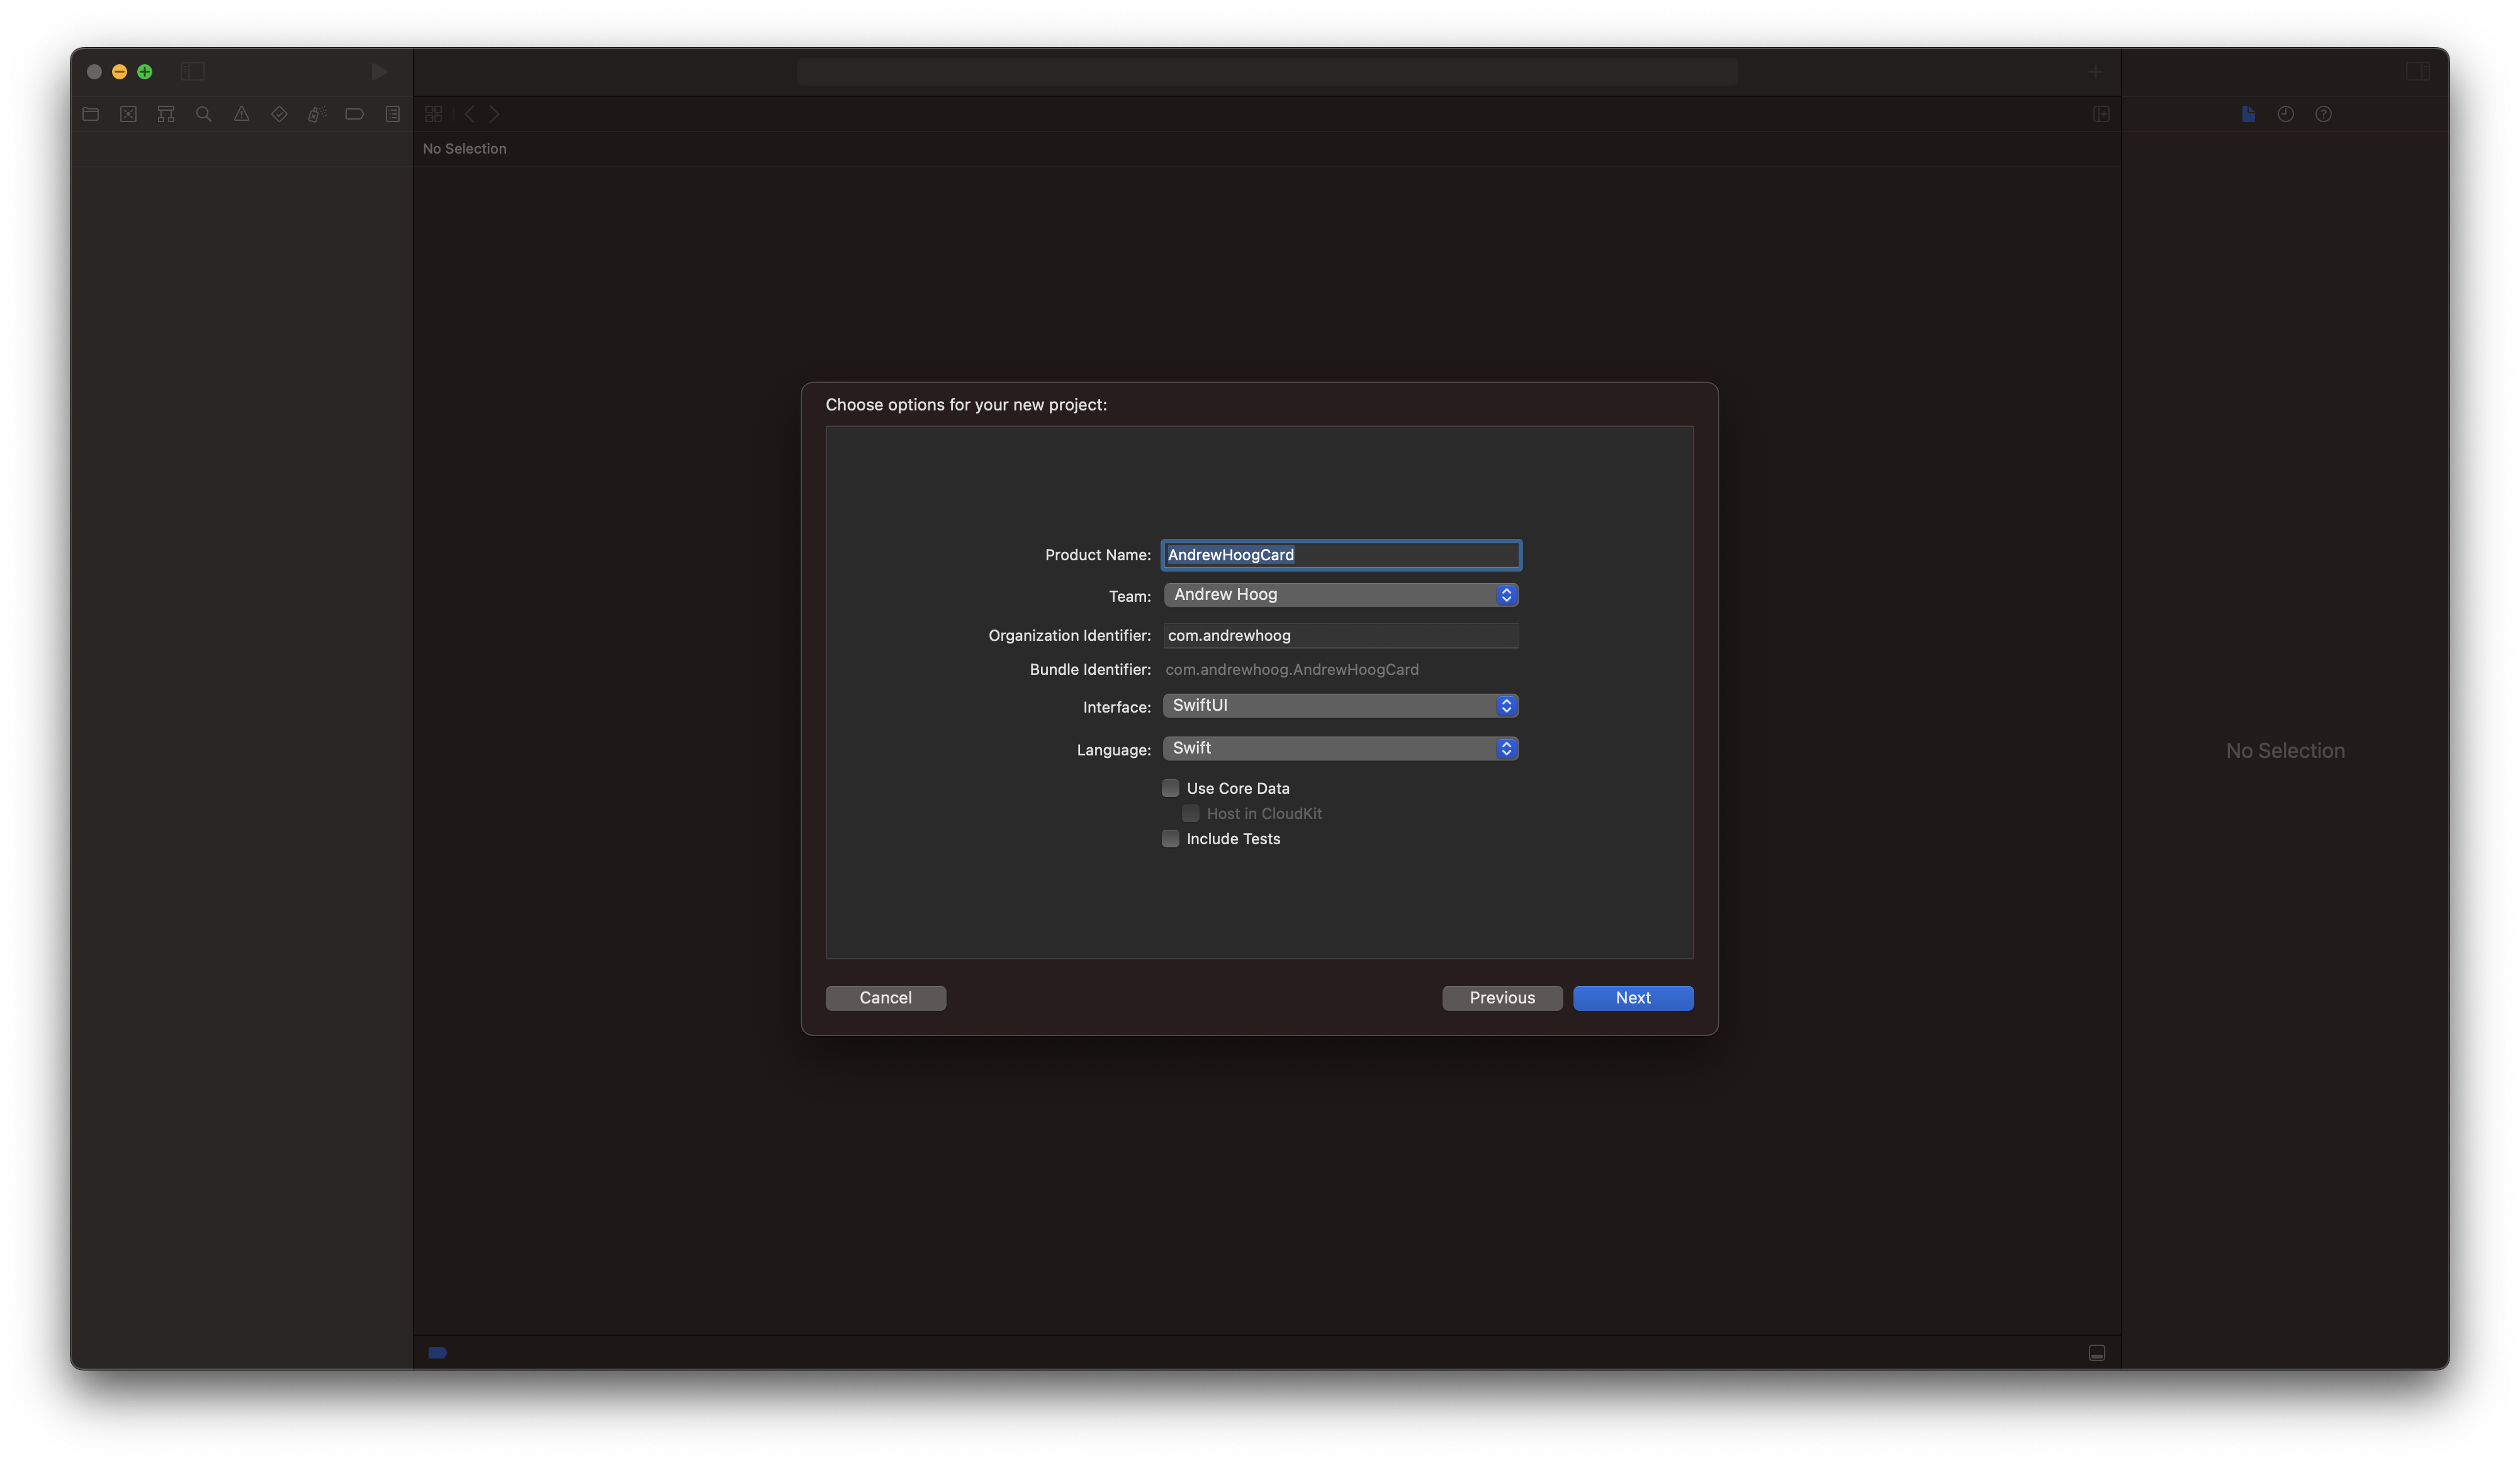
First, make sure you have the latest version of Xcode installed. Then create a new project, select iOS App and give it a name like “AndrewHoogCard” (pop in your name) and then make sure the Interface is set to SwiftUI and the language to Swift.
3.1 Xcode vs. VSCode vs. neovim for Copilot and iOS
Currently, there isn’t a native Xcode integration for GitHub Copilot but an open source project by intitni called CopilotForXcode seems popular. A coworker tried it out and at that time, found it cumbersome compared to the the native Android Studio integration.
The alternative approach is to use two IDEs which is obviously not ideal! But Xcode will auto-pickup any changes from the other editor so you could start the project in Xcode, use another editor like VSCode or neovim for the Copilot parts and then switch back to Xcode. Since I’m more of a vim/neovim person, that’s what I used for the experiment but VSCode should work just fine.
3.2 First Copilot prompt
Open ContextView.swift in VSCode or neovim and add a comment (a.k.a prompt) after the body variable:
    var body: some View {
    // create a new ZStack with a green background
It doesn’t have to be a green background, feel free to experiment. Give Copilot a second and see what it provides. Since this technology is non-deterministic, you will likely get responses different from mine. But since this is an open source project and if you named it with the convention “YourNameCard”, I suspect you’ll get something very close.
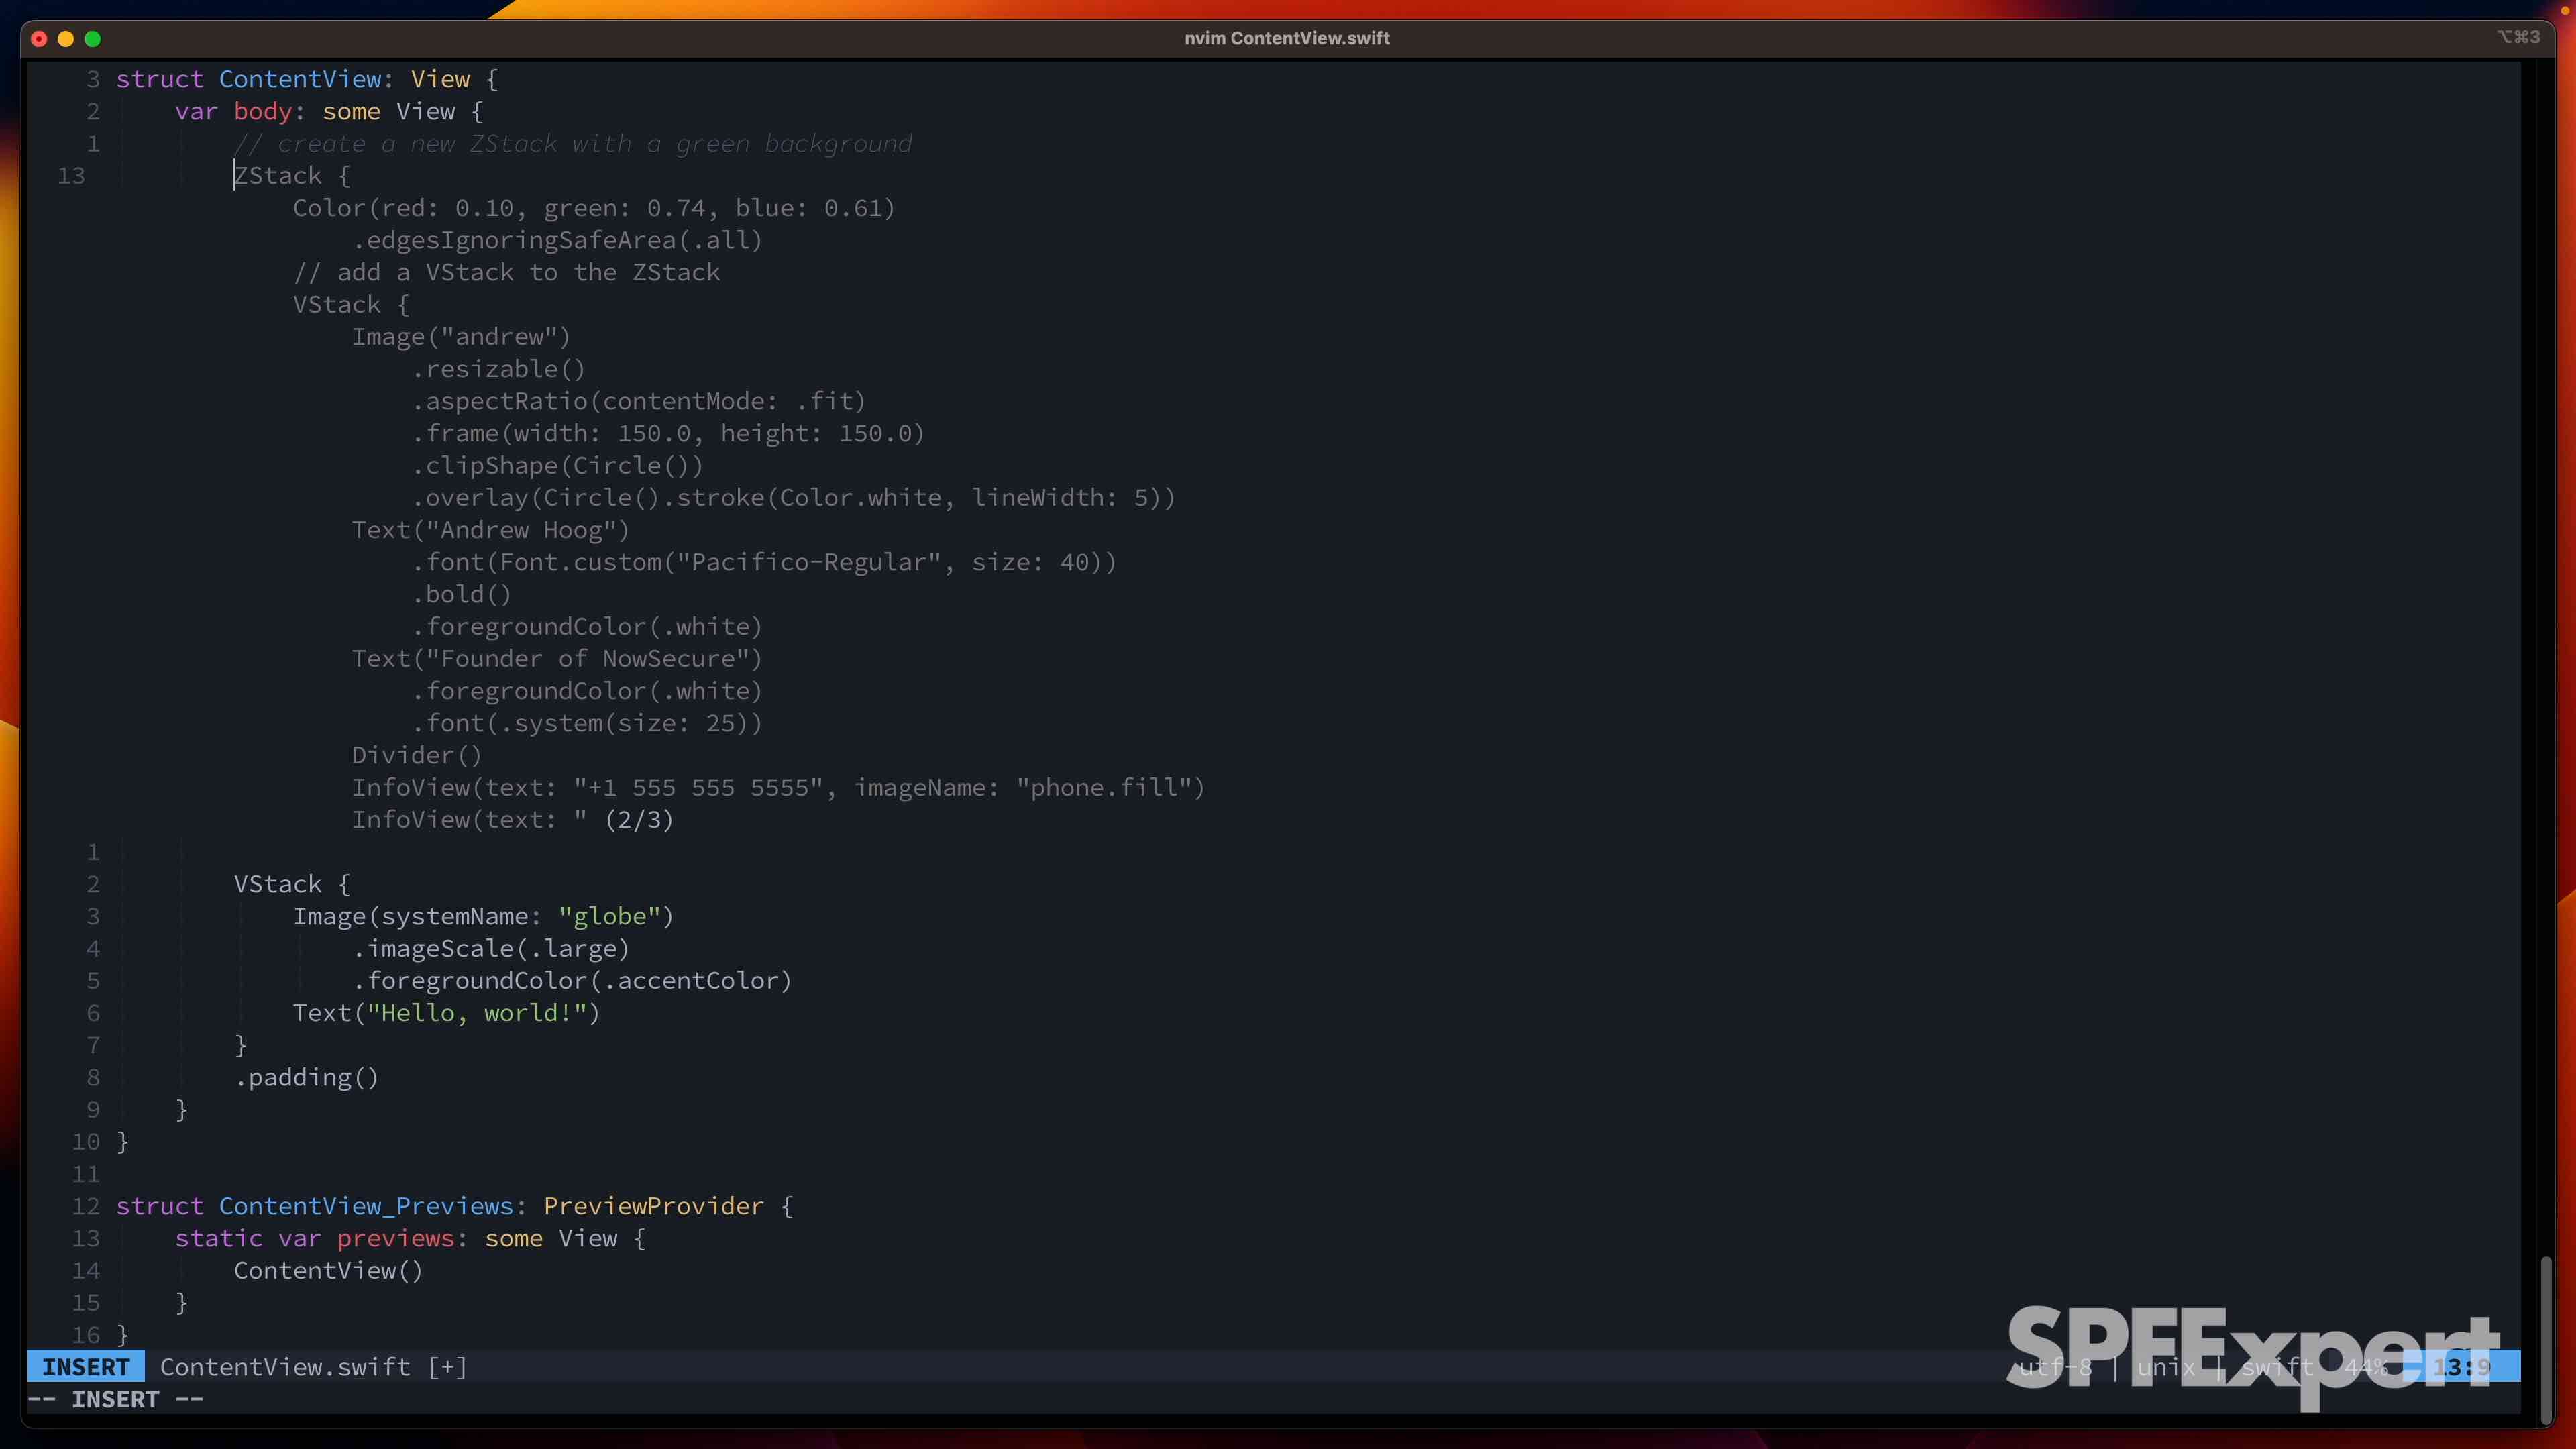
As you can tell from the screenshot, I was given three different options. Interestingly, it filled in my name for the Image and it one of the code snippets put my title down as “Founder of NowSecure” (which is close, Co-founder is more accurate). And that’s pretty cool!
3.3 First coding error
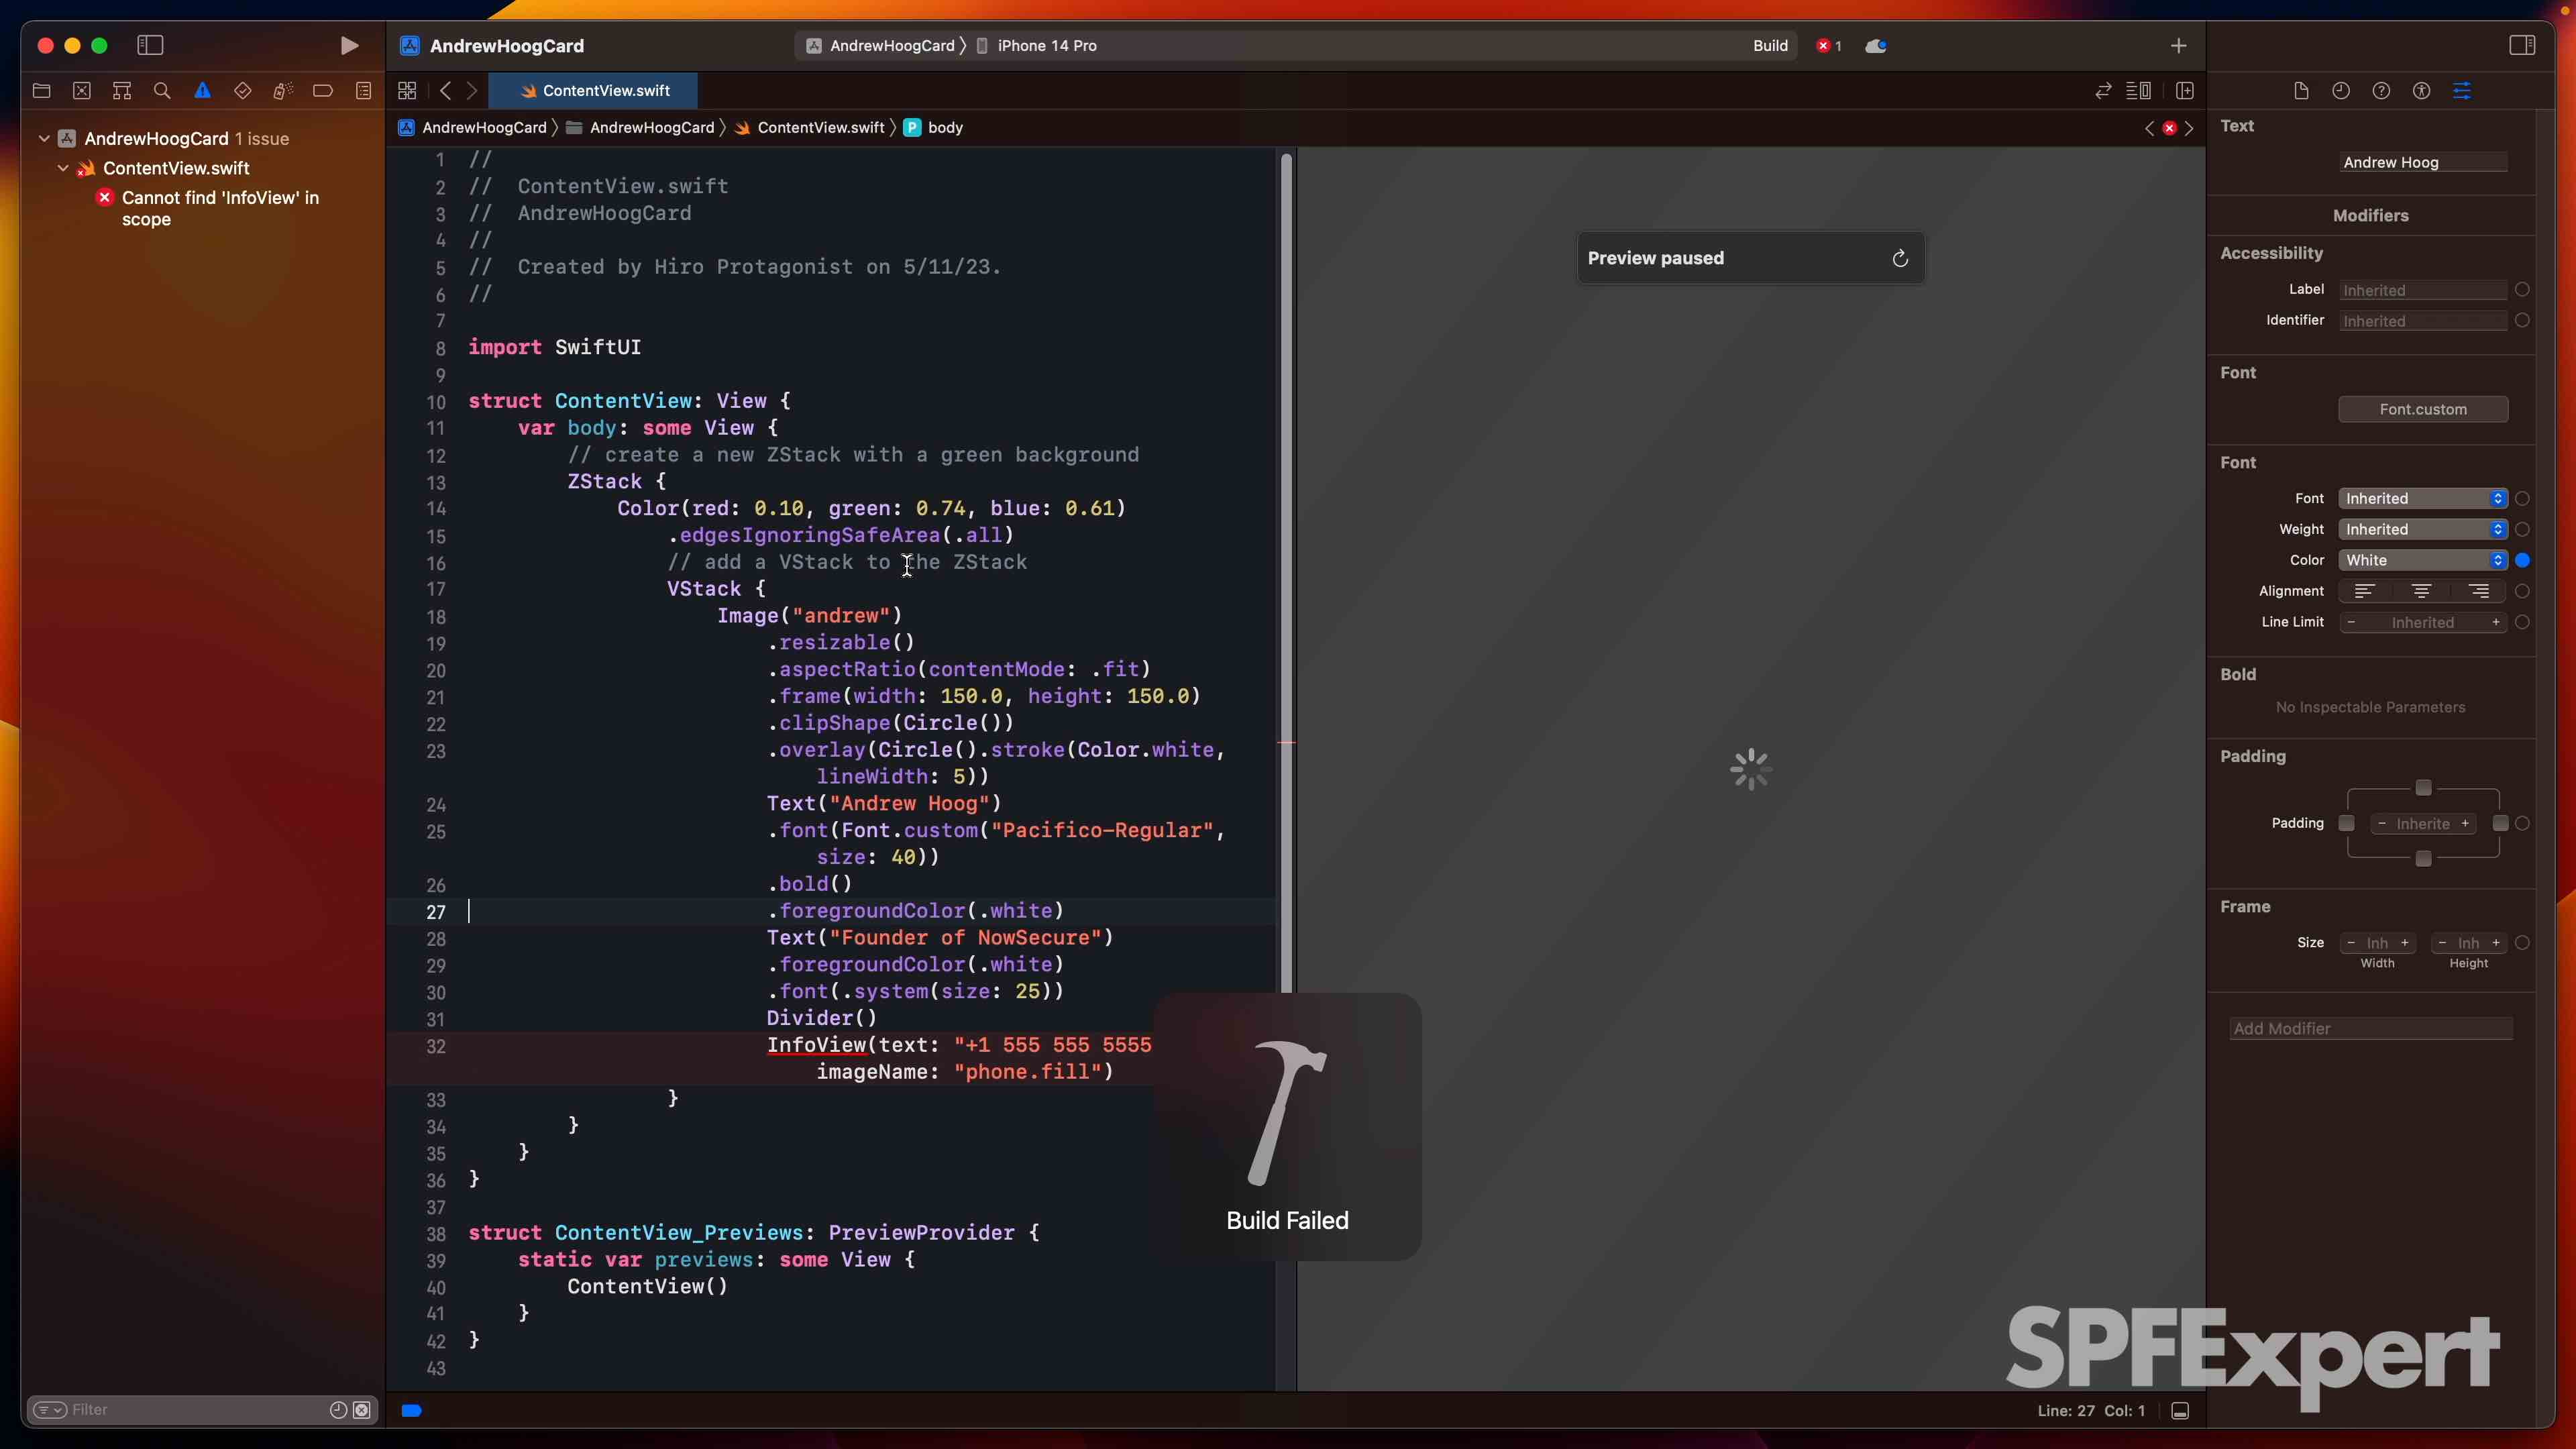
You may also notice that the code actually won’t compile because of a call to an InfoView object with a text parameter that has an open " but not a closing one. It’s pretty simple to spot that and if you don’t, Xcode certainly will when you save the code.
If you delete that line, remove the now extraneous VStack from the project setup and pop in a few } to close declarations out, you won’t have any egregious errors left.
3.4 Missing struct
However, the app won’t build as the new code references an InfoView object (it’s a struct) which is not in the project.
If you head to the top of ContentView.swift, you can add the following comment and this is the code returned to me:
// create infoview struct
struct InfoView: View {
    // create a variable to hold the text
    let text: String
    // create a variable to hold the image name
    let imageName: String

    var body: some View {
        // create a new view
        RoundedRectangle(cornerRadius: 25)
            // set the color
            .fill(Color.white)
            // set the frame
            .frame(height: 50)
            // set the padding
            .padding(.all)
            // add an HStack
            .overlay(HStack {
                // add an image
                Image(systemName: imageName)
                    // set the color
                    .foregroundColor(.green)
                // add a text view
                Text(text)
                    // set the color
                    .foregroundColor(.black)
            })
    }
}
I did a quick scan of the struct suggestion and then just accepted it. Directionally it looked accurate but 1) I didn’t know for sure and 2) it’s quite possible some other document ingested by GitHub Copilot (well, actually OpenAI’s Codex LLM) has an InfoView struct so I wasn’t 100% sure. Easiest way to tell was to save and check the preview!
3.5 End results
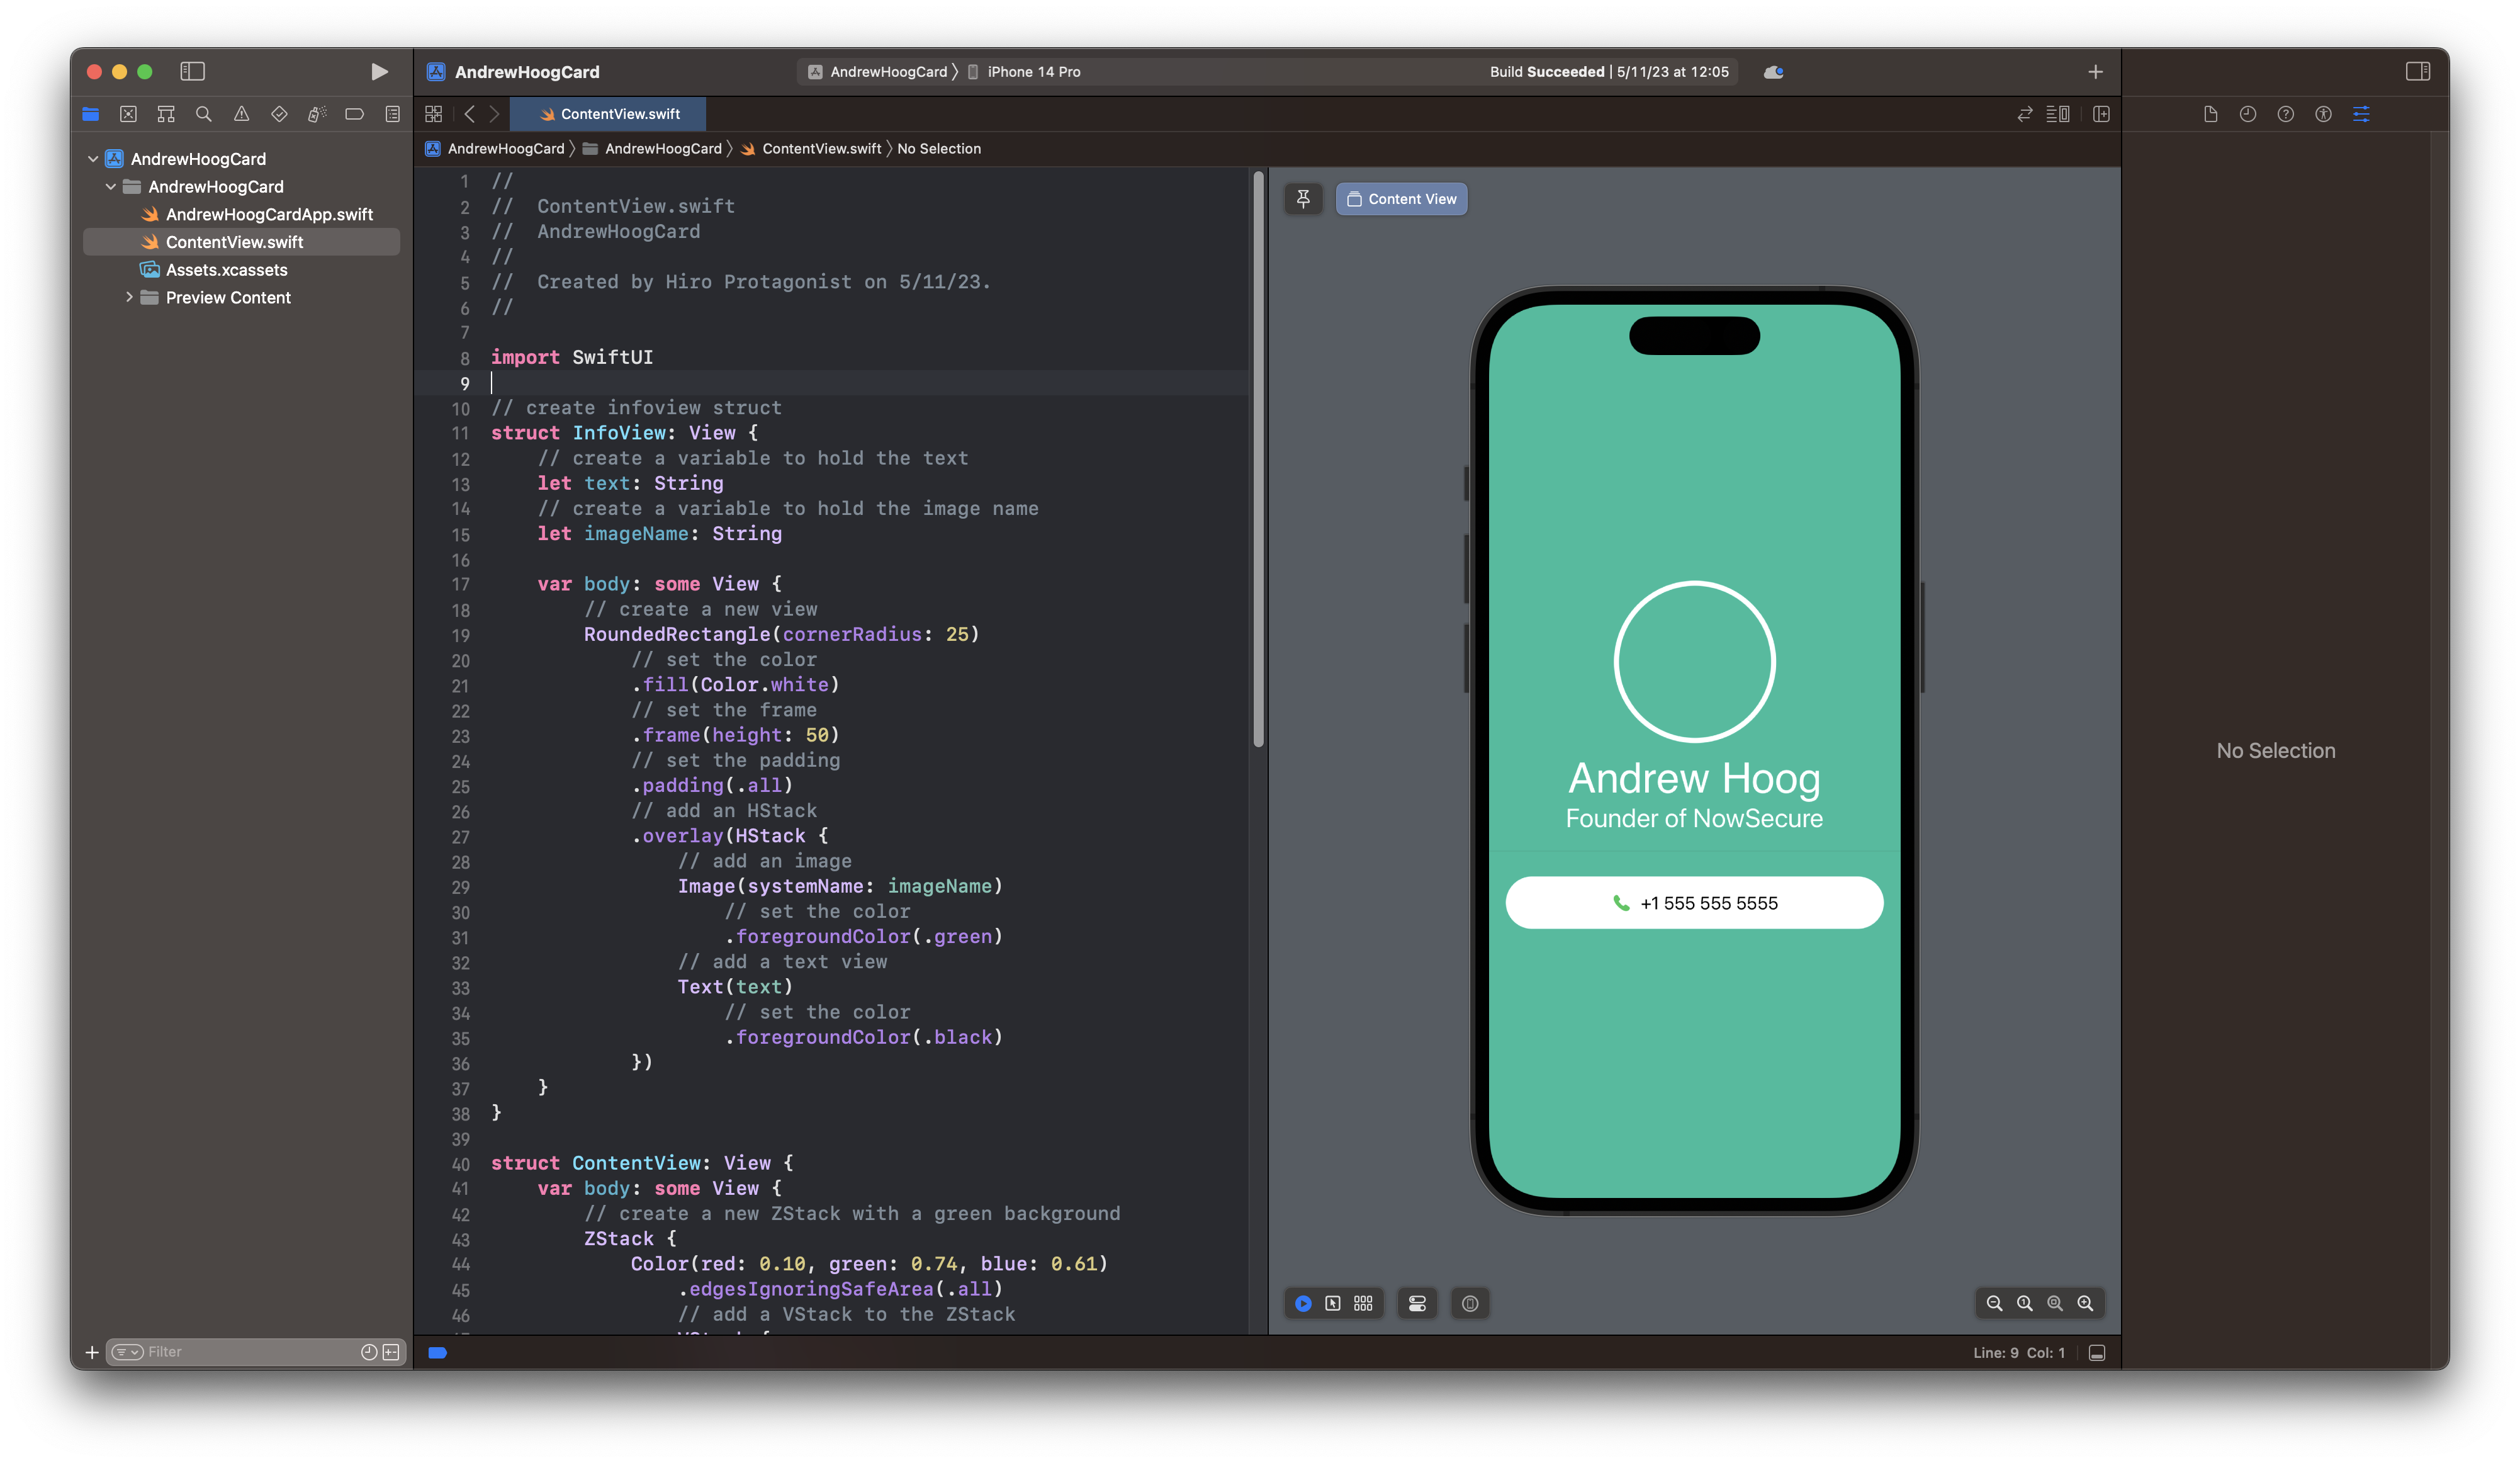
When I unpause preview, I was quite happy to see the project nearly identical to Angela’s. I did not add an image asset to the project so that was still missing.
4. First Impressions of GitHub Copilot for iOS development
So my first impressions of GitHub Copliot for iOS is positive but it’s clearly at a very early stage. And some of the challenges I faced are more due to being new to Swift. From other videos that I’ve watched, senior programmers can gain a lot of efficiencies using Copilot because they know exactly what they want and they can look at code an easily spot bugs, security issues and more.
To wrap up, here are the Pros and Cons using GitHub Copilot for iOS development (if you’re new to Swift):
4.1 Pros
Copilot did the following really well:
- completed about 90% of the code and fixing the issues was trivial
- Somehow understood the context of the the
nameandtitleproperties in the InfoView struct and put in my name and found my correct title (almost). - Made me happy as a developer. When the code would complete, I smiled. I was delighted to see my title in the code. And in the end, I was basically just fixing minor items vs. coding the app from scratch.
4.2 Cons
Of course, Copilot has some opportunities for improvement. :-)
- Generating code that won’t compile is problematic. One instance was complete syntax failure while the other was referencing a
structthat didn’t exist. - No native Xcode integration is a real productivity killer.
- I found myself wondering where the code came from, would it work as expected and was it secure.
I will definitely keep using GitHub Copilot for iOS and other languages and I’m excited to see where it goes. I’m near the end of my trial period and I already setup the yearly subscription!