3 ways to install Xcode on macOS [2023]
There are multiple ways to install Xcode on macOS and in this blog we’ll walk you through the three most common techniques:
1. Mac App Store
Perhaps the easiest way to install Xcode is to use the Mac App Store. First run the Mac App Store app (⌘+Space and type app store) and then search for xcode:
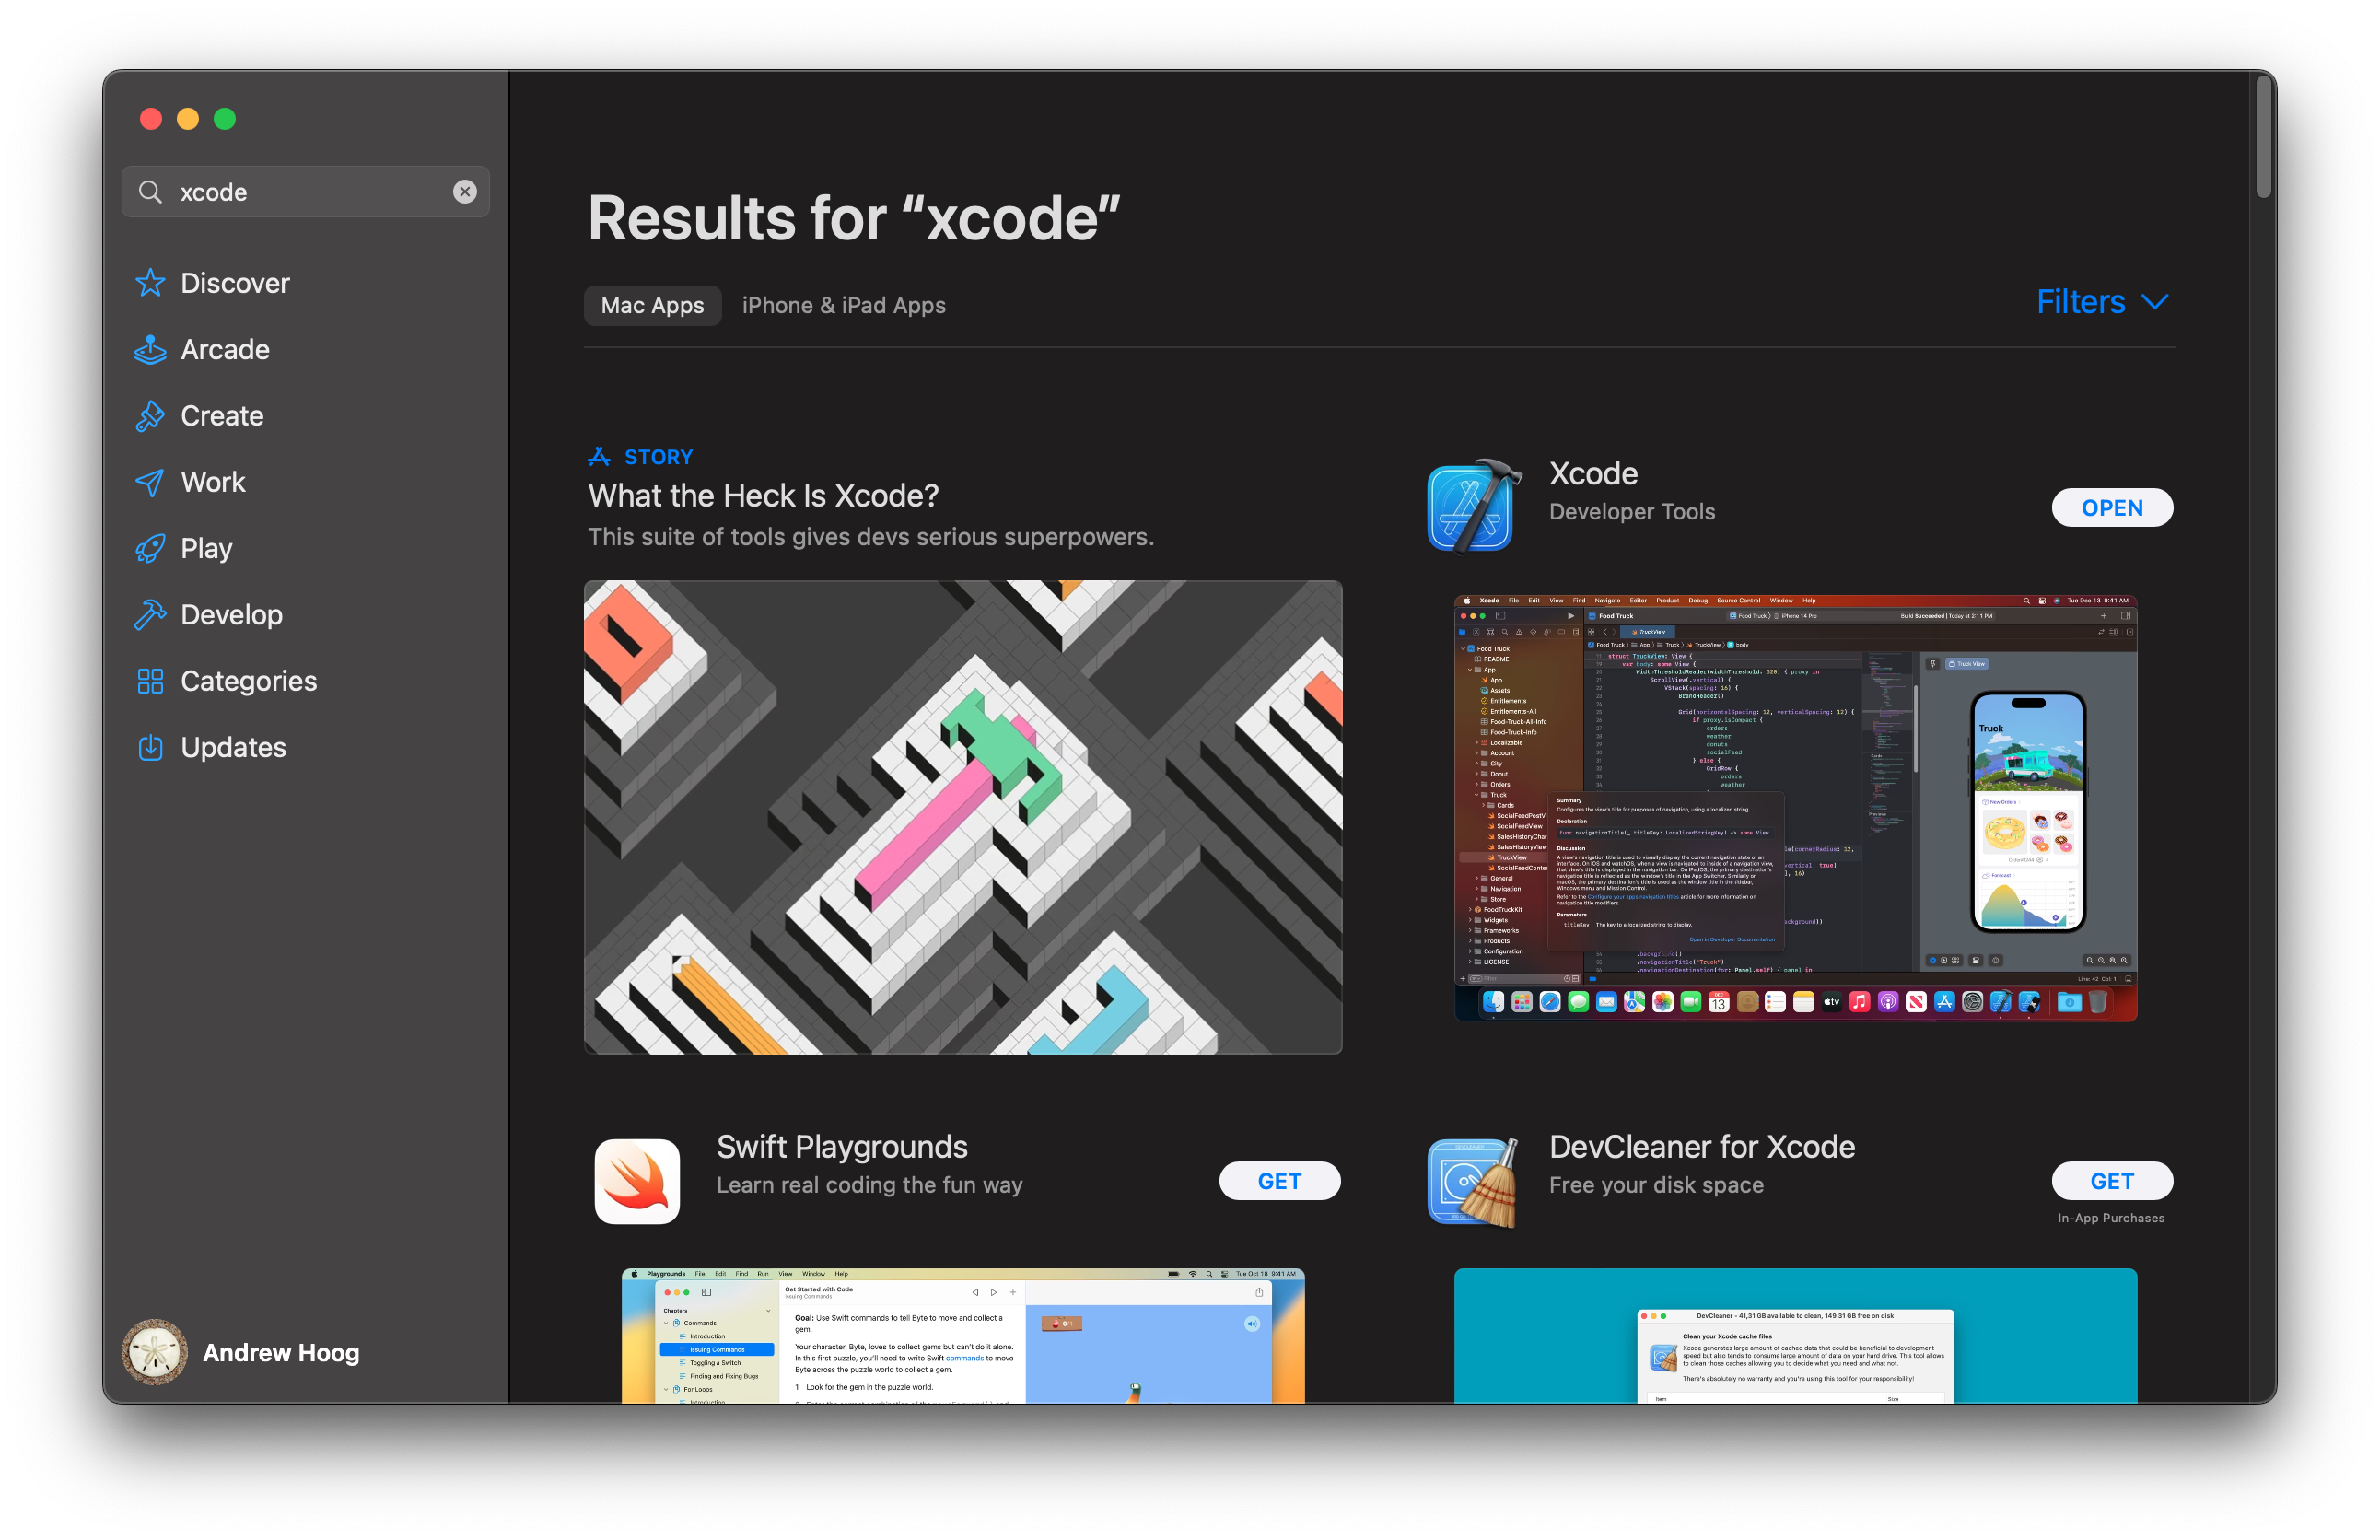 Next select
 GET and finally INSTALL (mine shows OPEN since I’ve already installed it) . This will require you to log in with your Apple ID. If you don’t have an Apple ID, you can easily create your Apple ID with any existing email address.
The Mac App Store will handle downloading Xcode and installing it on your system. After that point, you can then click OPEN or in the future run it like any other application (Spotlight Search, Finder -> Applications, etc).
2. Apple Developer website
You can also download current and older versions of Xcode from the Apple Developer website but first you will need a developer account.
Apple Developer account
There are now two types of accounts you can use to sign into the Apple Developer website. One is a free account and the other is $99/year which includes the ability to publicly distribute your iOS/macOS apps. If you are just starting out, you can stick with the free account that simply uses your Apple ID (see link above if you need to register for one).
If you’d like to read up on the differences between the two account type, you can check out Apple’s support article “Choosing a Membership”.
Once you have your account, you can see all the Xcode downloads from the Apple Developer website:
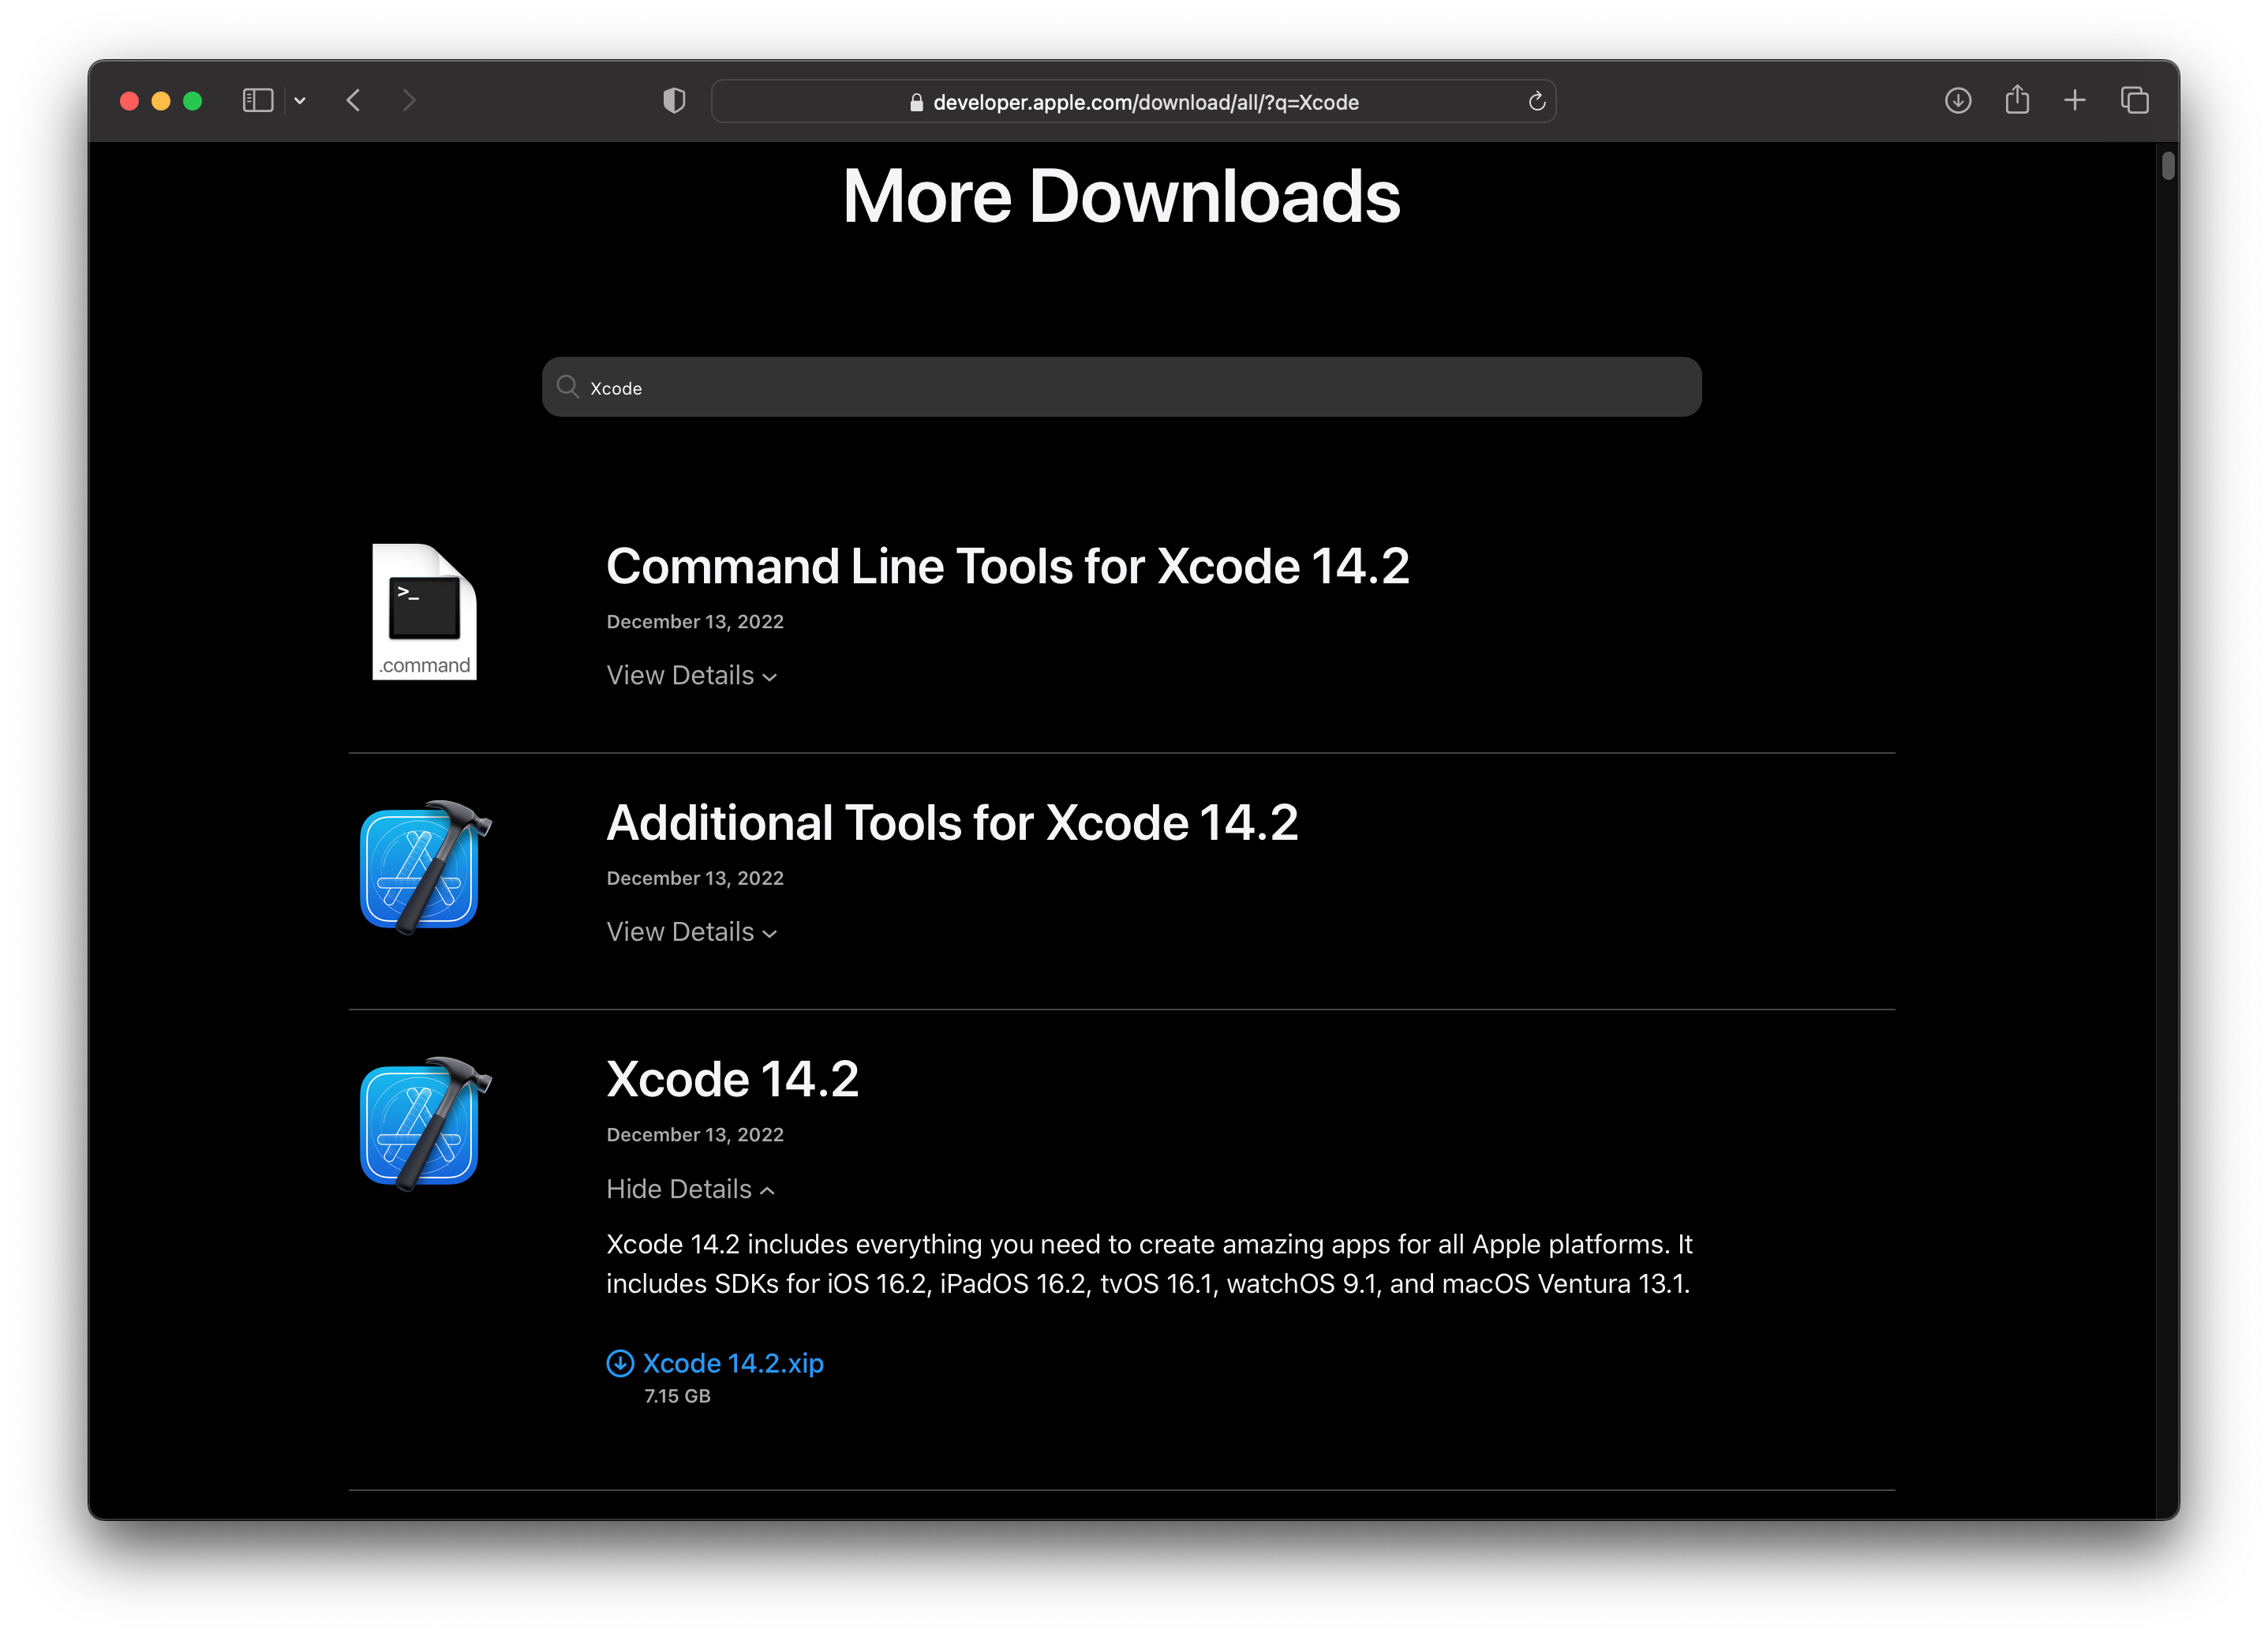 Then click on View Details for the version you’d like (14.2 in this example) and finally click on the download link which will have the extension .xip. As you can tell, the download is over 7GB and will require more than 23GB of space to extract.
Once you have it extracted, you can delete the .xip file to free up some space:
$ rm ~/Downloads/Xcode_14.2.xip
From here, you could simply double click Xcode to run it. Alternatively, you could drag and drop it to the Applications folder is finder or via command line with:
$ mv Xcode.app /Applications
This will make Xcode visible in your list of Applications as well as Spotlight Search (⌘+Space). Or follow the optional steps below instead for more flexibility.
[Optional] Rename Xcode
As an optional step, you could rename XCode.app by adding the version details. This is helpful because at times, you might need different versions of Xcode installed for particular applications. So, in this instance you could do the following:
$ cd ~/Downloads
$ mkdir xcode
$ mv Xcode.app xcode/Xcode-14.2.app
[Optional] Set default Xcode
You can optional set the newly downloaded Xcode as your default with the xcode-select utility. First, if you are curious if you have a current default, you can run the following:
$ xcode-select -p
/Applications/Xcode.app/Contents/Developer
If you don’t have Xcode installed, you’ll get the following instead:
$ xcode-select -p
xcode-select: error: unable to get active developer directory, use `sudo xcode-select --switch path/to/Xcode.app` to set one (or see `man xcode-select`)
As the above message suggests, you can now (re)set your default Xcode with the following:
$ sudo xcode-select --switch ~/Downloads/xcode/Xcode-14.2.app
Password:

$ xcode-select -p
/Users/hiro/Downloads/xcode/Xcode-14.2.app/Contents/Developer
3. Install Xcode with brew
If you frequently install additional software on macOS, I highly recommend installed Homebrew (aka brew) which makes the process simple.
Check to see if brew is installed
If you want to quickly see if you have brew installed, fire up a terminal and run the following:
$ brew --version
Homebrew 3.6.12
Homebrew/homebrew-core (git revision 1c08ed43da4; last commit 2022-11-26)
Homebrew/homebrew-cask (git revision af2225febd; last commit 2022-11-26)
If instead, you see something like:
$ brew --version
zsh: command not found: brew
then you need to install brew with the following command:
$ /bin/bash -c "$(curl -fsSL https://raw.githubusercontent.com/Homebrew/install/HEAD/install.sh)"
which will automatically download and install brew and any dependencies.
Install Mac App Store cli (mas-cli)
Now that you have brew installed, you can install the Mac App Store cli with:
$ brew install mas
The mas command allows you to search and install apps from the Mac App Store. For Xcode, you could search as follows:
$ mas search xcode
which will return a list of results along with the Mac App Store unique ID for the app. In the case of Xcode, the unique id is 497799835 so you can now install Xcode with:
$ mas install 497799835
After the install in complete, you can run Xcode as if you had installed in from the Mac App Store.